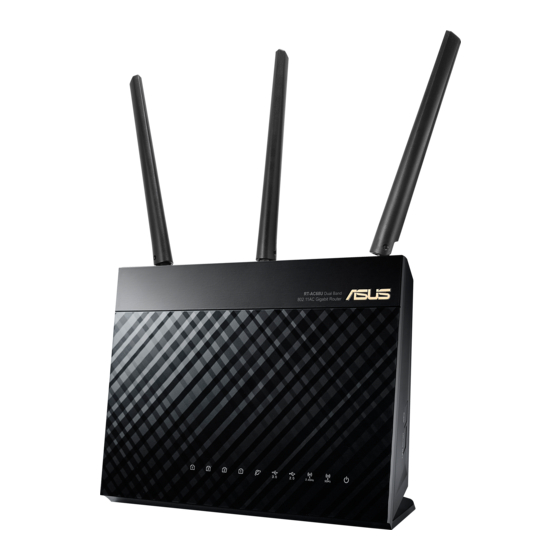
Asus RT-AC68U Setup Manual
Hide thumbs
Also See for RT-AC68U:
- Quick start manual ,
- User manual (129 pages) ,
- Quick star quide (88 pages)
Advertisement
Setup Guide Asus Router
Step 1
Connect to the ASUS router via an Ethernet cable or wirelessly.
The computer should be cabled to a LAN port of the VPN router or connected to ASUS or ASUS_5G
network.
Open up your web browser, type in 192.168.1.1 in the address bar and hit enter.
It will prompt you to enter the username/password. The default values are: admin (username) and
admin (password).
Once you log in, go to "VPN" option in the left hand side menu.
Select "VPN Client" tab and click "Add profile" button.
Advertisement
Table of Contents

Summary of Contents for Asus RT-AC68U
- Page 1 Step 1 Connect to the ASUS router via an Ethernet cable or wirelessly. The computer should be cabled to a LAN port of the VPN router or connected to ASUS or ASUS_5G network. Open up your web browser, type in 192.168.1.1 in the address bar and hit enter.
- Page 2 Step 2 Choose "PPTP" tab in the appeared window, fill the fields. "Description" is the name of the connection, it can be any as you like, we recommend to set it to "StrongVPN". Please note: if you already have the connection with the same name it will not let you save the settings.
- Page 3 Enter your "Username" and "Password". These are not your email and password with us that you use to log into the Customer Area, also do not use "sXXXXXX" and "XXXXXXXXXX" these are just examples. "Server address", "Username" and "Password" are your credentials that you get from the Customer Area at the beginning of this tutorial.
- Page 4 Step 4 When the connection is established you will see the blue check mark in the "Connection Status" field.
- Page 5 Step 5 Now you need to perform two more steps if you want to get some video streaming servers working. If you will connect/reconnect to the same VPN server these steps are needed to be done only once. Go to "System Log" option in the menu, select "General Log" tab. In the appeared log you need to find the line containing the word "DNS address"...
- Page 6 Step 6 Then proceed to "WAN" in the menu, select "Internet Connection" tab. In the "WAN DNS Setting" section set "No" for "Connect to DNS Server automatically" option. This will reveal two fields below, use them for manual DNS setup, in the first field enter the DNS server address that you got from the previous step and 208.67.220.220 to the second field.
- Page 7 Done. You are connected.


Need help?
Do you have a question about the RT-AC68U and is the answer not in the manual?
Questions and answers