Celestron PowerSeeker 50 Quick Setup Manual
Celestron powerseeker 50: quick setup
Hide thumbs
Also See for PowerSeeker 50:
- User manual ,
- Brochure & specs (4 pages) ,
- Instruction manual (9 pages)
Advertisement
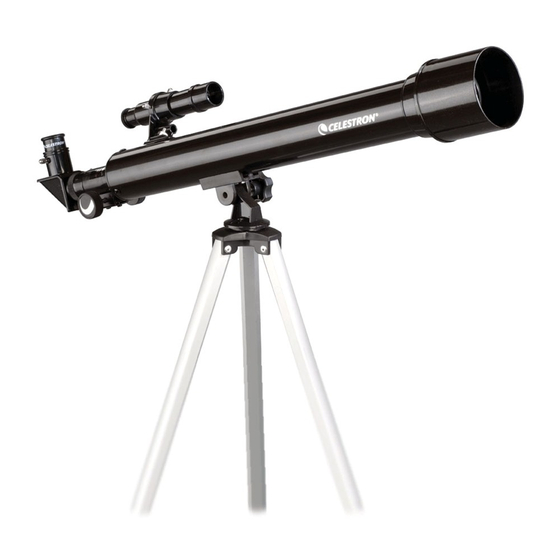
PowerSeeker 50
Item# 21039
1
Your PowerSeeker 50 includes: optical tube w/ lens
shade attached; tripod with center support bracket;
three eyepieces; a 3x barlow lens, star diagonal,
finderscope with bracket; The Sky™ CD software;
documentation including owner's manual.
4
All three legs should be the same length to
provide a level platform for the telescope.
7
Replace threaded bolt to secure the optical
tube to the mount. Attach the nut to the
threaded bolt by turning clockwise and tighten.
Make sure nut falls into recess.
Item #31132
Celestron Technical Support: 310
2
To set up the tripod, spread the legs outward
until they are fully extended. Extend the center
portion of each of the three tripod legs down 6-
8".
5
Remove the threaded bolt from the underside
of the telescope tube.
8
Properly assembled, optical tube should
appear as pictured above.
Questions or Problems with Set-up?
CONTACT:
Quick Set-up Guide
3
Use the three tightening snaps located at the
bottom of each leg to secure the extended legs
in place.
6
Line up hole in mount with the hole on the
underside of the optical tube as shown above.
9
Remove knurled finderscope nuts from the
optical tube.
.
.
803
5955
Advertisement
Table of Contents

Related Manuals for Celestron PowerSeeker 50


Summary of Contents for Celestron PowerSeeker 50
- Page 1 PowerSeeker 50 Item# 21039 Your PowerSeeker 50 includes: optical tube w/ lens shade attached; tripod with center support bracket; three eyepieces; a 3x barlow lens, star diagonal, finderscope with bracket; The Sky™ CD software; documentation including owner’s manual. All three legs should be the same length to provide a level platform for the telescope.
- Page 2 Insert the diagonal into the focuser and tighten the set screw to secure in place. Remove the plastic cap on the diagonal. To observe, look through the telescope as shown above. For detailed usage information please consult your owner’s manual.
Need help?
Do you have a question about the PowerSeeker 50 and is the answer not in the manual?
Questions and answers