Advertisement
Quick Links
Advertisement

Related Manuals for Grundig RCD 400


Summary of Contents for Grundig RCD 400
- Page 1 H I F I C D R E C E I V E R R C D 4 0 0...
- Page 2 Index Deutsch Português Svenska Installation .......4 Instalação.......48 Installation ......92 Bedienungselemente ....5 Elementos de manejo ....49 Kontroller .......93 Display........6 Display ........50 Display ........94 Fernbedienung ......6 Telecomando ......50 Fjärrkontrollen ......94 Verstärker ........7 Amplificador......51 Förstärkaren ......95 Radio........8-10 Rádio ........52-54 Tunern .......96-98 CD ........11-12 CD ........55-56 CD ........99-100 Uhr und Timer ......13...
- Page 3 Index Deutsch Seite 4 ........English page 15 ........Français page 26 ........Italiano pagina 37 ........Português página 48 ......∂ DANSK • Typemærkaten er placeret på bagsiden af apparatet. • Bemærk: Netafbryderen er sekundært indkoblet og afbryder ikke strømmen Español fra nettet.
- Page 4 Installation Power supply connection • Only connect the unit to a 230V~, 50/60 Hz a.c. power source. • Always ensure that the voltage indicated on the unit's rating plate agrees with you local power supply. • If this is not the case, consult your dealer or customer service center. The rating plate is found on the back of the unit.
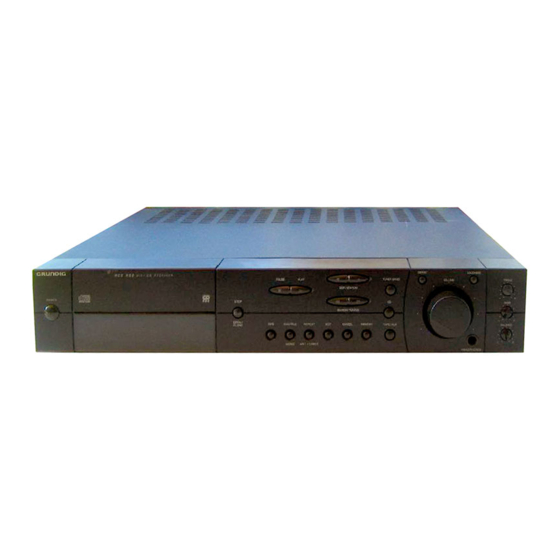
- Page 5 Operating elements SKIP/STATION STOP SEARCH/TUNING TUNER BAND TAPE/AUX DEFEAT LOUDNESS OPEN/CLOSE PAUSE ; PLAY B VOLUME POWER DEFEAT R C D 4 0 0 H I F I C D R E C E I V E R DEFEAT LOUDNESS LOUDNESS TREBLE TREBLE...
- Page 6 Display Remote Control Display Remote Control Changing the batteries SHUFFLE REPEAT REMAIN TOTAL If the range of your infrared remote ######## PROGRAM ANTENNA CABLE control seems to decrease, or if TUNED certain individual functions can no SLEEP longer be carried out, you should replace the batteries.
- Page 7 Amplifier part Switching on and off Sound control When you want to switch your receiver on, press the POWER button. The red VOLUME The volume can be adjusted with the rotary VOLUME knob. LED in the middle of the button indicates that the unit is on. The volume can also be controlled via the remote control with the VOLUME +/–...
- Page 8 Radio Switching on Automatic station search • Select the radio input by pressing the TUNER BAND button. • To activate automatic station search (AUTO TUNING), press TUNING Q or R until the frequency display begins 'to run'; then release the button. –...
- Page 9 Radio Station memory Calling up a stored station 59 memory locations are available for storing stations. • When you want to call up a stored station, press STATION O P . The stations are called up in ascending or descending order. •...
- Page 10 Radio RDS Radio Data System Programme type PTY (on the remote control) Your unit is capable of receiving and evaluating RDS information which is broad- RDS allows you to select FM stations according to programme type. There are casted along with the normal broadcast signal. The channel name is displayed and 16 programme categories.
- Page 11 General information Changing the display • You can call up various information in the display by pressing the INFO To remove a CD from its case, hold it on its button on the unit or the button on the remote control. outside edge with the index finger and thumb.
- Page 12 Programming Programme playback You can programme your own track sequence for each CD. • To play the programme you have created, press B (PLAY). The order of the programmed tracks determines the order in which they are – All functions of the playback mode continue to function. played.
- Page 13 The Clock and Timer Setting the clock The SLEEP function (on the remote control) Your unit has a 24 hour clock. Your unit is provided with a sleep function which switches the unit off after a set • Select STANDBY mode with the POWER button. time has elapsed.
- Page 14 Important information Technical data Caring for the unit Amplifier part Wipe the housing clean with a soft, dry and antistatic cloth. Output power (DIN45500): Polishing and cleaning agents can damage the surface of the housing. Music (4 Ω)...............2 x 50 W Nominal (4 Ω, 0.7% dist., 1 kHz) ........2 x 30 W Trouble shooting Input sensitivity / impedance:...
- Page 15 GRUNDIG AUDIO INTERNACIONAL 0 4701 BRAGA 0 PORTUGAL 0 1 2 3 4 5 6 7 8 9 /YS 895...
Need help?
Do you have a question about the RCD 400 and is the answer not in the manual?
Questions and answers