Advertisement
Quick Links
Advertisement

Related Manuals for Dometic SKYSCREEN


Summary of Contents for Dometic SKYSCREEN
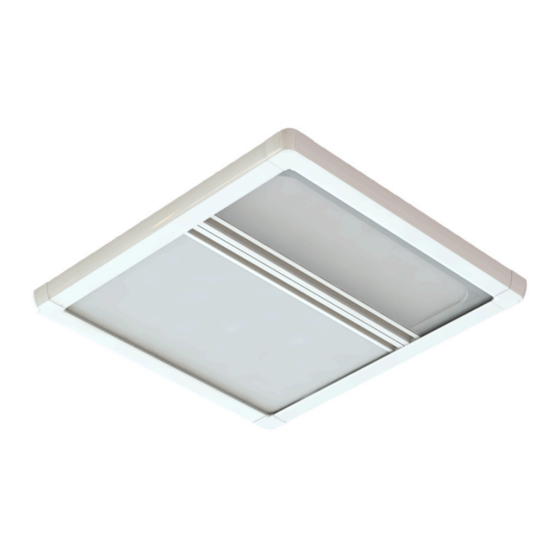
- Page 1 SKYSCREEN Roller Surface 2 Assembly, Tensioning & Installation Instructions Parts Diagram...
- Page 2 Page 2 of 8 Assembly instructions Unpack SKYSCREEN using suitable implement to avoid damaging contents and lay SKYSCREEN out as shown. Contents: A. Blind/Fly Cassettes - 2 off B. Side Rail - 2 off Lay cassette and side rail face down as shown. Line up and slot corner radius into side rail.
-
Page 3: Spring Tension
Page 3 of 8 Tensioning the Blind or Fly The SKYSCREEN Is assembled and tested before shipping and does not need tensioning. However if tensioning is lost for any reason, please follow the steps below. With the screen facing you, the tension adjustment is located under the right hand top screw cover Remove screw cover and turn the SKYSCREEN over. - Page 4 Ensure that the SKYSCREEN is the correct way up and in the desired orientation. • Make sure that the SKYSCREEN is not twisted; distortion will damage the blind and affect operation. Open screw covers as shown. Turn over and remove protective covers from adhesive pads in each corner.
- Page 5 Oceanair Kit Part No. Kit Description Item No’s AC-SRS-SCREWCAP-W/B *4 Corner moulding screw cover white or beige 2 - 2 off, 5 - 2 off © Dometic UK Blind Systems Ltd 2019 Tel: +44 (0)1243 606909 www.dometic.com OAT00421 Issue 03 February 2019...
- Page 6 Page 6 of 8 Notes...
- Page 7 Page 7 of 8 Notes...
- Page 8 © Dometic UK Blind Systems Ltd 2019 +44(0)1243 606909 Part No. 700000288 Issue 03 February 2019...