Table of Contents
Advertisement
Quick Links
Advertisement
Table of Contents

Related Manuals for Cambridge Audio incognito AS10


Summary of Contents for Cambridge Audio incognito AS10
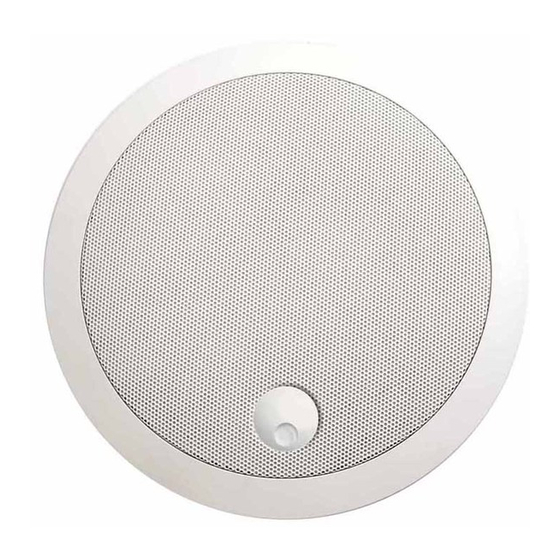
- Page 1 AS10...
-
Page 2: Table Of Contents
CONTENTS Introduction ...3 Preparing the location ...4 Mounting the AS10 ...5 Painting the frame and grille ...5 Care and maintenance ...5 AS10-A rear connections ...6 Connecting the AS10 ...7 Wiring guide...8 Using the remote handset ...8 Sound adjustment functions ...9 Advanced features ...10... -
Page 3: Introduction
These neat components are the only visual clues to an Incognito equipped room. The AS10 is based on the A-BUS standard and can be used with other manufacturers equipment based on this standard. Note that different modes of operation are possible and it is very important that the instructions within this guide are read and followed or the unit may not operate correctly. -
Page 4: Preparing The Location
Great care should be taken to ensure that all building regulations are followed. If in doubt consult an expert. When placing the AS10 speakers, thought should be given to positions which give the best desired sound coverage throughout a room, while not interfering with existing or planned light fittings or joists. -
Page 5: Mounting The As10
Remove grille by inserting a small hook or similar small implement into one of the grille openings, then pulling on the grille. For AS10-A, carefully disconnect the IR connector lead before proceeding (see fig.1 below). Fit the clear plastic painting mask provided when painting the speaker surround to avoid getting paint getting on the speaker cone. -
Page 6: As10-A Rear Connections
AS10-A REAR CONNECTIONS 6 Incognito active ceiling speakers 1 – Connection to AH10 or A-BUS ready/Incognito ready socket via Cat-5/5E cable 2 – Optional independent local power socket 3 – Stereo/Mono jumper (CN17) 4 – Local input 5 – Preamp output 6 –... -
Page 7: Connecting The As10
The Cat-5 connection from AH10 to the AS10-A should not exceed 30m /100 ft. 2. The AS10-A is then connected to the AS10-P using either a run of high-quality speaker cable (preferred) or Cat-5e cable (optional) terminated at 8-way colour-coded punch down connections (all eight cores must be connected). -
Page 8: Using The Remote Handset
USING THE REMOTE HANDSET The AS10 s are operated via the LR10 which is a learning remote control capable of controlling not only the AS10 but also the source equipment. 1. Local Switches to local input (where fitted). 2. CCTV Selects CCTV source on the VH10 if fitted. -
Page 9: Sound Adjustment Functions
Adjust Balance using volume Press Select button three times: buttons (Up=towards right, Three bleeps will sound Down=towards left) AS10 A-BUS Active ceiling speakers Fader (if applicable) Adjust audio levels between main Press Select four times: speakers, and any extra equipment... -
Page 10: Advanced Features
It is possible to install a piece of source equipment to be used local to the room that contains the AS10. This might be a games machine or CD player in the bedroom, for example. There are two ways of... -
Page 11: As10-A Jumper Settings
In instances where it is desired to fit only one speaker (ie in a small room such as a bathroom), the AS10-A (active) speaker can be set to mono mode, and the AS10-P (passive) speaker not used. The active speaker then reproduces both left and right signals combined. -
Page 12: Troubleshooting
Check that the interconnects are inserted correctly. The sound is distorted or garbled Check aerial connections and placements. There is a hum coming from the speaker Ensure that all cable connections are secure. There is unwanted background noise and interference Move the tuner or other source away from electrical equipment that is likely to cause interference. -
Page 13: Limited Warranty
If your dealer is not equipped to perform the repair of your Cambridge Audio product, it can be returned by your dealer to Cambridge Audio or an authorised Cambridge Audio service agent. You will need to ship this product in either its original packaging or packaging affording an equal degree of protection. - Page 14 AS10...
Need help?
Do you have a question about the incognito AS10 and is the answer not in the manual?
Questions and answers