Table of Contents
Advertisement
Quick Links
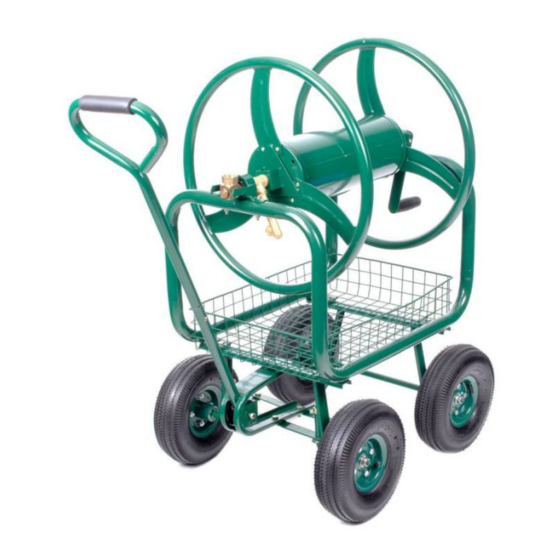
Hose Reel Cart
Model Number 100205219
Assembly and Operating Instructions
NOT INCLUDED!
GARDEN HOSE & ACCESSORIES
Keep this manual for future reference
This instruction manual contains important information necessary for the proper assembly and safe use of this
product. Read and follow all warnings and instructions before assembling and using this product. Failure to
follow these instructions and warnings could result in damage to the product or injury to the user.
100205219
Advertisement
Table of Contents

Related Manuals for HydroSure 100205219


Summary of Contents for HydroSure 100205219
- Page 1 Hose Reel Cart Model Number 100205219 Assembly and Operating Instructions NOT INCLUDED! GARDEN HOSE & ACCESSORIES Keep this manual for future reference This instruction manual contains important information necessary for the proper assembly and safe use of this product. Read and follow all warnings and instructions before assembling and using this product. Failure to follow these instructions and warnings could result in damage to the product or injury to the user.
- Page 2 PRODUCT CARE: Do not use a compressor to inflate tyres. This could damage tubes and tyres. Always drain water before placing in storage. Store inside during winter to avoid frost damage. Do not drink water from the hose. 100205219...
- Page 3 M 8 x 20mm Screw - 4 Pieces (§} 12mm Flat Washer, Split Washer & Nut- 4 Sets . © � @(Q)@ � M5 x 15 Screw & Washer - 12 Sets � lo! i @jjl,H@D @Leader Hose - 1 Piece 100205219...
- Page 4 Attach two Tyres (D) onto the Front Axle (C) and ensure the longer part of the tyre’s mounting hole is facing inward. Tighten with 12mm Flat Washers, Split Washers & Nuts (M). Attach the remaining two Tyres (D) to the Rear Axle (B) using the same process. / Adjustable Spanner 100205219...
- Page 5 Step 3 Attach Wheel with Brass Coupling (E1) and Wheel with Handle Axle (E2) to either side of the Drum (E3) using M5x15mm Screws & Washers (N). Phillips Screwdriver ® Step4 Place the completed Hose Drum Assembly (E) onto the U-Shape Frame (A), ensuring that the water inlet (with the Bearing Bracket) in on the same side of the cart as the Front Axle (C).
- Page 6 Connect the Pull Handle (H) to the short handle bar using M6x30mm Screw, Flat Washer, Split Washer & Nut (J) as shown. Phillips Screwdriver ✓ Adjustable Spanner NOTICE: There is one BIG hole and one SMALL hole in the Short Handle Bar. Insert the screw into the larger of the two holes. 100205219...
- Page 7 Attach the make coupling end of the Leader Hose (O) to the Water Coupling (E1) as shown and tighten securely. ✓ Adjustable Spanner The hose reel cart is now complete and ready for use. Just connect your own garden hose to the Brass Adapter, and turn the Handle (G) to wind hose onto cart. 100205219...
Need help?
Do you have a question about the 100205219 and is the answer not in the manual?
Questions and answers