Table of Contents
Advertisement
Advertisement
Table of Contents

Related Manuals for Redpost RPC-80

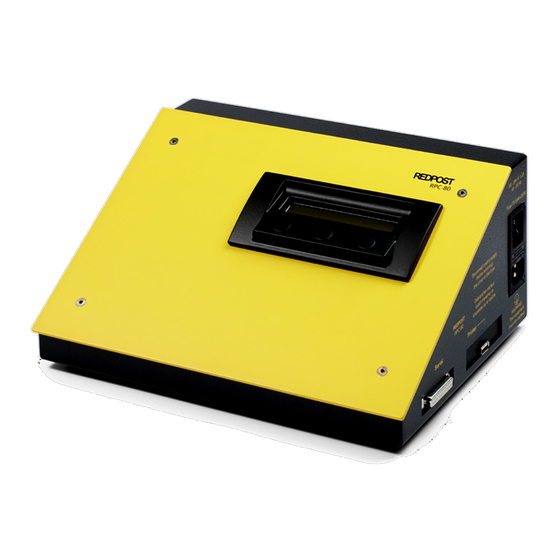
Summary of Contents for Redpost RPC-80
- Page 1 RPC-80 Playback unit Manual 2 – Configuration...
-
Page 2: Table Of Contents
GENERAL OPERATION .................... 4 THE MAIN MENU....................... 6 GENERAL FORMAT SETUP.................. 6 PU CALCULATION SETUP..................9 MONITOR SETUP....................11 RPC-80 SETUP ....................13 FULL LIST SETUP ....................15 PRINTER SETUP ....................16 EXTERNAL LINK SETUP ..................17 "DIALOG" LANGUAGE ..................19 DATA TRANSFER TO PERSONAL COMPUTER .......... -
Page 3: General Description
These instructions for configuration are offered in a separate manual because it is not necessary for everybody involved with the day to day operation of the RPC-80 to be familiar with them. This manual assumes that you are reasonably familiar with the normal operation of the RPC-80 as described in Manual-1. -
Page 4: General Operation
GENERAL OPERATION The display and the buttons The general principle behind the controls of playback unit is covered in Manual-1 and repeated here with an extra section on setting letters for such things as channel names. The two line display tells you what is going on or asks you a question using the top line. - Page 5 When all the digits have been adjusted the display changes again to the one with two buttons labelled OK and C . This gives you a chance to change your mind HANGE if you have made a mistake. If everything is correct press OK. When changing the digits you will notice that only numbers that make sense in any particular situation are possible.
-
Page 6: The Main Menu
Some of the older 100 Series PU monitors are programmed with French language text and displays. When these monitors are used with the RPC-80 they produce text and displays in the language set here by the menu. - Page 7 If the theoretical volume of the head space of the container is known and entered into the RPC-80 then the unit can make a first order correction for the error. The pressure sensor connections must be cleaned out after each run so that the pipe and coupling are empty if this error correction is to operate correctly.
- Page 8 RAPH ORMATS by pressing the C button. If you continue by pressing the OK button you can ANCEL make further changes to the formats. All the graph format settings are printed on the Status Report for the RPC-80. See Manual-1.
-
Page 9: Pu Calculation Setup
The PU Cut-off temperature is initially set to 50ºC (122 ºF) but you can set any temperature that you require. Higher settings will give a more conservative picture of total PU achieved. The Cut-off temperature that you choose will apply to all PU monitors that use this RPC-80. - Page 10 The PU calculation and Cut-off temperature that you choose will apply to all PU monitors that use this RPC-80 playback unit. This means, for the 100 & 300 Series monitors, that their own internal settings for PU calculation and Cut-off will be over- ridden.
-
Page 11: Monitor Setup
RPC-80 at the time. The monitor must be switched on and connected before you start the setting procedure. Switch on the monitor before connecting it to the RPC-80. Active channel setup At first the S... - Page 12 Monitor ID setup Each monitor can be given its own identification, which is separate from the manufacturer's serial number. This ID can be your own factory instrument number or similar identification. The ID will appear on the printed results page. This type of ID may be required for BS 5750 (ISO 9000).
-
Page 13: Rpc-80 Setup
You can select the frequency of the checks in this part of the configuration section. Each time a monitor is connected to the RPC-80 it first finds out how recently the cal- check has been performed on that monitor and whether all channels passed. The RPC-80 then calculates if another check is due according to the chosen setting. - Page 14 The battery should last approximately ten years but we recommend that you replace it every seven years. The date that the battery is fitted is saved in the RPC-80 and a warning starts to be issued every week after the battery is seven years old.
-
Page 15: Full List Setup
FULL LIST SETUP This section covers the control of full list printing. As well as the normal graph and results it is possible to obtain a printed list of all the recorded data from a PU monitor. This will be printed after the main results page. In this part of the configuration section it is possible to choose the circumstances under which the full list will be printed. -
Page 16: Printer Setup
A list of currently recommended printer types can be supplied upon request. If the RPC-80 is supplied together with a printer then it is despatched set ready for that printer. All printers are used for black printing only even if they are capable of printing in colour. -
Page 17: External Link Setup
Clear to Send (CTS) is an input to the RPC-80 that controls the transmitter in the RPC-80. The signal comes from the RTS or DTR output of the external computer. When CTS is On the RPC-80 will transmit its data, when CTS is Off the RPC-80 will wait and not transmit. - Page 18 RTS is off the external computer must wait and not transmit. During Hard Handshake the characters used for Soft Handshake control should not be used. If they are received by the RPC-80 they will be treated as normal data characters which may produce errors. Soft Handshake In the Soft Handshake system the handshaking is managed without extra signal connections by sending handshake characters mixed in with the data characters.
-
Page 19: Dialog" Language
The firmware update kit includes a computer disc, the required connecting lead and full instructions. When the RPC-80 is first switched on the display shows the code letter for the firmware version currently installed. It appears as a letter in square brackets, e.g. [S]. -
Page 20: Finished Setup : Exit
FINISHED SETUP : EXIT Choose this option when you have finished using the configuration section. The RPC-80 playback unit will return to normal operation. All the settings you have made will apply to the next print out that you make and will remain in force until you change them.
Need help?
Do you have a question about the RPC-80 and is the answer not in the manual?
Questions and answers