Table of Contents
Advertisement
Quick Links
Advertisement
Table of Contents

Related Manuals for Redpost RPC-80

Summary of Contents for Redpost RPC-80
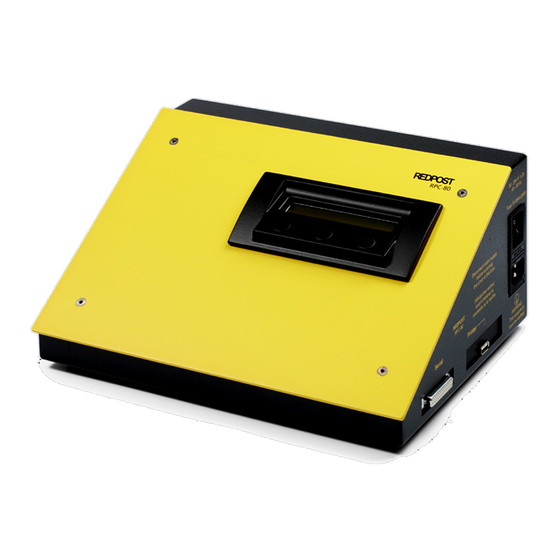
- Page 1 RPC-80 Playback unit Manual 1 – Operation...
-
Page 2: Table Of Contents
SAFETY, CONFORMITY & SPECIFICATION............3 INSTALLATION ......................4 DIAGRAM OF CONNECTORS ................5 PRINTERS AND PAPER ................... 7 OPERATING THE RPC-80 PLAYBACK UNIT ............9 GETTING STARTED ....................9 AFTER PRINTING ....................10 DETAILED DESCRIPTION OF OPERATION............11 PU MONITORS..................... 12 SETTINGS ...................... -
Page 3: Safety, Conformity & Specification
There are no operator controls inside the equipment. The equipment case should be opened only by a competent service person. When you use the RPC-80 with any of the Redpost 100 series PU monitors (RPU-120, RPU-122 or RPT-122) always do so in a well ventilated room. Do not allow smoking or naked flames nearby. -
Page 4: Installation
USB to Serial Converter Redlink Software Find a place to set up the RPC-80 on a firm bench where you will have sufficient room to place the PU Monitor alongside. Printer Unpack the printer and any accessories such as power supply and ink cartridges. You should refer to the printer's manual for information about assembling it, installing ink or toner cartridges and loading paper. -
Page 5: Diagram Of Connectors
DIAGRAM OF CONNECTORS Connecting the cables – right side 1) Connect the mains cable to the RPC-80 but don't switch on yet. The RPC-80 mains input accepts all nominal AC voltages in the range 100 to 250 vAC. 2) Connect the USB data cable between the printer and the RPC-80 playback unit. This cable has a different size plug at each end and may be connected only one way round. - Page 6 Connecting the cable – left side Plug the RED 80-100/200 data cable into the RPC-80 so that it is ready to connect to your PU Monitor. Push the plug home until it clicks. To remove this plug you press the button above the socket.
-
Page 7: Printers And Paper
65g and 90g as recommended in the printer's manual. If you are using paper that is not A4 size then you must configure the RPC-80 to suit. Please see RPC-80 Manual-2 – “Printer Setup”. The only change to the printer will be the setting of the left-hand paper guide. - Page 8 Print head cleaning. The first time you switch on an ink-jet printer after fitting a new ink cartridge most printers automatically start the print head cleaning cycle to ensure good print quality from the new cartridge. Some printers will also print a test page.
-
Page 9: Operating The Rpc-80 Playback Unit
OPERATING THE RPC-80 PLAYBACK UNIT Position the RPC-80 where there is ample room for the printer and the PU Monitor to stand beside it. Keep the RPC-80 and the printer way from possible sources of water splashing such as laboratory sinks. The RPC-80 unit is not waterproof. -
Page 10: After Printing
RPC-80.) If you disconnect the monitor before erasing the files the RPC-80 will warn you and ask for the monitor to be re-connected. Until you erase the files you have printed out you will not be able to record any more. -
Page 11: Detailed Description Of Operation
DETAILED DESCRIPTION OF OPERATION The display and the buttons The Getting Started section illustrated the general principle behind the controls of playback unit. The display tells you what is going on or asks you a question using the top line. The bottom line is used to label the three buttons. -
Page 12: Pu Monitors
PU MONITORS When the RPC-80 is used with a PU monitor you can add the following features to the basic operating mode. The configuration section is covered in detail in Manual-2. Cal-check The Cal-check or calibration check feature of the 200 & 300 series monitors performs a simple test that checks the monitor input circuit and input socket. - Page 13 Full List If the Full List option is enabled the list will be printed after the main results page. In the configuration section it is possible to choose the circumstances under which the list will be printed. Depending on the setting you may be asked if you want the list printed or printing may take place automatically with no choice.
-
Page 14: Settings
The clock in the RPC-80 is the "master clock" for the time of day marked on each recording of the 200 & 300 series monitors. This keeps all the monitors in one installation running perfectly in step with one another. - Page 15 Incomplete firmware update. The most recent firmware update was not successful. Possibly you switched off the RPC-80 or disconnected it from the PC before the update process was complete. The RPC-80 will not operate correctly until new firmware has been successfully installed.
-
Page 16: See Manual Page
The battery should last approximately ten years but we recommend that you replace it every seven years. The date when the battery is fitted is saved in the RPC-80 and a warning starts to be issued every week after the battery is seven years old. It may be that you overlooked this warning. -
Page 17: C (Communications)
There has been an error in the communications between the monitor and the RPC-80. The cable that connects the monitor to the RPC-80 may have become disconnected. Never unplug this cable until the "Printing Finished" message shows and the charge rate has reduced to trickle charge. -
Page 18: M (Memory)
In addition, because this memory controls so many of the functions of the RPC-80 the following other items will have been lost; the optional channel names will have all been replaced by blank entries and the clock time will have returned to 00:00:00 on 1st January 1992. - Page 19 If you are using the equipment for the first time, check that the RPC-80 is correctly configured for your type of printer. (See Manual-2 “Printer setup”.) Check that you have removed all packaging materials from the printer.
-
Page 20: P (Printer)
The printer you have connected is not of the expected type or is not from the expected manufacturer. If you are using the equipment for the first time or have changed the printer, check that the RPC-80 is correctly configured for your type of printer.
Need help?
Do you have a question about the RPC-80 and is the answer not in the manual?
Questions and answers