Advertisement
Quick Links
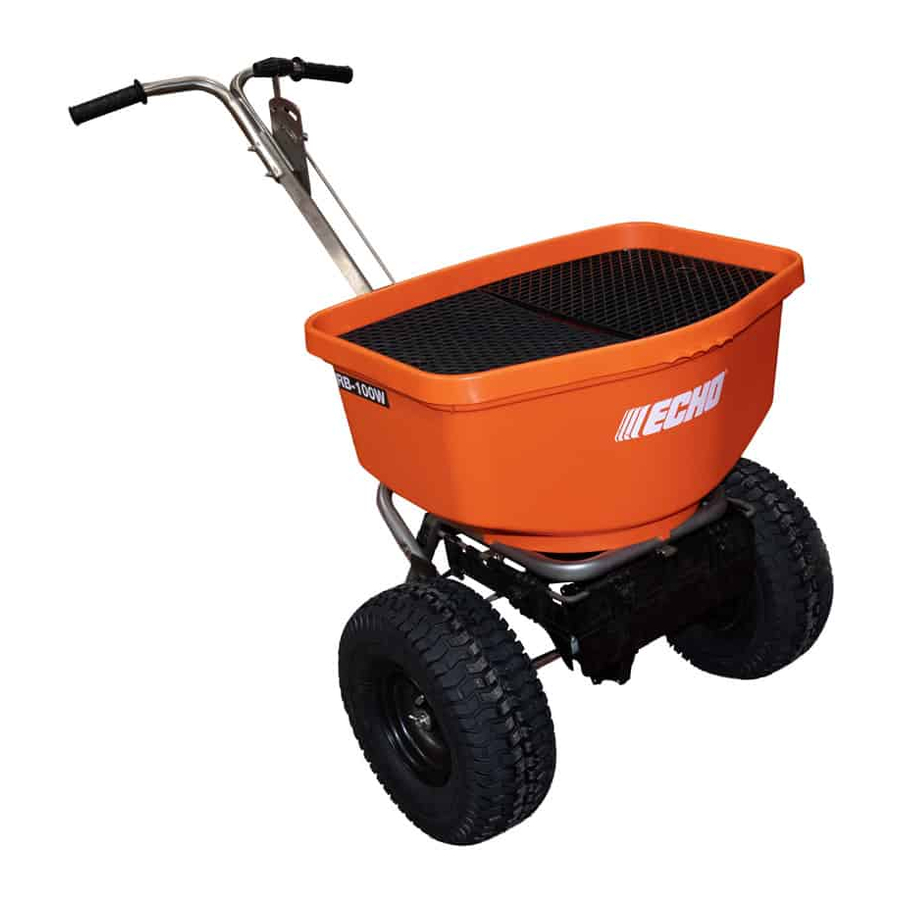
RB-100W
Broadcast Spreader
Operator's Manual
SERIAL NUMBER
NÚMERO DE SERIE
N28900001001 - N28900999999
ECHO, INCORPORATED
99922205486
400 Oakwood Road, Lake Zurich, Illinois 60047
WWW.ECHO-USA.COM
Revised 9/24/2019
©2019 ECHO, Incorporated. All Rights Reserved
016676 R1120
Advertisement

Subscribe to Our Youtube Channel
Related Manuals for Echo RB-100W


Summary of Contents for Echo RB-100W
- Page 1 RB-100W Broadcast Spreader Operator’s Manual SERIAL NUMBER NÚMERO DE SERIE N28900001001 - N28900999999 ECHO, INCORPORATED 99922205486 400 Oakwood Road, Lake Zurich, Illinois 60047 WWW.ECHO-USA.COM Revised 9/24/2019 ©2019 ECHO, Incorporated. All Rights Reserved 016676 R1120...
- Page 2 WARNING Carefully Read These Instructions Before Use IMPROPER USE OR FAILURE TO FOLLOW INSTRUCTIONS CAN RESULT IN PRODUCT FAILURE OR INJURIES. FOR SAFE USE OF THIS PRODUCT YOU MUST READ AND FOLLOW ALL INSTRUCTIONS BEFORE USING. WARNING: Cancer and Reproductive Harm. www.P65Warnings.ca.gov.
- Page 3 Contents: Contenido: Contenu: Spreader Hardware (Actual size) Accesorios para esparcidor (tamaño real) Quincaillerie de l’épandeur (taille réelle) M4 x 10mm Screw H-14 H-1 (X4) M5 x 35mm Hex Flat Washer Locking Nut with Bolt and M5 Cotter Pin Tooth Washer Nylock Nut M6 x 45mm Hex Bolt and M6...
- Page 4 TOOLS NEEDED: HERRAMIENTAS REQUERIDAS: 8 mm 10 mm OUTILS REQUIS: 8 mm 10 mm Spreader Components (Not Actual size) Componentes de la esparcidor (no en tamaño real) Composants de l’épandeur (taille non réelle) Impeller Wheels Gear Box Handle Actuator Rod Gear Box Shaft Rain Cover Hopper Assembly...
- Page 5 Handle Grip Assembly Ensamble de la manija / Assemblage de la poignée H-11 H-11 Note: Hopper not shown in drawing for clarity. Nota: No se muestra la tolva en el dibujo para clarificar. Remarque : La trémie n’est pas montrée sur le schéma pour plus de clarté.
- Page 6 Assemble Impeller to Gear Box Sujete el impulsor a la caja de velocidades / Assembler l’impulseur au boîtier d’engrenage Assemble Impeller to Gear Box Shaft Sujete el impulsor al eje de la caja de velocidades / Assembler l’impulseur sur l’arbre du boîtier d’engrenage Note: Hopper not shown in drawing for clarity.
-
Page 7: Assemble Wheels
Assemble hex bolt (H-4) through gear box shaft (C-6) and attach nylock nut (H-14). Pase el perno hexagonal (H-4) por el eje de la caja de velocidades (C-6) y fíjelo con la tuerca nylock (H-14). Assemblez le boulon hexagonal (H-4) à travers l’arbre du boîtier d’engrenage (C-6) et attachez un écrou nylock (H-14). Note: Hopper not shown in drawing for clarity. - Page 8 Bolt installation on inside of wheel Instalación de los pernos en el interior de la rueda. Installation du boulon à l’intérieur de la roue Bend Cotter pin installation on outside of wheel Instalación del pasador de chaveta en el exterior de la rueda. Installation de la goupille fendue à...
- Page 9 Choose spiked auger for use with dense materials that have a tendency to clump or have a higher moisture content. Seleccione el barreno con púas para usarlo con materiales densos que tengan tendencia a aglutinarse o que tengan un contenido de humedad más alto. Choisissez une vis d’alimentation pointue pour une utilisation avec des matières denses qui ont une tendance à...
- Page 10 Rotary Rod Adapter Assemble first H-7 nut to linkage C-5 Adaptador de la varilla rotatoria. as shown. Assemble C-5 to Rotary Rod Adaptateur de la tige rotative. Adapter as shown. Attach second H-7 nut to C-5 linkage. Coloque la primera tuerca H-7 en la unión C-5 como se muestra.
- Page 11 Adjust Gate Control Ajuste el control de la compuerta / Ajuster le contrôle de la vanne Before setting gate, make sure the Hex Nuts (H-7) are positioned as shown. Antes de instalar la compuerta, asegúrese de que las tuercas hexagonales (H-7) estén en posición como se muestra. Avant de régler la vanne, s’assurer que les écrous hexagonaux (H-7) sont positionnés comme il est montré.
- Page 12 Set gate control (C-4) in forward position as shown. Fije el control de la compuerta (C-4) en posición delantera como se muestra. Régler le contrôle de la vanne (C-4) en position vers l’avant, comme il est montré. With the slide gate closed and the gate control arm in the closed position, tighten the Hex nuts to the bracket as shown. Con la compuerta deslizante cerrada y el brazo de control de la compuerta en posición cerrada, apriete las tuercas hexagonales al soporte como se muestra.
-
Page 13: Storage And Maintenance
STORAGE AND MAINTENANCE • Use garden hose to wash down the spreader after each use. Some ice melt products, such as magnesium chloride will cause rusting to any stainless steel in wet conditions. • Be careful not to direct the spray directly onto the gear box. •... - Page 14 Impeller & Securing Screw Assembly / Ensamble de tornillos de propulsión y fijación / Assemblage de l’impulseur et de la vis de blocage (1) RB-100W Tire & Rim Assembly 12”/ (1) RB-100W Ensamble de llanta y rin de 12”/ (1) Ensemble jante et pneu RB-100W de 12 po Handle Grips (2)/ Cubiertas de manijas (2) / Poignées (2)
- Page 15 1.800.432.3246 Your Serial number is located on the lower back of the hopper.
- Page 16 • Units for rental use will be covered against defects in material and workmanship for a period of 90 days from the date of purchase except for any of the above listed EXCEPTIONS. ECHO does not offer an over the counter exchange program. Any ECHO product re-built other than by ECHO or sold through an unauthorized dealer, or an unauthorized outlet store, is sold without ECHO’s limited warranty coverage.
Need help?
Do you have a question about the RB-100W and is the answer not in the manual?
Questions and answers