Lifetime 60215 Assembly Instructions Manual
Deck box
Hide thumbs
Also See for 60215:
- Assembly instructions manual (32 pages) ,
- Assembly instructions manual (32 pages)
Table of Contents
Advertisement
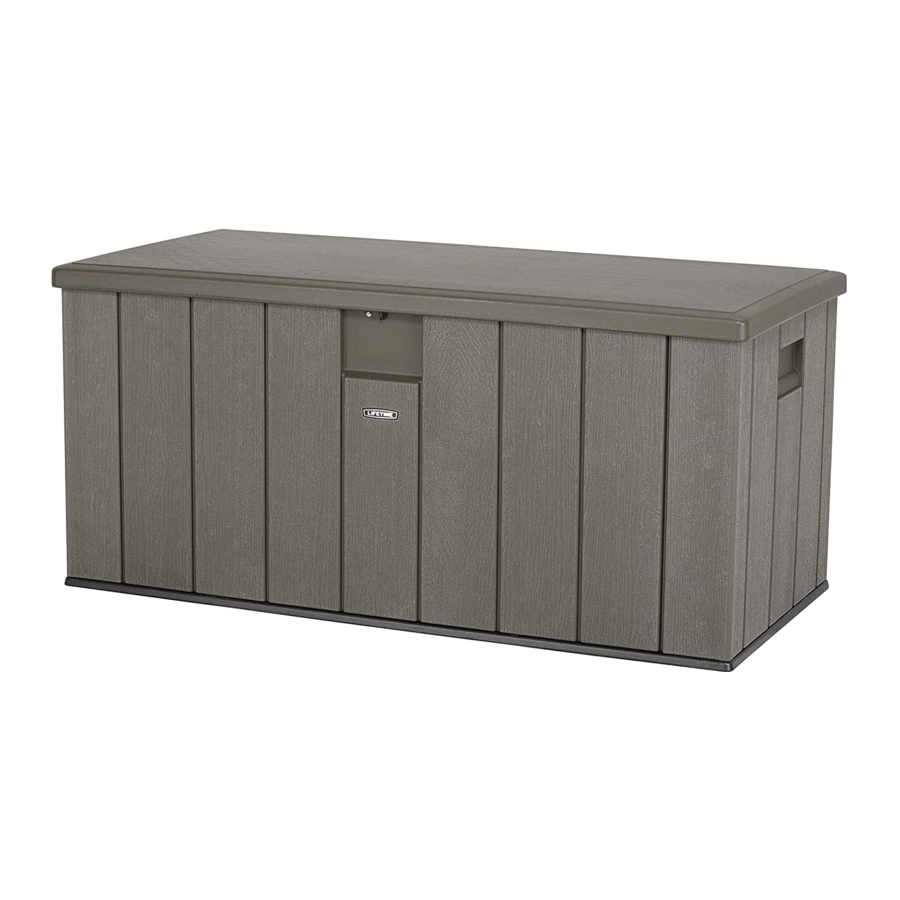
150-GALLON (567.8 L)
DECK BOX
MODEL #60091
MODEL 60215
BEFORE ASSEMBLY:
• Assemble on a level surface
• 2+ people are recommended for setup
FOR DOMESTIC USE ONLY!
IMPORTANT, RETAIN FOR FUTURE REFERENCE: READ CAREFULLY.
TOOLS REQUIRED
7/16" (11 mm)
QUESTIONS?
CONTACT LIFETIME CUSTOMER SERVICE:
Call: 1-800-225-3865
7:00 am-5:00 pm (Monday-Friday) MST
and 9:00 am-1:00 pm Saturday MST
3/8" (10 mm), 7/16" (11 mm),
1/2" (13 mm)
1/2" (13 mm)
Live Chat: www.lifetime.com
(click on "LIVE CHAT" tab)
Video Instructions:
www.youtube.com/lifetimeproducts
ASSEMBLY INSTRUCTIONS
MODEL# AND PRODUCT ID
Model Number: 60215
Product ID:
TABLE OF CONTENTS
Icon Legend...............................3
Warnings & Notices.....................4
Parts Identifi er............................5
Box Assembly.............................6
Lid Assembly............................12
Additional Warnings..................22
Cleaning & Care........................23
Registration............................24
Warranty..................................25
Import Information...................27
(you will need both when contacting us)
Advertisement
Table of Contents

Related Manuals for Lifetime 60215


Summary of Contents for Lifetime 60215
-
Page 1: Table Of Contents
1/2" (13 mm) Additional Warnings....22 Cleaning & Care......23 Registration......24 Warranty........25 Import Information....27 QUESTIONS? CONTACT LIFETIME CUSTOMER SERVICE: Live Chat: www.lifetime.com MODEL# AND PRODUCT ID Call: 1-800-225-3865 (you will need both when contacting us) (click on “LIVE CHAT” tab) Model Number: 60215 7:00 am–5:00 pm (Monday–Friday) MST... - Page 2 For English, see page 1. MODEL #60091 • • 7/16" (11 mm) 1/2" (13 mm) 3/8" (10 mm), 7/16" (11 mm), 1/2" (13 mm) 60215...
-
Page 3: Icon Legend
ICON LEGEND / 圖標圖例 • Indicates special heed should be taken when reading. • • Indicates the parts to be used for a section. • • Indicates no parts required for a specifi c section. • • Indicates the hardware to be used for a section. •... -
Page 4: Warnings & Notices
This includes features such as a water-resistant enclosures that help keep your things protected from rain, snow, and the elements. It should be noted that Lifetime storage boxes are not waterproof. The storage boxes are not meant for uses other than indoor and outdoor storage. -
Page 5: Parts Identifier
PARTS IDENTIFIER / HARDWARE REQUIRED / Hardware Bag / PARTS REQUIRED / Metal Parts / BET (x4) EZA (x1) AKF (x2) DRE (x1) DRD (x1) BEP (x2) AAO (x4) Plastic Parts / AMZ (x1) AGN (x1) ANC (x1) ANA (x1) AGY (x1) AND (x1) -
Page 6: Box Assembly
BOX ASSEMBLY / HARDWARE REQUIRED / Hardware Bag / Sac de quincaillerie Bolsa de herraje ADW (x26) DRC (x1) ADJ (x1) PARTS REQUIRED / Metal Parts / DRD (x1) Plastic Parts / AMZ (x1) AGN (x1) ANC (x1) ANA (x1) AGY (x1) TOOLS REQUIRED / 7/16"... - Page 7 SECTION 1 (CONTINUED) / TOOLS AND HARDWARE REQUIRED / • Insert the six (6) tabs at the bottom of the Rear Panel (ANA) into the six (6) slots in the Floor Panel (ANC). • (ANA) (ANC) • Slide the Rear Panel to the left until it stops.
- Page 8 SECTION 1 (CONTINUED) / TOOLS AND HARDWARE REQUIRED / • Repeat steps 1.1–1.2 for the Front Panel (AMZ). (AMZ) • Fold over the ends of the Left Side Panel (AGN), and insert the tabs at the bottom of the Panel into the slots in the Floor Panel.
- Page 9 SECTION 1 (CONTINUED) / TOOLS AND HARDWARE REQUIRED / ADW (x16) • Secure the Left Side Panel to the Rear Panel with four (4) Screws (ADW). Then, secure the Panel to Front Panel using four (4) more Screws (ADW). (ADW) •...
- Page 10 SECTION 1 (CONTINUED) / TOOLS AND HARDWARE REQUIRED / ADW (x10) • Insert a Screw (ADW) straight through each of the five (5) tabs on the Left Side Panel. (ADW) • Repeat step 1.8 for the Right Side Panel.
- Page 11 SECTION 1 (CONTINUED) / TOOLS AND HARDWARE REQUIRED / 7/16" (11 mm) DRC (x1) ADJ (x1) • Attach the Locking Tab (DRD) to the Front Panel using the hadware indicated. (DRD)
-
Page 12: Lid Assembly
LID ASSEMBLY / HARDWARE REQUIRED / Hardware Bag / BCK (x6) BES (x6) DRF (x4) AAB (x6) PARTS REQUIRED / Metal Parts / Plastic Parts / EZA (x1) AKF (x2) BEP (x2) AND (x1) DRE (x1) BET (x4) AAO (x4) TOOLS REQUIRED / 7/16", 1/2"... - Page 13 SECTION 2 (CONTINUED) / NO TOOLS AND HARDWARE REQUIRED / 7/16" (11 mm) 7/16" (11 mm) BES (x2) DRE (x1) AAB (x2) • Attach the Lid Locking Tab (DRE) to the Lid Support (EZA) using the hardware indicated. (DRE) (EZA) Notch / •...
- Page 14 SECTION 2 (CONTINUED) / NO TOOLS AND HARDWARE REQUIRED / • Insert an end of the Lid Support into the slot in the front corner of the Lid (AND). • (AND) Notch Front Rear • Rotate the Lid Support downward, and insert the opposite end into the slot in the front, right corner of the Lid. (AND)
- Page 15 SECTION 2 (CONTINUED) / NO TOOLS AND HARDWARE REQUIRED / 1/2" (13 mm) 1/2" (13 mm) BET (x2) AAO (x2) BCK (x6) • Use a drill to attach the Lid Support to the Lid using the hardware indicated. Do not overtighten. Front •...
- Page 16 SECTION 2 (CONTINUED) / NO TOOLS AND HARDWARE REQUIRED / DRF (x2) • Insert the left Hinge into the slot and rotate it downard as shown. The Ball Studs face toward the inside. • (BEP) • By design, the Screws (DRF) are slightly larger than the holes; therefore, it is easier to perform this step using a socket wrench.
- Page 17 SECTION 2 (CONTINUED) / NO TOOLS AND HARDWARE REQUIRED / 1/2" (13 mm) 1/2" (13 mm) BET (x2) AAO (x2) • The Hinge (BEP) goes together this way for the right side of the Lid. • (BEP) • Insert the right Hinge as you did the left. The Ball Studs face toward the inside. •...
- Page 18 SECTION 2 (CONTINUED) / NO TOOLS AND HARDWARE REQUIRED / DRF (x2) 2.10 • By design, the Screws (DRF) are slightly larger than the holes; therefore, it is easier to perform this step using a socket wrench. Do not overtighten. •...
- Page 19 SECTION 2 (CONTINUED) / NO TOOLS AND HARDWARE REQUIRED / 2.12 • Set the Hinges down onto the Rear Panel as shown. •...
- Page 20 SECTION 2 (CONTINUED) / NO TOOLS AND HARDWARE REQUIRED / 7/16" (11 mm) 7/16" (11 mm) BES (x4) AAB (x4) 2.13 • Secure the Left Hinge to the Side Panel using the hardware provided. Repeat the last step for the right Hinge. •...
- Page 21 SECTION 2 (CONTINUED) / NO TOOLS AND HARDWARE REQUIRED / AKF (x2) 2.14 • Orient the Gas Spring (AKF) as shown, and press until the Ball Studs snap into place in the ends of the Spring. • (AKF) 2.15 • Repeat the last step for the right Hinge. •...
-
Page 22: Additional Warnings
ADDITIONAL WARNINGS / • The Gas Spring helps prevent the automatic closing of the Lid. Do not open the Lid more than 90°. • < 90° > 90° WARNING • Keep fingers free of hinge. • This product is NOT a toy chest. This product is NOT intended for use by children. To prevent possible risk of suffocation, do NOT allow children to play inside this product. -
Page 23: Cleaning & Care
Congratulations on your Lifetime ® product purchase. By following the instructions below, your new Lifetime product should provide you with years of service and enjoyment. The polyethylene panels are stain and solvent resistant. Most stains can be removed using a mild soap and a soft-bristled brush. -
Page 24: Registration
. And you can rest assured that Lifetime ® will not sell or provide your personal data to other third parties, or allow them to use your personal data for their own purposes. We invite you to read our privacy policy at www.lifetime.com REGISTER today! WWW.LIFETIME.COM ®... -
Page 25: Warranty
5. This warranty is in lieu of all other warranties expressed or implied, including warranties of merchantability or fi tness ® for use to the extent permitted by Federal and state law. Neither Lifetime Products, Inc. nor any representative assumes any other liability in connection with this product. This warranty gives you specifi c legal rights, and you may also have other rights which vary from state to state (or province to province, as applicable in Canada). - Page 26 www.lifetime.com...
-
Page 27: Import Information
IMPORT INFORMATION / Costco Wholesale Korea, Ltd. Distributed by: 40, Iljik-ro Costco Wholesale Corporation Gwangmyeong-si P.O. Box 34535 Gyeonggi-do, 14347, Korea Seattle, WA 98124-1535 1899-9900 1-800-774-2678 www.costco.co.kr www.costco.com Importado por: Importadora Primex S.A. de C.V. Costco Wholesale Canada Ltd.* Blvd. Magnocentro No. 4 415 W. - Page 28 ® ENHANCE YOUR LIFETIME PURCHASE BY ADDING ACCESSORIES OR OTHER GREAT PRODUCTS ® To purchase accessories or other Lifetime products, visit us at: www.lifetime.com Or call: 1-800-424-3865 www.lifetime.com Made in China /...
Need help?
Do you have a question about the 60215 and is the answer not in the manual?
Questions and answers