Table of Contents
Advertisement
Available languages
Available languages
Quick Links
Advertisement
Table of Contents

Related Manuals for Eaton Cooper Lighting Galleon


Summary of Contents for Eaton Cooper Lighting Galleon
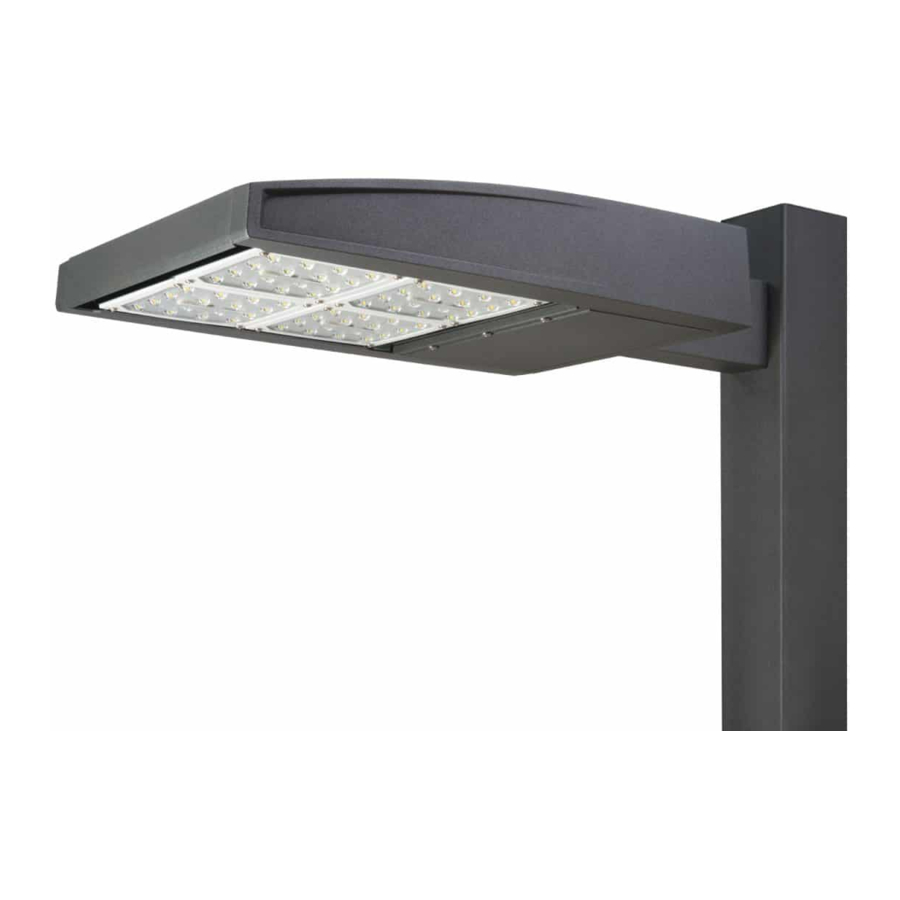
- Page 1 INS # IMI-811 Galleon LED Area/Site Luminaire Installation Instructions DEL Galleon Luminaire directionnel Instructions D’installation LED Galleon Luminaria para área o sitio Instrucciones De Instalación...
-
Page 2: Installation Instructions
Loosen (3) screws located in the access door of the during this step. fixture and open the door. Attach the supply side ground wire to the ground terminal connector (green wires). LED Area/Site Luminaire Installation Instructions IMI-811 ADH140439 www.eaton.com Galleon... - Page 3 Slide the included arm over the bolts as shown in FIG. 2. Make sure the angled portion of the arm matches the angle at the back of the fixture so that LED Area/Site Luminaire Installation Instructions IMI-811 ADH140439 www.eaton.com Galleon...
-
Page 4: Maintenance
Additional cleaning can be performed with non-abrasive Mast Arm acrylic cleansing solution. Adapter 3/8”-16 Carriage Bolt 1/2”-13 x 1-1/4” Mounting Bolt and Set Screws Lockwashers Insert Over Mast Arm LED Area/Site Luminaire Installation Instructions IMI-811 ADH140439 www.eaton.com Galleon... -
Page 5: Garantie Et Responsabilité
à l’angle à l’arrière du luminaire de posant vos mains sur les lentilles. manière à ce que l’ensemble soit de niveau. Le plus Luminaire Directionnel Instructions D’installation IMI-811 ADH140439 www.eaton.com DEL Galleon... - Page 6 12. Refermez le couvercle et serrez les trois vis de Détail Des Pièces De Montage manière à préserver l’étanchéité du luminaire. Luminaire Directionnel Instructions D’installation IMI-811 ADH140439 www.eaton.com DEL Galleon...
- Page 7 Faites très attention à ne pas Resserrez les vis. endommager les fils qui passent dans la crosse. Insérez l’interrupteur photo-électrique (ou fiche de mise en court-circuit) dans le réceptacle et tournez-le pour le verrouiller en place. Luminaire Directionnel Instructions D’installation IMI-811 ADH140439 www.eaton.com DEL Galleon...
-
Page 8: Entretien
être fait à l’aide d’un linge propre et sec afin de retirer toute la poussière et les autres contaminants. Il est possible de nettoyer l’appareil plus en profondeur à l’aide d’une solution de nettoyage acrylique non abrasive. Luminaire Directionnel Instructions D’installation IMI-811 ADH140439 www.eaton.com DEL Galleon... -
Page 9: Instrucciones De Instalación
Asegúrese de que el filo angulado del brazo el accesorio en el área de la lente. coincida con el ángulo en la parte de atrás del IMI-811 ADH140439 www.eaton.com LED Galleon Luminaria Para Área O Sitio Instrucciones De Instalación... - Page 10 Cable neutro del lado del suministro al conector blanco del accesorio. c. Cable de voltaje de la línea del suministro al conector negro del accesorio. Detalle De Montaje De Hardware IMI-811 ADH140439 www.eaton.com LED Galleon Luminaria Para Área O Sitio Instrucciones De Instalación...
- Page 11 (4) tornillos de fijación de 3/8-16 al norte. x 3/8” . Vuelva a ajustar los tornillos. Taladre un orificio de 7/16” a través del brazo del IMI-811 ADH140439 www.eaton.com LED Galleon Luminaria Para Área O Sitio Instrucciones De Instalación...
-
Page 12: Mantenimiento
óptimos. Debe limpiar la lente óptica con un paño seco limpio para extraer el polvo o cualquier otro contaminante.Puede realizar limpieza adicional con una solución de limpieza de acrílico no abrasiva. IMI-811 ADH140439 www.eaton.com LED Galleon Luminaria Para Área O Sitio Instrucciones De Instalación... - Page 13 United States Eaton.com Eaton’s Cooper Lighting Business 1121 Hwy 74 South Peachtree City, GA 30265 cooperlighting.com © 2014 Eaton Eaton is a registered trademark. All Rights Reserved Printed in USA All trademarks are property Publication No. ADH140439 of their respective owners.
- Page 14 Brand Logo reversed out of black IB500004EN INS # INS # Installation Instructions - Galleon Quick Connect Arm Instructions d’installation - Bras à connexion rapide Galleon Instrucciones de instalación - Brazo de conexión rápida Galleon WARNING WARNING Customer is responsible for engineering analysis Risk of Personal Injury –...
- Page 15 Green Ground Green Ground and wiring. Figure 4. Figure 4. For Round Pole Installations, Break Off Tabs For Round Pole Pole Mounting Arm Installations, Break Off Tabs Figure 2. Figure 1. Figure 5. EATON IB500004EN Installation instructions EATON IB500004EN Installation instructions...
- Page 16 Faites attention de ne pas poser le luminaire 0,95 cm (3/8 po) pour boulons de 1,27 cm (1/2 po); côté lentilles optiques vers le bas ou de le tournevis cruciforme n° 2; clé dynamométrique soulever en le prenant par l’emplacement des lentilles optiques. EATON IB500004EN Installation instructions EATON IB500004EN Instructions d’installation...
- Page 17 Figure 4. Figure 4. Pour les installations sur poteau rond, arrachez les languettes. Pour les Bras de fixation installations sur sur poteau poteau rond, arrachez les languettes. Figure 1. Figure 5. Figure 2. EATON EATON IB500004EN Instructions d’installation IB500004EN Instructions d’installation...
- Page 18 Se deben tomar precauciones para no bajar la lumi- para pernos de 1/2” , un destornillador Phillips N.° 2, una llave naria sobre las lentes ópticas ni levantarla en el área dinamométrica de la lente. EATON EATON IB500004EN Instructions d’installation IB500004EN...
- Page 19 Figura 1. Para instalaciones Figura 4. en postes redondos, desprenda las lengüetas Para instalaciones Brazo para montaje en postes en postes redondos, desprenda las lengüetas Figura 1. Figura 5. Figura 2. EATON EATON IB500004EN Instrucciones de instalación IB500004EN Instrucciones de instalación...
- Page 20 Verde Tierra Verde Tierra ente la cubierta y el brazo de montaje. (Figura 7 .) Coloque la tapa superior del poste luego de finalizar la instalación y el cableado de la luminaria. Figura 6. Figure 7. EATON IB500004EN Instrucciones de instalación...
- Page 22 Warranties and Limitation of Liability Please refer to www.eaton.com/LightingWarrantyTerms for our terms and conditions. Garanties et limitation de responsabilité Veuillez consulter le site www.eaton.com/LightingWarrantyTerms pour obtenir les conditions générales. Garantías y Limitación de Responsabilidad Visite www.eaton.com/LightingWarrantyTerms para conocer nuestros términos y condiciones.
Need help?
Do you have a question about the Cooper Lighting Galleon and is the answer not in the manual?
Questions and answers