Advertisement
Quick Links
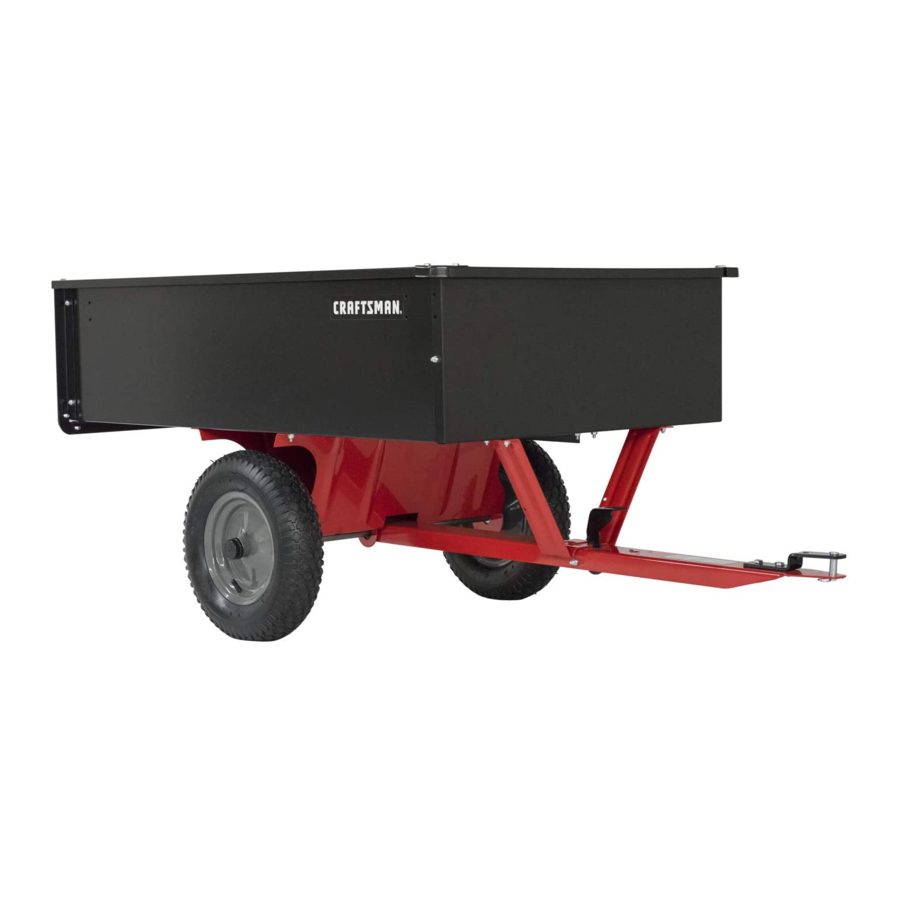
12 CU. FT. STEEL CART
0,39 m3 12 pi3 CHARIOT EN ACIER
12 PIES CÚBICOS (340 LITROS) CARRITO DE ACERO
If you have questIons or comments, contact us.
Pour toute questIon ou tout commentaIre, nous contacter.
sI tIene dudas o comentarIos, contáctenos.
1-888-331-4569
InstructIon Manual | GuIde d'utIlIsatIon | Manual de InstructIones
www.CRAFTSMAN.COM
CMXGZBF7124355
Advertisement

Summary of Contents for Craftsman CMXGZBF7124355
- Page 1 12 CU. FT. STEEL CART 0,39 m3 12 pi3 CHARIOT EN ACIER 12 PIES CÚBICOS (340 LITROS) CARRITO DE ACERO CMXGZBF7124355 If you have questIons or comments, contact us. Pour toute questIon ou tout commentaIre, nous contacter. sI tIene dudas o comentarIos, contáctenos.
- Page 2 ) tow the cart at reduced speed over rough terrain If you have any questions or comments about this or and hillsides or near creeks and ditches to any product, call CRAFTSMAN toll free at: prevent tipping over and loss of control. Do not 1-888-331-4569.
- Page 3 ENglISh CArtOn COntentS 23687BL1 24142BL1 23484BL3 28258BL3 24497BL1 24143BL1 23548 24144BL1 24896 25996BL3 23502BL3 23492BL3 27716BL3 23985BL3 43008 HArDWAre PACKAge COntentS 47189 46980 43866 43814 43001 HA21362 47810 43010 43012 47408 25910 43014 44798 43343 HA23638 43009 47622 47407...
-
Page 4: Fig. 1
ENglISh Step 3: (fig. 3) ASSembly 1. Attach the left and right rear angles (6b, 6a) to the cart CAutIoN: Do not leave the cart unattended in bed using one 1/4 X 5/8" hex bolt (A) and a 1/4" nylock an upright position while assembling. - Page 5 ENglISh Step 5: (fig. 5) Step 7: (fig. 7) 1. Secure the left and right rear angles using two 1/4 X 1. Carefully reverse the position of the cart so that it rests on 3/4" hex bolts (J) and nylock nuts (D) See figure 5. the tailgate reinforcement bracket (6a, 6b, 6c), as shown in figure 7.
-
Page 6: Wheel Support
ENglISh Step 9: (fig. 9) Step 11: (fig. 11) 1. Assemble the wheel support (9) to the cart using eight 1. Assemble the two corner caps (2) to the front corners 5/16" x 3/4" truss head bolts (C) and 5/16" nylock nuts of the cart using four 1/4"... -
Page 7: Table Of Contents
ENglISh Step 13: (fig. 13) Step 15: (fig. 15) 1. lower the cart to rest upside down on its top flanges, 1. Place the foot pedal latch (3) through the slot in the with the wheel support facing up. See figure 13. draw bar tongue. -
Page 8: Bracket
ENglISh Step 17: (fig. 17) mAintenAnCe 1. Turn cart over so that it rests right side up on its wheels. check for loose fasteners 2. Assemble the end of the hitch bracket (4) that has two • Before each use make a thorough visual check of the same size holes to the drawbar tongue using two 3/8"... - Page 9 Warranty CRAFTSMAN® is a registered trademark of Stanley Black & Decker, Inc., used CRAFTSMAN will repair or replace, without charge, any under license. defects due to faulty materials or workmanship for three es una marca registrada de Stanley Black & Decker, Inc., years from the date of purchase.
- Page 10 Pour un ou de tout autre outil CRAFTSMAN composez le uSage ultérieur numéro sans frais : 1-888-331-4569. a ) Lire ce manuel de l’utilisateur avant de tenter ASSemblAge d’assembler ou d’utiliser la remorque.
- Page 11 FRANçAIS étape 13 : (fig. 13) étape 6 : (fig. 6) 1. Abaisser le chariot, pour qu’il repose à l’envers sur ses 1. Placer les guides du hayon (1) à l’intérieur de la paliers supérieurs, le support de roue faisant face vers le carrosserie avec les dispositifs de guidage vers l’avant.
- Page 12 FRANçAIS utiliSAtiOn garantie limitée de trois ans CRAFTSMAN réparera ou remplacera sans frais tout appareil défectueux pour cause de défaut de matériau ou de AtteNtIoN : le freinage et la stabilité du main-d'œuvre sur une période d’un an à partir de la date véhicule peuvent être altérés par l’ajout d’un...
- Page 13 Si tiene alguna duda o algún comentario sobre ésta u conServe todaS laS advertenciaS otra herramienta CRAFTSMAN, llámenos al número gratuito: 1-888-331-4569. e inStruccioneS Para futuraS conSultaS enSAmblAJe a ) Lea este manual del propietario antes de intentar armar u operar el carro.
- Page 14 ESpAñol Paso 6: (fig. 6) Paso 13: (fig. 13) 1. Coloque las guías traseras (1) en el interior de los 1. Baje el carrito para que descanse bocabajo sobre sus cuerpos del carro con canales de guía hacia el frente. bordes superiores, con las ruedas orientadas hacia Monte la unidad con cuatro pernos hexagonales de 1/4"...
- Page 15 ESpAñol OPerACiÓn garantía limitada por tres años CRAFTSMAN reparará o reemplazará, sin cargo, cualquier defecto debido a materiales o mano de obra defectuosos PReCAuCIÓN: la adición de accesorios o por un año desde la fecha de compra. Esta garantía no...
-
Page 16: Wheel
12 cu. ft. Steel cart cmXgZBf7124355 ITEM PART NO. DESCRIPTION ITEM PART NO. DESCRIPTION 23985BL3 Cart Body 47189 1/4-20 Nylock Nut 23502BL3 Tailgate 43814 5/16-18 x 3/4" Truss Hd Bolt 43012 Bolt, Hex 1/4-20 X 3/4 46980 5/16-18 Hex Nut (SEMS) - Page 20 Stanley Black & Decker, Inc., used under license. es una marca registrada de Stanley Black & Decker, Inc., utilizada bajo licencia. est une marque déposée de Stanley Black & Decker, Inc., utilisée sous licence. © 2018 CRAFTSMAN Product Manufactured by: Producto fabricado por: Produit fabriqué...


Need help?
Do you have a question about the CMXGZBF7124355 and is the answer not in the manual?
Questions and answers