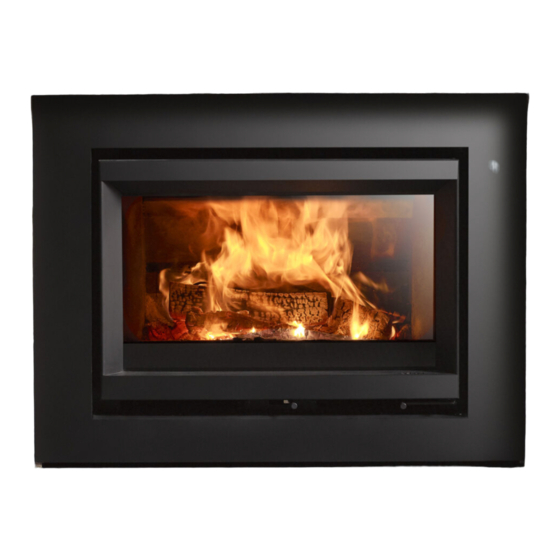
Stuv 6 Installation Manual
Picture type frame
Hide thumbs
Also See for 6:
- Specifications & manufacturer installation manual (25 pages) ,
- Specifications & manufacturer installation manual (25 pages) ,
- Installation manual (7 pages)
Advertisement
Table of Contents
C A D R E A P P L I Q U É
S T Û V 6
NOTICE D'INSTALLATION
OUTILS À PRÉVOIR
3
mm
Perceuse-visseuse Embout hexagonal
3mm
!
IMPORTANT
Ce document est une annexe de la notice d'installation
du Stûv 6-in. Les instructions dans cette notice doivent
être suivies afin de réussir l'installation. Repérer le
symbole dans la notice du Stûv 6-in pour savoir quand
vous y référer.
FR EN
FR EN
T20
Embout
Finition du mur
Torx 20
P I C T U R E T Y P E F R A M E
S T Û V 6
Installation MANUAL
REQUIRED TOOLS
3
mm
Impact driver
3mm
hex bit
!
IMPORTANT
This document is an appendix to the Stûv 6-in
Installation manual. For a successful installation, it is
important to follow these instructions carefully. Look
for this symbol in the Stûv 6 installation manual to
know when to refer to this appendix.
T20
Torx 20 bit
Wall finishing
Advertisement
Table of Contents

Subscribe to Our Youtube Channel
Summary of Contents for Stuv 6
- Page 1 For a successful installation, it is être suivies afin de réussir l’installation. Repérer le important to follow these instructions carefully. Look symbole dans la notice du Stûv 6-in pour savoir quand for this symbol in the Stûv 6 installation manual to vous y référer.
- Page 2 DIMENSIONS...
- Page 3 1/2" of clearance to the dimensions listed in 66x50 AW1100600706 37 1/4" 25 5/16" 6 " the table above to cover masonry imperfections. 76x60 AW1100600XXX 41 3/16" 29 1/4" CADRE APPLIQUÉ STÛV 6 PICTURE TYPE FRAME STÛV 6...
- Page 4 DÉBALLAGE INSTALLATION...
- Page 5 INSTALLATION Suivre ces instructions à partir de l'étape Follow these instructions starting from the indiquée dans la notice d'installation du step indicated in the Stûv 6 installation Stûv 6. manual. Étape 1 Positionner le foyer à son Step 1 Position the fireplace at its final emplacement définitif en profondeur et...
- Page 6 Step 5 Open the bag to retrieve the le sac. hardware. Étape 6 Apposer les aimants sur les deux Step 6 Affix the magnets on both sides of côtés du contre-cadre dans l'ouverture the mounting frame, in the openings. prévue à cet effet.
- Page 7 Step 12 Reinstall the door. Étape 12 Réinstaller la porte. CADRE APPLIQUÉ STÛV 6 PICTURE TYPE FRAME STÛV 6...
- Page 8 Les foyers Stûv sont conçus par : Stûv fireplaces are designed by: Stûv sa – Belgique stuv.com Rue Jules Borbouse n°4 B-5170 Bois-de-Villers Et fabriqués en Amérique du Nord par : And manufactured in North America by: Stûv America inc. – Canada stuvamerica.com...


Need help?
Do you have a question about the 6 and is the answer not in the manual?
Questions and answers