
Related Manuals for Blue Wave NP5869


Summary of Contents for Blue Wave NP5869
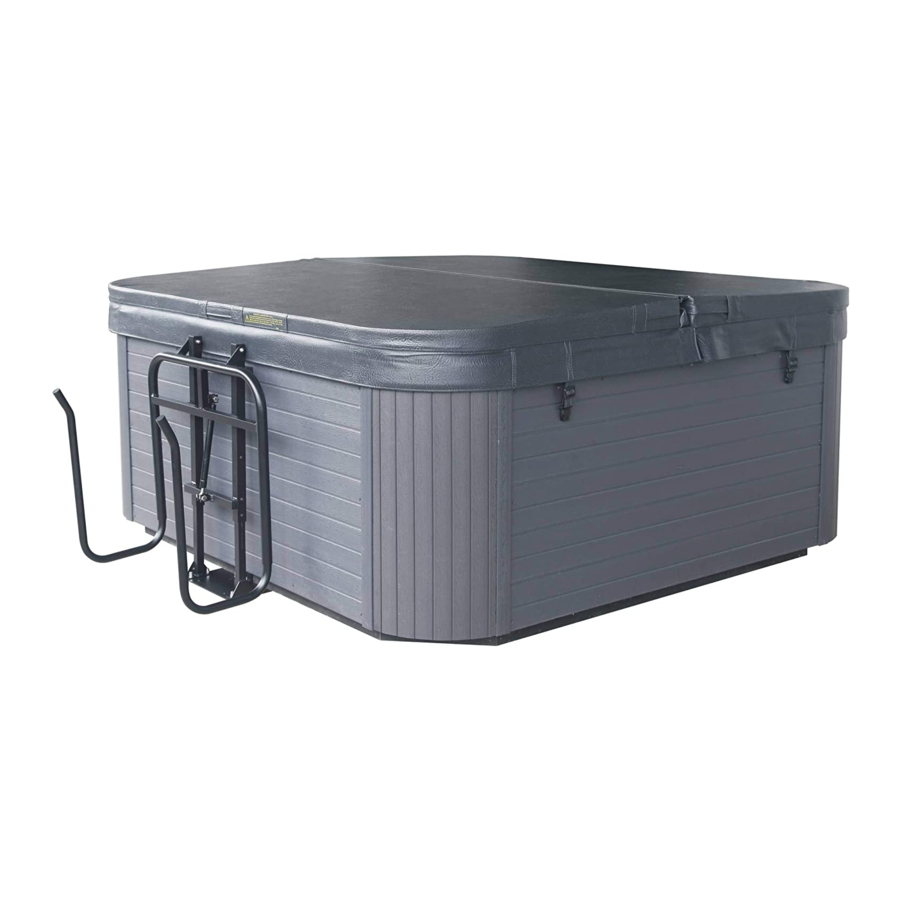
- Page 1 QUICKLIFT SPA COVER HOLDER ASSEMBLY INSTRUCTIONS Spa and Spa Cover NOT Included NP5869 NP5869 Ver. 0819GAO...
-
Page 2: Assembly Tips
THANK YOU! Thank you for purchasing this product. We work around the clock and around the globe to ensure that our products maintain the highest possible quality. However, in the rare case of issues during assembly or use of this product, please contact our Consumer Hotline at 800-759-0977 for immediate assistance before contacting your retailer. -
Page 3: Parts List
COVER CADDY - BEST - NP5869 Parts List Illustrations Not to Scale NPP50493 NPP50494 NPP50495 NPP50496 Base Support Upright Lift Assembly NPP50498* NPP50498* NPP50497 NPP50498* Location Bracket Screw Cap 5x50 mm Screw 5x30 mm Screw NPP50498* NPP50498* NPP50498* NPP50498* 8x16 mm Bolt... -
Page 4: Assembly Parts
THANK YOU! ASSEMBLY INSTRUCTIONS NOTE: Hand tighten all bolts in place, then tightening with wrench once fully assembled. Dimension Range: Assembly Parts: See assembly steps on following pages... - Page 5 THANK YOU! ASSEMBLY INSTRUCTIONS (CONT.) A. Measure the distance from the base of the spa to the outer skirt. Use this mesurement to determine location of Location Bracket (5). The first row of holes, (25mm after installation) B. Select the holes that are closest to your measurement to attach the Location Bracket (5) through using Bolt (10), Nut (11) and Washer (12) to secure.
- Page 6 THANK YOU! ASSEMBLY INSTRUCTIONS (CONT.) Insert the Lift Assembly (3) onto the Support Uprights (2) and position so top is at same height as spa top. Then secure in place with Screws (9) through holes in frame as shown. A. Secure the Lift Assembly (3) to the spa using Screws (7) as shown. B.
-
Page 7: Year Limited Warranty
1-YEAR LIMITED WARRANTY This product is warranted to the original purchaser to be free from defects in material or workmanship for a period of one year from the date of the original retail purchase. This warranty does not cover defects or damage due to improper installation, alteration, accident or any other event beyond the control of the manufacturer. - Page 8 PORTE-COUVERCLE POUR SPA QUICKLIFT INSTRUCTIONS D’ASSEMBLAGE Spa et couverture de spa Non inclus NP5869 NP5869 Ver. 0819GAO Spa et couverture de spa Non inclus...
-
Page 9: Instructions D'assemblage
MERCI! Merci d’avoir acheté notre produit. Nous travaillons 24 heures sur 24, partout dans le monde, à garantir que nos produits sont de la meilleure qualité possible. Toutefois, dans les rares cas de problèmes lors du montage ou de l'utilisation de ce produit, se il vous plaît communiquer avec notre service à la clientèle au 800-759-0977 pour une aide immédiate avant de contacter votre revendeur. - Page 10 COUVERTURE CADDY - MEILLEUR - NP5869 liste des pièces illustrations non à l'échelle NPP50493 NPP50494 NPP50495 NPP50496 base bras montant de support l'ensemble de levage NPP50498* NPP50498* NPP50497 NPP50498* support de positionnement bouchon à vis 5x50 mm vis 5x30 mm vis...
- Page 11 THANK YOU! INSTRUCTIONS D’ASSEMBLAGE REMARQUE: Serrer à la main tous les boulons en place, puis serrer avec une clé une fois complètement assemblé. gamme de dimension : pièces d'assemblage : Voir les étapes d'assemblage sur les pages suivantes...
- Page 12 THANK YOU! INSTRUCTIONS D’ASSEMBLAGE (suite) A. Mesurez la distance entre la base du spa et la jupe extérieure. Utilisez cette mesure pour déterminer l'emplacement du support d'emplacement (5). La première rangée de trous, (25mm après l'installation) B. Sélectionnez les trous les plus proches de votre mesure pour fixer le support de positionnement (5) à...
- Page 13 THANK YOU! INSTRUCTIONS D’ASSEMBLAGE (suite) Insérez l'ensemble de levage (3) dans les montants de support (2) et positionnez-le de sorte que le sommet soit à la même hauteur que le spa. Ensuite, fixez en place avec les Vis (9) dans les trous du cadre, comme indiqué. A.
-
Page 14: Garantie Limitée D'un An
GARANTIE LIMITÉE D'UN AN La garantie du produit est valide pour l'acheteur original en ce qui a trait aux pièces défectueuses ou à la main-d’œuvre pour une période de d’un an de la date d’achat. Cette garantie n’est couvre pas les dommages causés par accident, par modification, par une installation défectueuse ou tout autre événement hors du contrôle du fabricant.
Need help?
Do you have a question about the NP5869 and is the answer not in the manual?
Questions and answers
Hi The hydraulic cylinder on my 5869 rack doesnt support anymore after only 4years of using it. Everything esle is working very perfectly. Is it possible to have a replacement part and is it still on waranty? tks.