Advertisement
Quick Links
Advertisement

Subscribe to Our Youtube Channel
Related Manuals for XpressFill XF4100


Summary of Contents for XpressFill XF4100
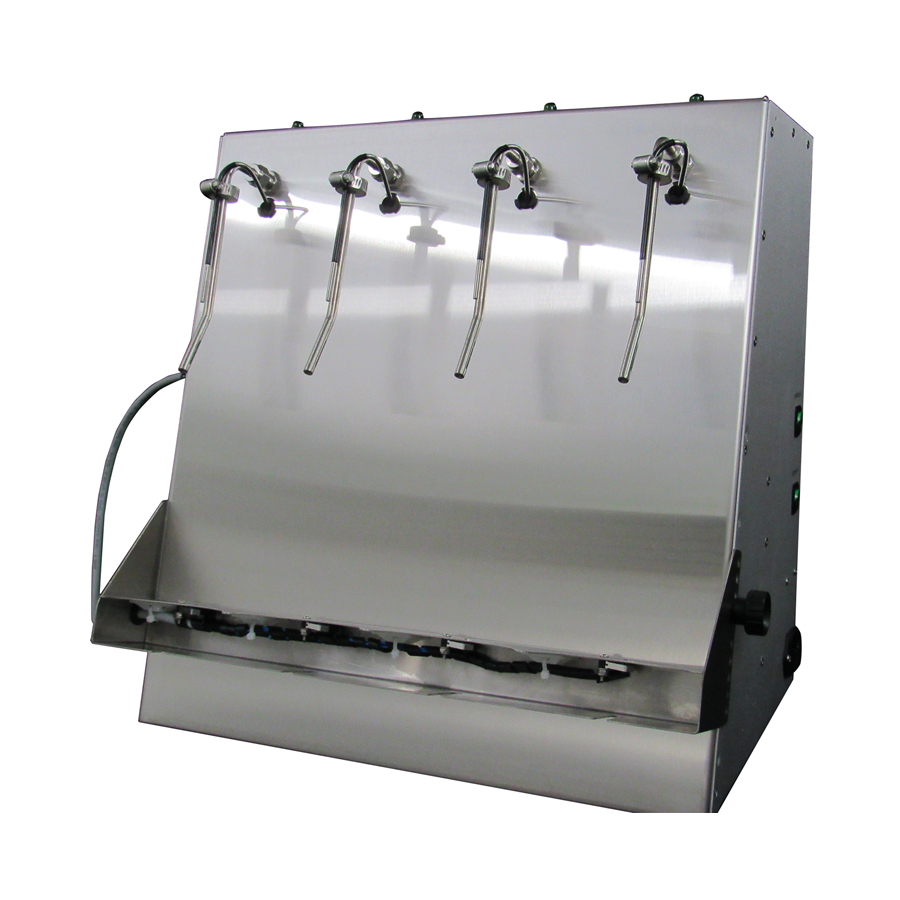
- Page 1 XpressFill XF4100 / XF2100...
- Page 3 Do not use the bottle filler covered in this manual unless you are certain the electrical supply has been correctly installed and the bottle filler has been properly grounded. 265 Prado Road, Suite 1 | San Luis Obispo, CA 93401 | 805.541.0100 | xpressfill.com | sales@xpressfill.com...
- Page 4 Safety Warnings...
- Page 5 The guarantee may be rendered invalid if the customer has made repairs or alteration to the machine without first consulting XpressFill Systems LLC. 265 Prado Road, Suite 1 | San Luis Obispo, CA 93401 | 805.541.0100 | xpressfill.com | sales@xpressfill.com...
- Page 6 Unscrew the adjustable knobs holding the shelf to the machine. Plug the shelf’s electrical connector into the side of the filler (shown with optional gas sparge above the shelf connector). 265 Prado Road, Suite 1 | San Luis Obispo, CA 93401 | 805.541.0100 | xpressfill.com | sales@xpressfill.com...
- Page 7 • Note which holes on the side of the machine are aligned between the filler body and the adjustable shelf. Install the knobs to hold the shelf in place. 265 Prado Road, Suite 1 | San Luis Obispo, CA 93401 | 805.541.0100 | xpressfill.com | sales@xpressfill.com...
- Page 8 You are now ready to begin filling. Place an empty bottle under each spout. Turn on the Pump Switch. The filling process will start and stop automatically. 265 Prado Road, Suite 1 | San Luis Obispo, CA 93401 | 805.541.0100 | xpressfill.com | sales@xpressfill.com...
- Page 9 To Decrease flow: Turn the knob Clockwise until desired flow is achieved. To Increase flow: Turn the knob Counterclockwise until desired flow is achieved 265 Prado Road, Suite 1 | San Luis Obispo, CA 93401 | 805.541.0100 | xpressfill.com | sales@xpressfill.com...
- Page 10 Bottle Filler Is Not Priming The XF4100/2100 Bottle Filler is equipped with a diaphragm pump. Over time the valve kit for the pump, depending on the age and use, might lose some of its effectiveness. This is an easily exchangeable part. The indication that the valve kit has failed is that you hear the pump running, but the pump does not prime.
- Page 11 Before storing your XpressFill, flush your filler with 2 gallons of warm water. Be sure you get all water out of the flow path. This is done by continuing to run the pump until it runs dry with bottles in place.
- Page 12 A tool is included with the filler and can be found inside the filler. Push collet in with tool to remove hosing 265 Prado Road, Suite 1 | San Luis Obispo, CA 93401 | 805.541.0100 | xpressfill.com | sales@xpressfill.com...
- Page 13 There is a spare fuse in the power cord receptacle. Unplug the machine and set a screwdriver on the notch (do not remove screws) and pop the spare fuse holder toward you, then replace the fuse. XpressFill Part No. 200002 –...
- Page 14 Reassemble and replace in the filler. Stainless steel valve body is marked #1 for input, #2 for output. Note: Valve may leak if installed back- wards. 265 Prado Road, Suite 1 | San Luis Obispo, CA 93401 | 805.541.0100 | xpressfill.com | sales@xpressfill.com...
- Page 15 15 | XpressFill Systems LLC Delay-Timer Adjustment Accessory Kit 265 Prado Road, Suite 1 | San Luis Obispo, CA 93401 | 805.541.0100 | xpressfill.com | sales@xpressfill.com...
Need help?
Do you have a question about the XF4100 and is the answer not in the manual?
Questions and answers