Advertisement
Quick Links
Advertisement

Related Manuals for XpressFill XF4100


Summary of Contents for XpressFill XF4100
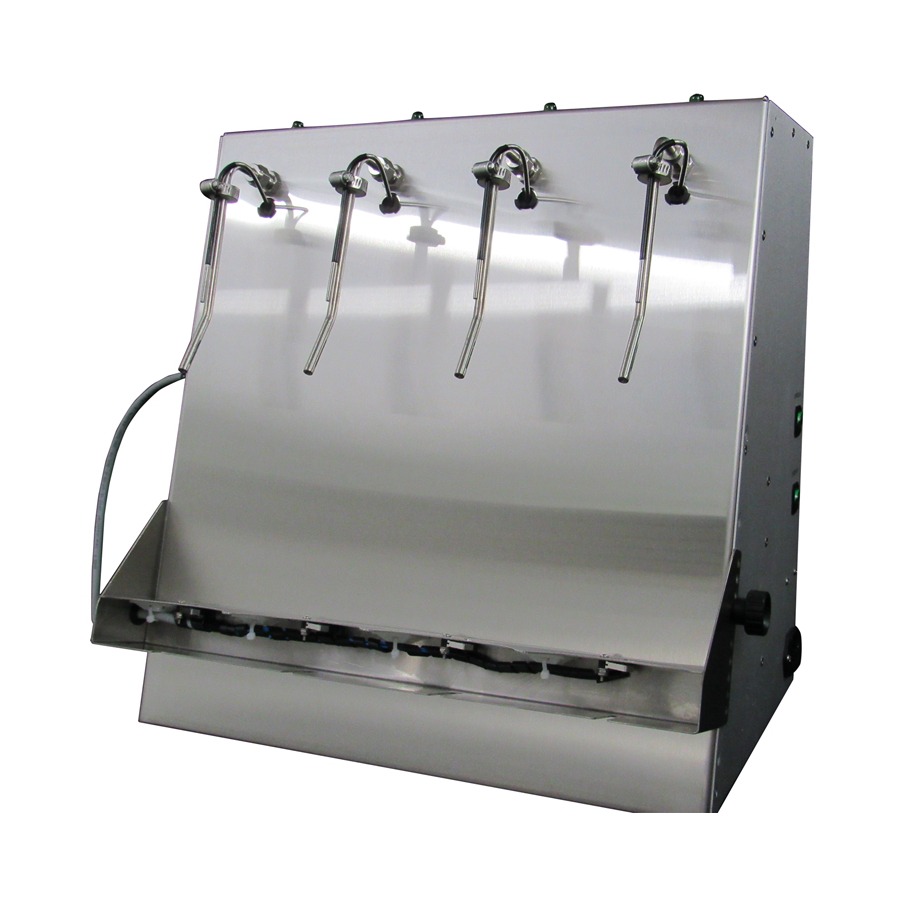
- Page 1 XpressFill XF4100/XF2100...
-
Page 2: Safety Warnings
Safety Warnings... - Page 3 fi ller covered in this manual unless you are certain the electrical supply has been correctly installed and the bottle fi ller has been properly grounded. 265 Prado Road, Suite 1 • San Luis Obispo, CA 93401 • Tel: (805) 541-0100 • sales@xpressfill.com...
- Page 4 F r r e l l 265 Prado Road, Suite 1 • San Luis Obispo, CA 93401 • Tel: (805) 541-0100 • sales@xpressfill.com...
- Page 5 fi rst consulting XpressFill Systems LLC. 265 Prado Road, Suite 1 • San Luis Obispo, CA 93401 • Tel: (805) 541-0100 • sales@xpressfill.com...
- Page 6 XPRESSFILL Systems LLC | XPRESSFILL Systems LLC | Set Up Your Filler Please Keep In Mind e level fi ller uses a self-priming pump. Due to small fl ow passages and precision components in the fi ller, it is important to fi lter your product so you do not introduce particulates into the machine.
- Page 7 | XPRESSFILL Systems LLC 3. Plug the fi ller into a wall outlet. Turn on the Power Switch. DO NOT turn on the Pump Switch at this time. Note which holes on the side of the Machine are aligned between the fi ller body and the adjustable shelf.
- Page 8 XPRESSFILL Systems LLC | connector after lightly lubricating the connector with water. Place the free end of is self-priming so it will begin drawing your Switch and the Pump Switch are turned on. Note: To make sure there is minimal air in...
- Page 9 Optional Gas Sparge If your filler has the gas sparge option, first make sure you have the hose going into the filler safely connected to your gas tank and regulator. The barb fitting on your unit is ¼ “, use ¼ “ tubing, braided for strength, and good hose clamps.
-
Page 10: Troubleshooting
If the problem persists, please contact XpressFill technicians. 265 Prado Road, Suite 1 • San Luis Obispo, CA 93401 • Tel: (805) 541-0100 • sales@xpressfill.com... -
Page 11: Cleaning And Sanitizing
See Label for more precautionary information. Contains Phosphoric Acid, a known corrosive. Before storing your XpressFill, flush your filler with 2 gallons of warm water. Be sure you get all water out of the flow path. This is done by continuing to run the pump until it runs dry. In order to get the last of the water out of the filler, carefully tip the filler upside down several times to allow all liquid in the flow path to empty.
Need help?
Do you have a question about the XF4100 and is the answer not in the manual?
Questions and answers