Sign In
Upload
Download
Table of Contents
Contents
Add to my manuals
Delete from my manuals
Share
URL of this page:
HTML Link:
Bookmark this page
Add
Manual will be automatically added to "My Manuals"
Print this page
×
Bookmark added
×
Added to my manuals
Manuals
Brands
HERO Manuals
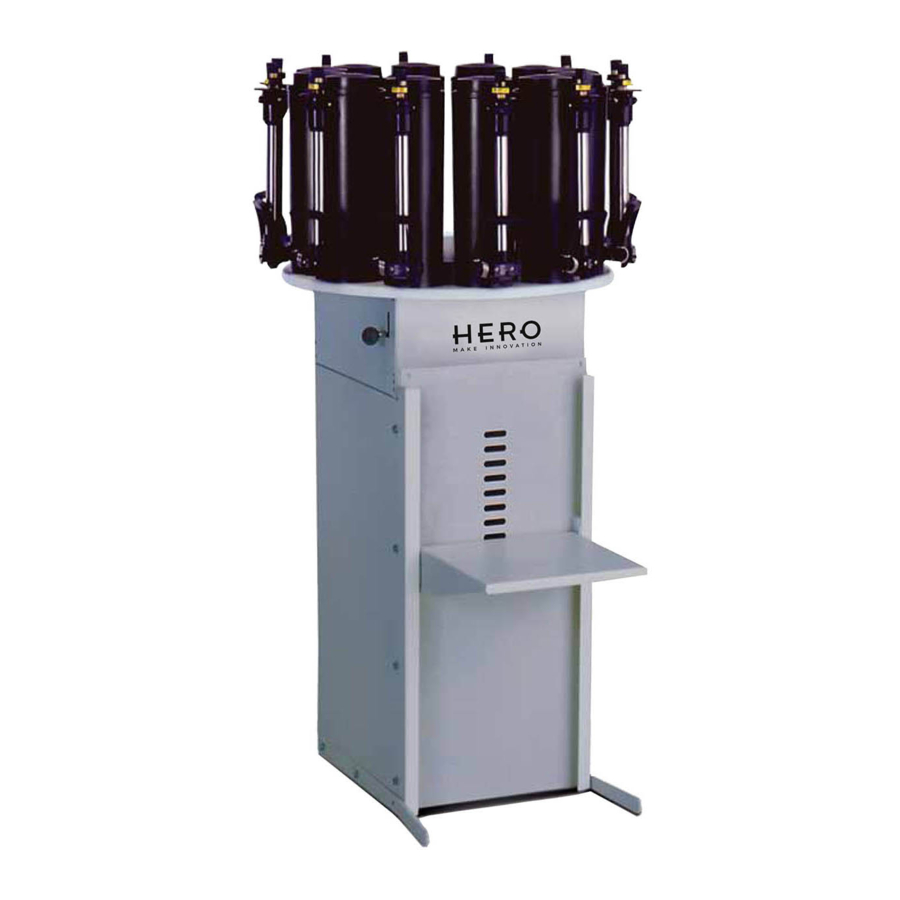
Dispenser
D23
Owner's manual
HERO D23 Owner's Manual
Manual colorant dispensers
Hide thumbs
1
Table Of Contents
2
3
4
5
6
7
8
9
10
11
12
13
14
15
16
17
18
19
20
21
22
23
24
25
26
27
28
29
30
31
32
33
34
35
36
37
38
39
40
41
42
43
44
45
46
47
48
49
50
51
52
page
of
52
Go
/
52
Contents
Table of Contents
Troubleshooting
Bookmarks
Table of Contents
Table of Contents
Warranty
Safety Warnings
Grounding Instructions
General Information
Identification
Setup
Package Inspection
Assembly
Pump Priming
Timer
Operating Instructions
Colorant Selection
Gauge Setting - Non-Micro
Gauge Setting - Micro (Optional)
Dispensing
Care & Cleaning
General Guidelines
Daily Maintenance
Periodic Maintenance
Service Instructions
Piston Seal Replacement
Valve Replacement
Gauge Calibration - Non-Micro (2 Oz. Only)
New Gauge Calibration - Micro
Gauge Recalibration - Micro
Wiring Diagram
Troubleshooting
Specifications
Overall Dimensions
Electrical
Capacity
Canister Material
Environmental Conditions
Parts List
D23 Canister
D24 Canister
D54 Canister
D55 Canister
D60 Canister
Counter Top Base
Floor Stand Base
Turntable & Drive Plate - 12 Position
Turntable & Drive Plate - 16 Position
Advertisement
Quick Links
1
Assembly
2
Care & Cleaning
3
D23 Canister
4
D60 Canister
Download this manual
• D23 • D24 •
• D54 • D55 •
• D60 •
Manual Colorant Dispensers
Speed Multi Can Paint Shaker
OWNERS MANUAL
Table of
Contents
Previous
Page
Next
Page
1
2
3
4
5
Advertisement
Table of Contents
Need help?
Do you have a question about the D23 and is the answer not in the manual?
Ask a question
Questions and answers
Related Manuals for HERO D23
Dispenser HERO D24 Owner's Manual
Manual colorant dispensers (52 pages)
Dispenser HERO Archimede User Manual
Automatic colourant dispenser (28 pages)
Dispenser HERO EUREKA A450 User Manual
Automatic colorant dispenser (20 pages)
Dispenser HERO A450 User Manual
Automatic colorant dispenser (41 pages)
Dispenser HERO AS100 User Manual
Automatic colourant dispenser automatic shaker (39 pages)
Dispenser HERO Qubo QBOOK Quick Start Manual
Automatic foaming soap dispenser (8 pages)
This manual is also suitable for:
D24
D54
D55
D60
Table of Contents
Save PDF
Print
Rename the bookmark
Delete bookmark?
Delete from my manuals?
Login
Sign In
OR
Sign in with Facebook
Sign in with Google
Upload manual
Upload from disk
Upload from URL


Need help?
Do you have a question about the D23 and is the answer not in the manual?
Questions and answers