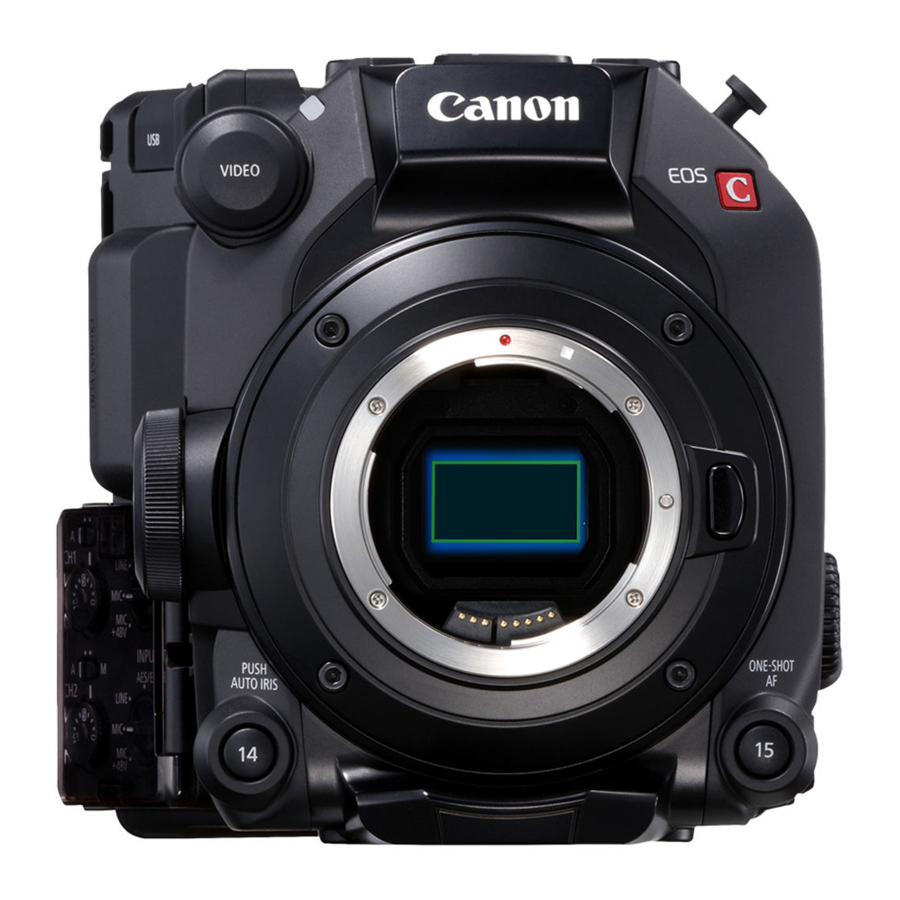
Canon EOS C300 Mark II Manual
Hide thumbs
Also See for EOS C300 Mark II:
- Instruction manual (260 pages) ,
- Read this first manual (42 pages) ,
- Manual (25 pages)

Related Manuals for Canon EOS C300 Mark II


Summary of Contents for Canon EOS C300 Mark II
- Page 1 GUIDE IP Streaming with EOS C300 Mark II and EOS C500 Mark II EOS C300 MARK II AND EOS C500 MARK II IP STREAMING GUIDE (VLC VERSION) For more info: pro.usa.canon.com © 2021 Canon U.S.A., Inc. All rights reserved.
-
Page 2: Table Of Contents
Table of Contents These materials explain the procedure for receiving Canon EOS C300 Mark III/ EOS C500 Mark II (with the Canon EU- V1 or EU-V2 expansion unit attached – sold separately) IP streaming with the “VLC” application installed on a PC. -
Page 3: Things To Prepare
Assumed connection format: Canon EOS C300 Mark III/ EOS C500 Mark II + Canon EU-V1 or EU-V2 Expansion Unit (separately sold accessory) ⇔ Ethernet cable ⇔ PC Connect (1) Canon EOS C300 Mark III/ EOS C500 Mark II + Canon EU-V1 or Canon EU-V2 Expansion Unit (separately sold accessory) (2) PC with an Ethernet cable. -
Page 4: Set Network Connection
・For the subnet mask, input [255.255.255.0] *Generally, the subnet mask values will be entered automatically once you input the IP address. 3.Canon EOS C300 Mark III/ EOS C500 Mark II Network Settings 3-1 Set Network Connection 3-1-1 Select System Frequency ①... -
Page 5: Select New Connection Setting
⑥ Select [Enable] ⇒ Press SET 3-1-3 Select New Connection Setting ① Select [New Conn. Setting (Wizard)] ⇒ Press SET... -
Page 6: Create New Communication Setting
② Select [IP Streaming] ⇒ Press SET ③ Confirm a new Connection Setting ⇒ Press OK 3-1-4 Create New Communication Setting ① Select [Create New Comm. Setting] ⇒ Press SET... -
Page 7: Setup With Network Connection
② Select [Ethernet ] ⇒ Press SET 3-1-5 Setup with Network Connection ① Select [Setup with Network Connection] ② ⇒ Press SET ③ Under IP Address Settings (IPv4), select [Manual Setting] ⇒ Press SET ④ Select [IP Address] ⇒ Press SET... - Page 8 ⑤ Input [192.168.0.xxx] as the IP address. Example: [192.168.0.3] ⇒ Press SET *These values are the address the C300 Mark III/C500 Mark II itself has. Set the values at the end so that they are not the same as those of the device you are connecting to (the values set on the PC). ⑥...
- Page 9 ⑧ [Use Gateway] ⇒ Disable ⑨ [DNS Address] ⇒ Disable ⑩ Save IP Address Setting (IPv4) ⇒ Press OK ⑪ [TCP/IPv6 Settings] is not necessary for the assumed connection format of these materials, so you can select Disable ⇒ Press SET...
-
Page 10: Prepare For Streaming Transmission
⑫ Confirm Communication settings ⇒ Press OK 3-2 Prepare for Streaming Transmission 3-2-1 Create New Function Setting ① Select [Create New Func. Setting] ② ⇒ Press SET 3-2-2 Select Protocol ① Select [UDP] or [RTP] or [RTP+FEC] or [RTSP+RTP] ② ⇒ Press SET (The [UDP] protocol will be selected for this example). -
Page 11: Input The Destination Server And Destination Port Number
[UDP]: This protocol prioritizes transfer speeds but does not guarantee the reliability/integrity of the data. Lost or delayed IP packets are ignored. [RTP]: Standard protocol for video/audio broadcasts over the internet. Lost or delayed IP packets are ignored. [RTP+FEC]: This setting uses the RTP protocol and adds a layer of FEC error correction so the receiving side can recover lost or delayed IP packets. -
Page 12: Select Bit Rate And Resolution
If necessary, input the [Dest. Port No.] in the same way, select [Set], ⇒ Press OK ● Normally, the port number initially set is used (it is normally 5000). ③ Confirm [Destination Server] and [Dest. Port No.] ⇒ Press OK 3-2-4 Select Bit Rate and Resolution ①... -
Page 13: Select Audio Out Channels
3-2-5 Select Audio Out Channels ① Select audio output channels [CH1/Ch2], [CH3/Ch4] ② ⇒ Press SET (For the audio to record, from MENU [ Audio settings] ⇒ [Select CH1/CH2 Input] and [Select CH3/CH4 Input], you can select any of [INPUT terminal / MIC terminal / Internal mic.]) ③... - Page 14 ③ Setting completed ⇒ Press OK ④ Now, you will notice the [ ] Ethernet icon on top of the screen. This icon indicates that the ethernet connection on the camera is now active.
-
Page 15: Streaming Transmission
① Go to Sub Menu 2 under Network Settings Menu ② Select Enable ⇒ Press SET Now, [ ] IP streaming is activated. ③ ● The Canon EOS C300 Mark III/ EOS C500 Mark II will show a [ ] icon showing the connection method. -
Page 16: Perform Vlc Settings On The Pc
● On the screen, the [ ] icon will be shown in white and video/audio streaming transmission will start. ● When [Off] is selected for [Network Functions], transmission will terminate, and the [ icon will disappear. 4-2 Perform VLC settings on the PC ①...
Need help?
Do you have a question about the EOS C300 Mark II and is the answer not in the manual?
Questions and answers