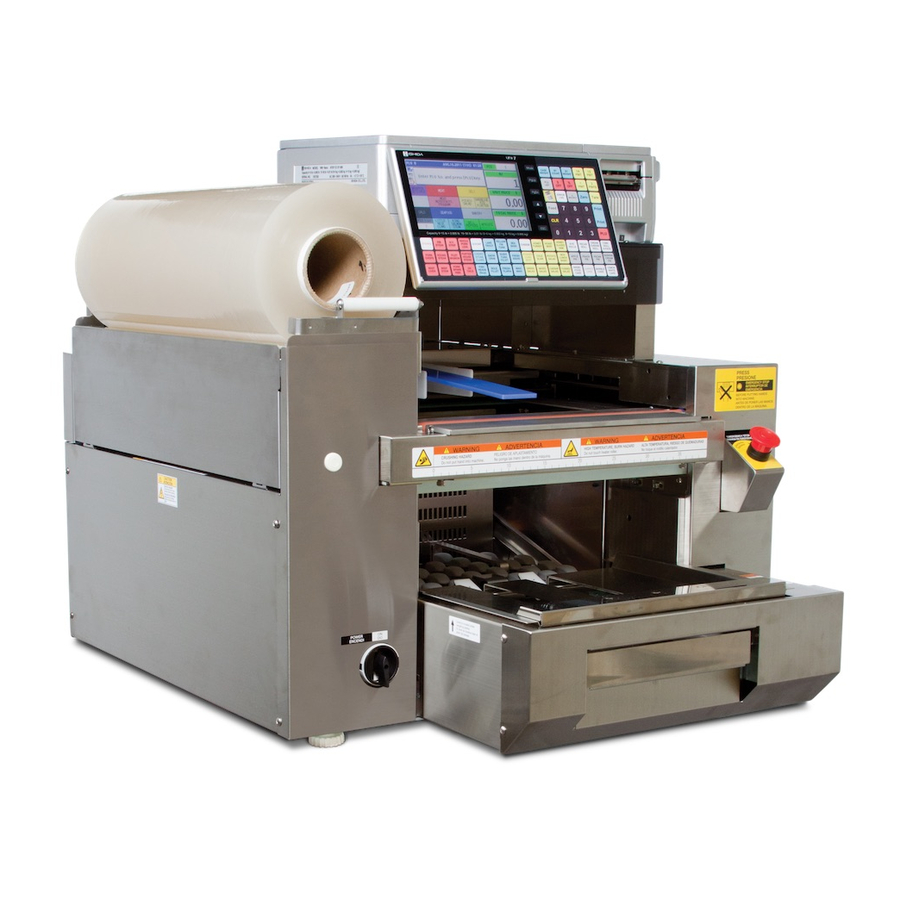
Rice Lake ISHIDA WM-Nano Manual
Film feeder belt replacement
Hide thumbs
Also See for ISHIDA WM-Nano:
- Setup manual (21 pages) ,
- Manual (14 pages) ,
- Cleaning, sanitizing and inspection instructions (4 pages)
Advertisement
Quick Links
Advertisement

Subscribe to Our Youtube Channel
Related Manuals for Rice Lake ISHIDA WM-Nano


Summary of Contents for Rice Lake ISHIDA WM-Nano
- Page 1 ISHIDA WM-Nano Film Feeder Belt Replacement Rev 1, July 2011...
- Page 2 WM-Nano Film Feeder Belt Replacement Overview This manual covers disassembly of the WM-Nano Table Top Automatic Wrapper for the purpose of replacing the Film Feeder belts. Tools • Phillips screwdrivers: extended shaft & stubby • Small flat blade screwdriver • 7mm wrench / nut driver •...
- Page 3 WM-Nano Film Feeder Belt Replacement 7. Remove the right, front cover (three screws). See Figure 2. Figure 2. 8. Remove the front, center cover -- below the exit heater roller (loosen four screws). See Figure 3. Figure 3. Rev 1, July 2011 WM-Nano_Film_Feeder_Belt_Replacement...
- Page 4 WM-Nano Film Feeder Belt Replacement 9. Remove the right side cover (loosen four screws). See Figure 4. Figure 4. 10. Remove the left side cover (loosen four screws). See Figure 5. Figure 5. Rev 1, July 2011 WM-Nano_Film_Feeder_Belt_Replacement...
- Page 5 WM-Nano Film Feeder Belt Replacement 11. Remove the rear, upper cover (seven screws). See Figure 6. Figure 6. 12. Remove the second rear, upper cover (four screws). See Figure 7. Figure 7. Rev 1, July 2011 WM-Nano_Film_Feeder_Belt_Replacement...
- Page 6 WM-Nano Film Feeder Belt Replacement 13. Remove the upper, right cover (five screws). See Figure 8. Figure 8. 14. Remove the three rear covers (six screws). See Figure 9. Figure 9. Rev 1, July 2011 WM-Nano_Film_Feeder_Belt_Replacement...
- Page 7 WM-Nano Film Feeder Belt Replacement 15. Remove the rear, lower cover (six screws). See Figure 10. Figure 10. 16. Disconnect the three connectors at the front, left as indicated by the blue circle (X6P/X6F, B14, and R1). See Figure 11. Figure 11.
- Page 8 WM-Nano Film Feeder Belt Replacement 17. Disconnect four connectors at the rear left and right as indicated by the blue circles. Left: X4P/X4R and M3R/M3. Right: X2P/X2R and X3P/X3R. See Figure 12. Figure 12. 18. Loosen two screws securing the Film Feeder Drive motor bracket and slip the drive belt off the Polished Roller Film Feed drive gear as indicated by the blue arrow.
- Page 9 WM-Nano Film Feeder Belt Replacement 19. Pull up the release lever as indicated by the blue circle and pull the entire Top assembly forward one inch to disengage. See Figures 14 and 15. Figure 14. Figure 15. Rev 1, July 2011 WM-Nano_Film_Feeder_Belt_Replacement...
- Page 10 WM-Nano Film Feeder Belt Replacement 20. Lift the Top assembly (see Figure 16) off the main body (see Figure 17). CAUTION The Top assembly is heavy and awkward. It should be removed by two people. Figure 16. Figure 17. When reassembling the Top assembly carefully engage the Discharge Pusher and Rear Folder with the drive arms as indicated by the yellow circles.
- Page 11 WM-Nano Film Feeder Belt Replacement 21. Dismount the E. Stop switch assembly as indicated by the yellow arrow. See Figure 18. 22. Loosen four bolts (8mm) indicated by the blue arrows then remove the two guide rails. Figure 18. 23. Remove four bolts (7mm) indicated by the blue arrows. See Figure 19.
- Page 12 WM-Nano Film Feeder Belt Replacement 24. Remove the Film Feeder unit. See Figure 20. CAUTION Avoid the Film Cutter Blade when removing the Film Feeder unit. Figure 20. Rev 1, July 2011 WM-Nano_Film_Feeder_Belt_Replacement...
- Page 13 WM-Nano Film Feeder Belt Replacement 25. Loosen the four bolts (7mm) indicated by the blue arrows to separate the Upper and Lower Film Feeder sections. See Figure 21. Figure 21. 26. Replace the Film Feeder belts as needed. See Figure 22. Figure 22.
Need help?
Do you have a question about the ISHIDA WM-Nano and is the answer not in the manual?
Questions and answers