Advertisement
Instruction booklet
Instruction booklet
AR
GB
11, ،عربي
English, 1
TVM 70
www.aristonchannel.com
This symbol reminds you to read this
instruction manual.
Keep this manual at hand for immediate reference whenever
necessary. Always store this manual close to the tumble dryer and
remember to pass it on to any new owners when selling or tran-
sferring the appliance, so they may familiarise with the warnings
and suggestions herein contained.
Read these instructions carefully: the following pages contain
important information on installation and useful suggestions for
operating the appliance.
Contents
Installation, 2
Warnings, 4
Laundry, 8
Service, 10
1
Advertisement
Table of Contents

Related Manuals for Ariston TVM 70


Summary of Contents for Ariston TVM 70
-
Page 1: Table Of Contents
Control Panel, 7 Start and Programmes, 7 Laundry, 8 Troubleshooting, 9 Service, 10 TVM 70 www.aristonchannel.com This symbol reminds you to read this instruction manual. Keep this manual at hand for immediate reference whenever necessary. Always store this manual close to the tumble dryer and... -
Page 2: Tumble Dryer
Installation Where to install the tumble dryer Window ventilation hole The ventilation hole should be directly behind the dryer in If the dryer is installed below a worktop, order to keep the hose as short ensure there are 10 mm as possible. - Page 3 Electrical connections Before plugging the appliance into the socket, check the following: Make sure your hands are dry. The socket must have an earth connection. The socket must be able to withstand the machine’s maximum power output as indicated on the rating plate (see Description of the tumble dryer).
- Page 5 Maximum load sizes : 7 kg...
-
Page 6: Care And Maintenance
Care and maintenance Disconnecting the power supply Do not use solvents or abrasives. ! Disconnect the dryer when not in use or Have the dryer checked regularly by authorised technical personnel in order to ensure that the electrical and mechani- during cleaning and maintenance operations. -
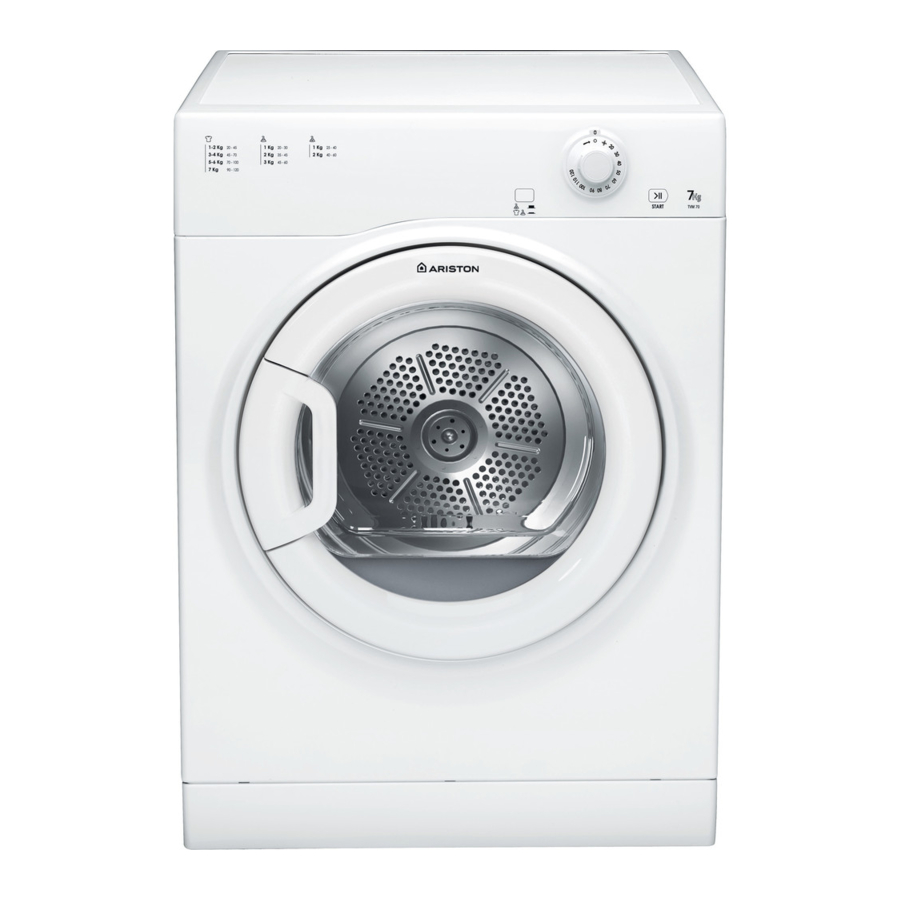
Page 7: Description Of The Tumble Dryer
Description of the tumble dryer Front side Rear side Control panel Drum Air inlet Rating Plate Serial number and model Caution, high number Filter Connection for temperature ventilation hose Control panel TIMER Knob Indicator START HEAT Button Button The timer knob This is used to set the drying time: turn the knob in a clockwise direction until the indicator is set to the desired drying time (see Start and Programmes). -
Page 8: Laundry
Laundry Sorting laundry Drying times • Check the symbols on the care labels of the various Drying times are approximate and may vary depending on garments to verify whether the garments can be safely the following: tumble dried. • Sort laundry according to the type of fabric. •... -
Page 9: Troubleshooting
Drying times The drying time depends on the size of the load and on the type of fabric it contains (see Table). The COOL TUMBLE cycle runs during the final 10 minutes of the programme. ! For large loads, select the High Heat option if available. Load Fabric 1 kg... -
Page 10: Service
Service Spare Parts Before calling the Service Centre: This dryer is a complex machine. Repairing it yourself or having • Use the troubleshooting guide to see if you can solve a nonauthorised person try to repair it could cause harm to one the problem yourself (see Troubleshooting).
Need help?
Do you have a question about the TVM 70 and is the answer not in the manual?
Questions and answers