Table of Contents
Advertisement
Quick Links
01865 767676
sales@unicol.com
www.unicol.com
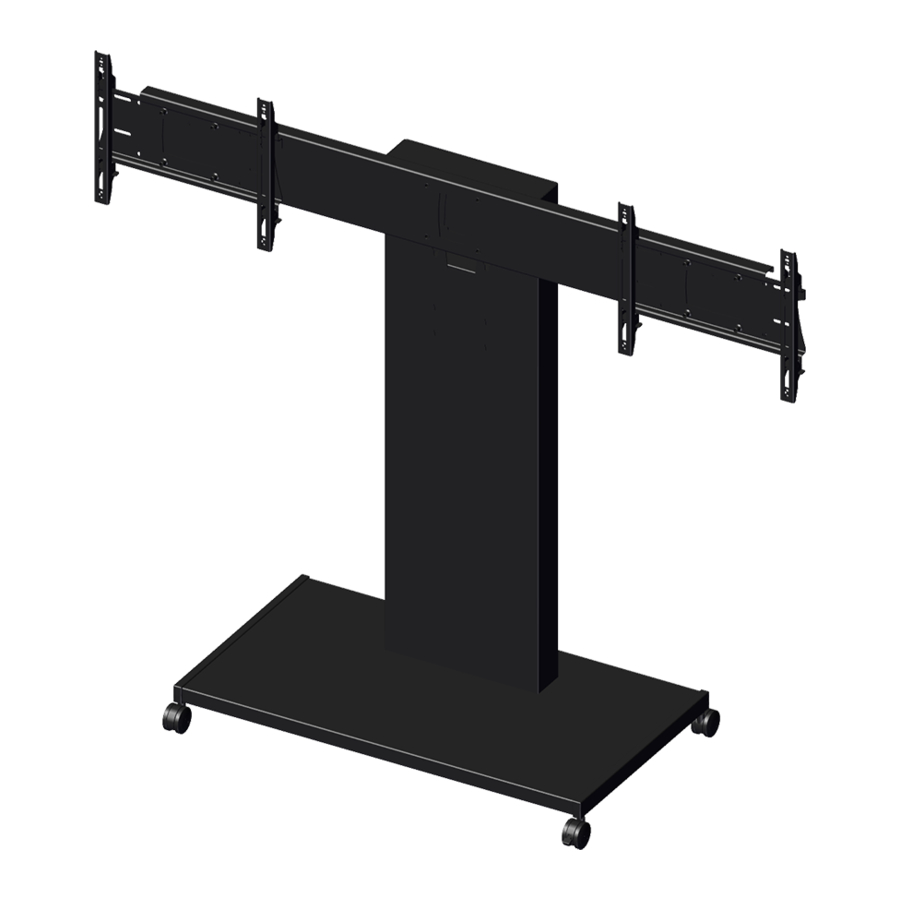
RH200UHD
Screen Size: 71-98"
Guide Max. Weight: 200kg
Revised 22/01/21
*Please check model specific details before installing*
WARNING
Please carefully inspect the product before assembling. If you notice any apparent damage, call your
carrier claims agent and do not continue the installation until it has been reviewed. Please watch for
pinch points. Do not put your fingers between moveable parts. Do not tamper with or disassemble any
spring loaded parts. Before installing, make sure that the supporting surface will support five times the
combined load of the solution and the hardware. Never exceed the maximum load capacity. Please also
layout all components to ensure that you have all of the required parts before proceeding (see BOM list
on following page). Use of this product for anything other than its specified use may result in failure or
personal injury. This product is intended for indoor use only. We recommend using a qualified trades
person for installation. Use an assistant or lifting equipment to lift and position products.
For support, please call: +44 (0)1865 767676 or email: sales@unicol.com
Advertisement
Table of Contents

Related Manuals for Unicol RH200UHD


Summary of Contents for Unicol RH200UHD
- Page 1 This product is intended for indoor use only. We recommend using a qualified trades person for installation. Use an assistant or lifting equipment to lift and position products. For support, please call: +44 (0)1865 767676 or email: sales@unicol.com...
- Page 2 INSTALLERS REQUIRED Pozi Head Screwdriver 4mm & 5mm Allen Keys 19mm Spanner 17mm Spanner COMPONENTS DESCRIPTION RH200UHD Heavy Duty Mast Heavy Duty Mount Arms Universal Screen Arms Stabilisation Arms Two Part Base Cover Heavy Duty Stand Base Optional Accessories Revised 22/01/21...
- Page 3 01865 767676 sales@unicol.com www.unicol.com STEP 1 STEP 2 Unlock and lift out front cabinet door. Remove Connect base to mast as shown. For a trolley lower front panel by unscrewing 8x M6 screws and version, tap castors with the rubber mallet until put aside.
- Page 4 01865 767676 sales@unicol.com www.unicol.com STEP 5 STEP 6 **This must be done before fitting either screen and should remain in the support position Thread any cabling through the highlighted holes in (shown above) until both screens are fitted.** the top front panel. Screw the panel back into place as shown and tighten.
- Page 5 01865 767676 sales@unicol.com www.unicol.com STEP 10 STEP 9 Once centered, adjust the level of the screen with When screens are fully secure, undo the handwheel the two top screws on the mount arms. Once and fold the stabilisation arm back up. Reattach to levelled secure the screen by tightening the bottom the back of the mount arm.
Need help?
Do you have a question about the RH200UHD and is the answer not in the manual?
Questions and answers