
Subscribe to Our Youtube Channel
Related Manuals for Teknik 5427027

Summary of Contents for Teknik 5427027
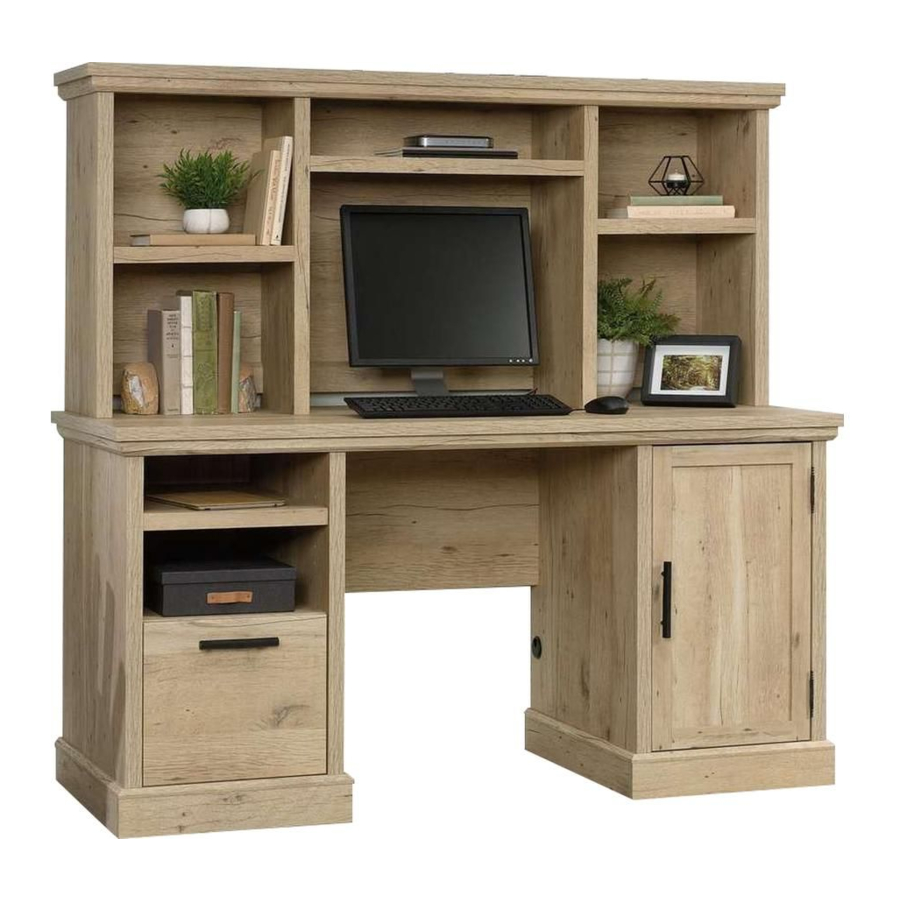
- Page 1 Teknik www.teknikoffice.co.uk Knick-knack paddywhack, give your stuff a home. Prime Oak Hutch NOTE: THIS INSTRUCTION BOOKLET CONTAINS IMPORTANT SAFETY INFORMATION. Model 5427027 PLEASE READ AND KEEP FOR FUTURE REFERENCE.
- Page 2 Table of Contents Assembly Tools Required Part Identification No. 2 Phillips Screwdriver Hardware Identification Tip Shown Actual Size Hardware Usage Guide Hammer Assembly Steps 6-22 Not actual size Français 23-25 Electric drill with 1/8" bit Español 26-28 (ONLY in indicated step) Safety 29-30 Warranty...
- Page 3 Now you know Part Identification our ABCs. å While not all parts are labeled, some of the parts will have a label or an inked letter on the edge to help distinguish similar parts from each other. Use this part identification to help identify similar parts. RIGHT END (1) LEFT ADJUSTABLE SHELF (1) SHORT BRACE (2)
- Page 4 Hardware Identification å Screws are shown actual size. You may receive extra hardware with your unit. MOLDING HIDDEN CAM - 6 CAM SCREW - 6 WOOD DOWEL - 4 CONNECTOR - 2 37F TWIST-LOCK FASTENER - 12 CLIP - 7 ®...
- Page 5 Hardware Usage Guide HOW TO USE A TWIST-LOCK FASTENER ® Push a TWIST-LOCK® FASTENER 1. Insert the dowel end of the FASTENER into the into the large hole in the part. hole of the adjoining part. NOTE: The dowel end of the FASTENER must remain fully inserted in the hole of the adjoining part while locking the FASTENER.
- Page 6 Step 1 å Assemble your unit on a carpeted floor or on the empty carton to avoid scratching your unit or the floor. Some assembly å To begin assembly, push twelve SAUDER TWIST-LOCK® (and snacks) required. FASTENERS (37F) into the large holes in the ENDS (A and B), UPRIGHTS (C and Q), and FIXED SHELF (F).
- Page 7 Step 2 å Turn six CAM SCREWS (8F) into the ENDS (A and B) and UPRIGHTS (C and Q). å Insert four WOOD DOWELS (15F) into the ENDS (A and B). Page 7...
- Page 8 Step 3 å Slide the UPRIGHT MOLDINGS* (K) onto the notched edges of the UPRIGHTS (C and Q). å *U.S. Patent No. 5,499,886 å Slide a FIXED SHELF MOLDING* (H) onto the notched edge of a FIXED SHELF (F). The groove å...
- Page 9 Step 4 å Push six HIDDEN CAMS (1F) into the BRACES (L and N). Arrow Arrow Page 9...
- Page 10 Step 5 å Fasten the UPRIGHTS (C and Q) to the FIXED SHELF (F) and LONG BRACE (L). Tighten four TWIST-LOCK® FASTENERS and two HIDDEN CAMS. i t h ® f a c S u r - L O I S T E R S T E N F A S...
- Page 11 Step 6 å Fasten the SHORT BRACES (N) to the UPRIGHTS (C and Q). Tighten two HIDDEN CAMS. Surface with HIDDEN CAMS Curved edge Curved edge Surface with HIDDEN CAMS Page 11...
- Page 12 Step 7 å Fasten the ENDS (A and B) to the SHORT BRACES (N). Tighten two HIDDEN CAMS. Notched edge i t h ® f a c S u r - L O I S T E R S T E N F A S Notched edge i t h o...
- Page 13 Step 8 å Tap two MOLDING CONNECTORS (17F) into the notches in the MOLDINGS (D, E, and M). Use your hammer to tap the MOLDING CONNECTORS (17F) into the notches in the MOLDINGS. Flat end Unfinished surface Unfinished surface Unfinished surface Page 13...
- Page 14 Step 9 å Fasten the MOLDINGS (D, E, and M) to the TOP (P). Use eight BROWN 1-5/8" FLAT HEAD SCREWS (55S). å NOTE: Start each SCREW a few turns before completely tightening any of them. å NOTE: Do not overtighten the SCREWS into the TOP. BROWN 1-5/8"...
- Page 15 Step 10 å Fasten the MOLDINGS (D and E) and TOP (P) to the ENDS (A and B) and UPRIGHTS (C and Q). Tighten eight Now might be a TWIST-LOCK® FASTENERS. good time to refresh your drink. å NOTE: Be sure the WOOD DOWELS in the ENDS and UPRIGHTS insert into the MOLDINGS and TOP.
- Page 16 Step 11 å We have provided a Nail Holder tool to use in this step for proper positioning of the NAILS. Please refer to the parts of the Nail Holder as the bead, offset edge, and nail slot as shown in the diagram below. å...
- Page 17 Step 12 å Fasten the BACK (O) to the BRACES (L and N). Use seven CLIPS (67G) and seven BLACK 9/16" LARGE HEAD SCREWS (1S). å NOTE: The CLIPS should wrap around the edge of the BACK and the teeth of the CLIPS should bite into the BRACES as you tighten the screws.
- Page 18 Step 13 å Carefully stand your unit upright. Pro Tip: Lift with your å Open the FURNITURE TIPPING RESTRAINT KIT (97) and fasten the legs. And, you know, SAFETY STRAP to the TOP (P). There is no pre-drilled hole. With extra your arms.
- Page 19 Step 14 å This unit attaches to the 427030. å Place the unit on top of the 427030 as shown. å NOTE: There are no pre-drilled holes in the 427030 for attaching the HUTCH. You will need to drill 1/8" wide, 1" deep holes through the open holes in the BRACKET CONNECTORS (81G).
- Page 20 Step 15 å Position your unit in its final location. We recommend using the SAFETY STRAP for added stability. å NOTE: Do not turn the SAFETY DRYWALL ANCHOR into a wall stud. If you prefer to fasten the SAFETY STRAP to a wall stud, go to your local hardware store for proper hardware.
- Page 21 Step 16 å Slide a ADJUSTABLE SHELF MOLDING* (J) onto the notched edge of the LEFT ADJUSTABLE SHELF (G). These surfaces should be even. å *U.S. Patent No. 5,499,886 å Repeat this step for the RIGHT ADJUSTABLE SHELF (R). å Insert the SHELF RESTS (10R) into the hole locations of your choice in the ENDS (A and B) and UPRIGHTS (C and Q).
- Page 22 Step 17 å Center a SCREW COVER (74P) over the head of each SCREW and gently tap in with your hammer. å Using your hammer, gently tap a TWIST-LOCK® FASTENER COVER (105P) or TWIST-LOCK® FASTENER COVER (112P) onto each visible TWIST-LOCK FASTENER®. å...
- Page 23 WARNING Please use your furniture correctly and safely. Improper use can cause safety hazards, or damage to your furniture or household items. Carefully read the following chart. Look out for: What can happen: How to avoid the problem: • Overloaded shelves. •...
Need help?
Do you have a question about the 5427027 and is the answer not in the manual?
Questions and answers