
Related Manuals for Rosin Tech Go


Summary of Contents for Rosin Tech Go
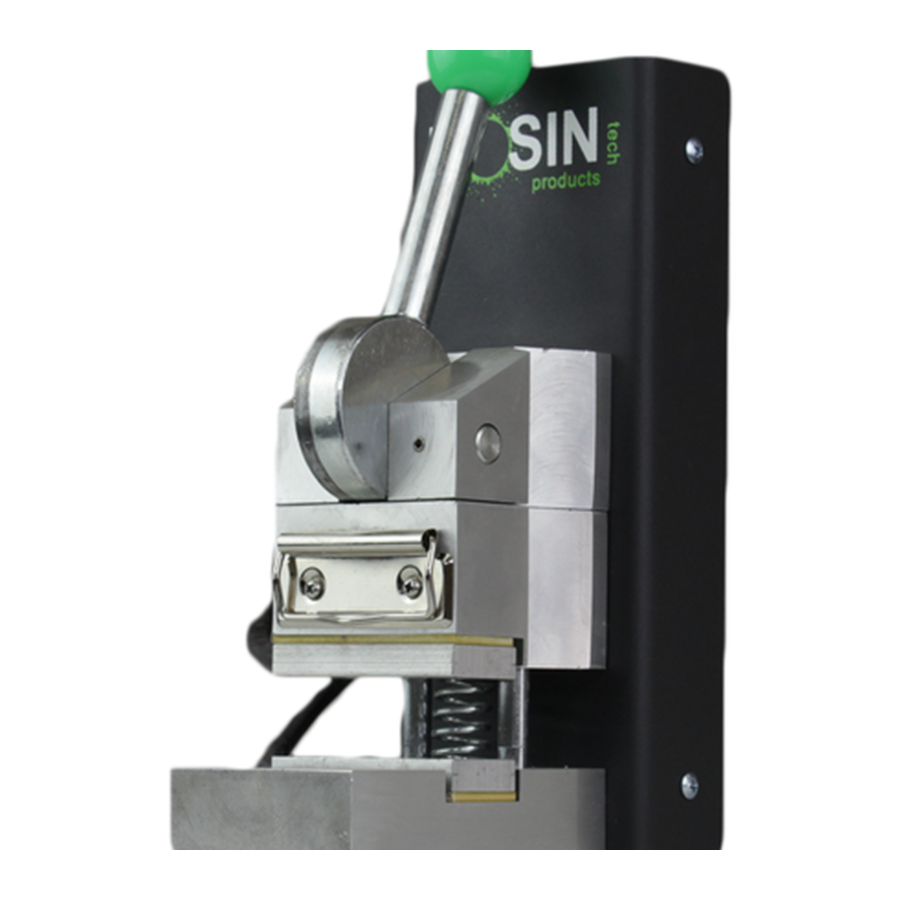
- Page 1 Owner’s Manual Rosin Tech Go™ All Rights Reserved. Copyright © 2017, Rosin Tech Products...
- Page 2 STEP ONE: PLUG IN / TURN ON Once you’ve plugged in your press, and press the red power button. Your LCD screen will light up and plates will begin heating! All Rights Reserved. Copyright © 2017, Rosin Tech Products...
- Page 3 STEP TWO: ENTER SETTINGS MODE Press the “OK” button one time. You are now in the ‘edit settings’ mode. * P1 = Temperature Mode All Rights Reserved. Copyright © 2017, Rosin Tech Products...
- Page 4 Press the up and down arrows to increase or decrease the temperature of the plates. Once you have found your desired temperature, press the “OK” button to change from P1 to P2. * Default temperature setting is Fahrenheit. All Rights Reserved. Copyright © 2017, Rosin Tech Products...
- Page 5 Now the screen shows P2. Press the up and down arrows to increase or decrease the length of timer for each press. Once you have found your desired time, press the “OK” button which will change P2 back to “Normal Mode”. * P2 = Set Time of Press. All Rights Reserved. Copyright © 2017, Rosin Tech Products...
- Page 6 STEP FIVE: LET PLATES HEAT UP Now that you’ve set your temperature and length of press, its time to let both heating plates warm up. All Rights Reserved. Copyright © 2017, Rosin Tech Products...
- Page 7 To start the TIMER, press “ENTER” button For more details on the best techniques for pressing, including time or length of press for different material, visit our website and click Education tab. All Rights Reserved. Copyright © 2017, Rosin Tech Products...
- Page 8 Additional Questions? Shoot an email to support@rosintechproducts.com www.rosintechproducts.com All Rights Reserved. Copyright © 2017, Rosin Tech Products...
Need help?
Do you have a question about the Go and is the answer not in the manual?
Questions and answers