
Subscribe to Our Youtube Channel
Related Manuals for Rosin Tech Rosin Tech Pro


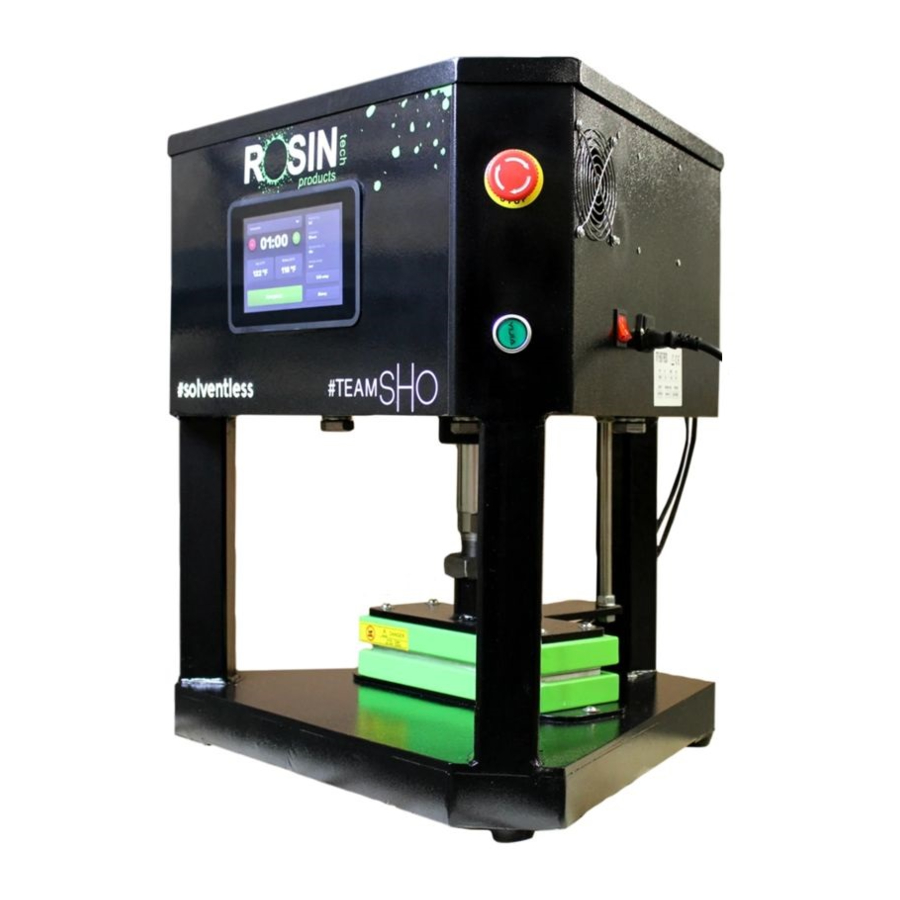
Summary of Contents for Rosin Tech Rosin Tech Pro
- Page 1 Rosin Tech Pro™ Owner’s Manual All Rights Reserved. Copyright © 2018, Rosin Tech Products...
-
Page 2: Getting Started
2) Follow this step-by-step guide on how to set your temperature and length of press. Remember to start with a small batch for testing until you lock in your optimal temperature and length of press. All Rights Reserved. Copyright © 2018, Rosin Tech Products... -
Page 3: Electrical Information
Please keep PSI under 150* * SHO PRODUCTS IS NOT RESPONSIBLE FOR ANY DAMAGE RESULTING FROM IMPROPERING WIRING. PLEASE CONSULT A PROFESSIONAL PRODUCTS ELECTRICIAN BEFORE USING THIS MACHINE* All Rights Reserved. Copyright © 2018, Rosin Tech Products... -
Page 4: Step 1: Plug In / Turn On
The control panel on the right controls the bottom heat plate only. Left Side: Right Side: 1) Controls Top Plate 1) Controls Bottom Plate 2) Time of Press All Rights Reserved. Copyright © 2018, Rosin Tech Products... -
Page 5: Step 2: Enter Settings Mode
STEP 2: ENTER SETTINGS MODE Press the “SET” button one time. You are now in the ‘edit settings’ mode. * TIP #2: SP = Temperature Mode All Rights Reserved. Copyright © 2018, Rosin Tech Products... -
Page 6: Step 3: Adjust Temperature
Press the up and down arrows to increase or decrease the temperature of the plates. ● Once you have found your desired temperature, press the set button to change from SP ● to ST. * TIP #3: Default setting is to Fahrenheit. All Rights Reserved. Copyright © 2018, Rosin Tech Products... -
Page 7: Step 4: Adjust Length Of Press
Once you have found your desired time, press the set button until you return back to ● “Normal Mode”, seen below. To start the timer, press the “Timer” button on the panel. *TIP #4: ST = Set Time of Press. All Rights Reserved. Copyright © 2018, Rosin Tech Products... - Page 8 *TIP #5: To set the temperature on the bottom heat plate, use the right control panel and follow the same steps. Remember length of press isn’t a factor here although you can change the setting. All Rights Reserved. Copyright © 2018, Rosin Tech Products...
-
Page 9: Step 6: Speed / Pressure Control
(Fig 2). When the pressure control knob is open and loose, the plates will close faster towards one ● another (Fig 3). Fig 1 Fig 2 Fig 3 All Rights Reserved. Copyright © 2018, Rosin Tech Products... -
Page 10: Step 7: Engage Press
To begin the press, press both engage buttons at the same time (Fig 2). ● Plates will begin to close at desired speed set by pressure control. ● Tip: If press will not engage after release emergency stop button. Fig 1 Fig 2 All Rights Reserved. Copyright © 2018, Rosin Tech Products... -
Page 11: Step 7: Disengage Press
STEP 7: DISENGAGE PRESS ● Twist emergency stop button at any time to release heat plates located on left side controls in red. Plates will separate immediately. ● All Rights Reserved. Copyright © 2018, Rosin Tech Products... -
Page 12: Additional Questions
Please email, support@rosintechproducts.com Follow us on Instagram @rosin.tech Appreciate any shoutouts very much. If you tag us in a picture using your new press and we will repost on our profile. www.rosintechproducts.com All Rights Reserved. Copyright © 2018, Rosin Tech Products...
Need help?
Do you have a question about the Rosin Tech Pro and is the answer not in the manual?
Questions and answers