Table of Contents
Advertisement
Quick Links
Advertisement
Table of Contents

Related Manuals for Euromaid EMFS60DODFSS


Summary of Contents for Euromaid EMFS60DODFSS
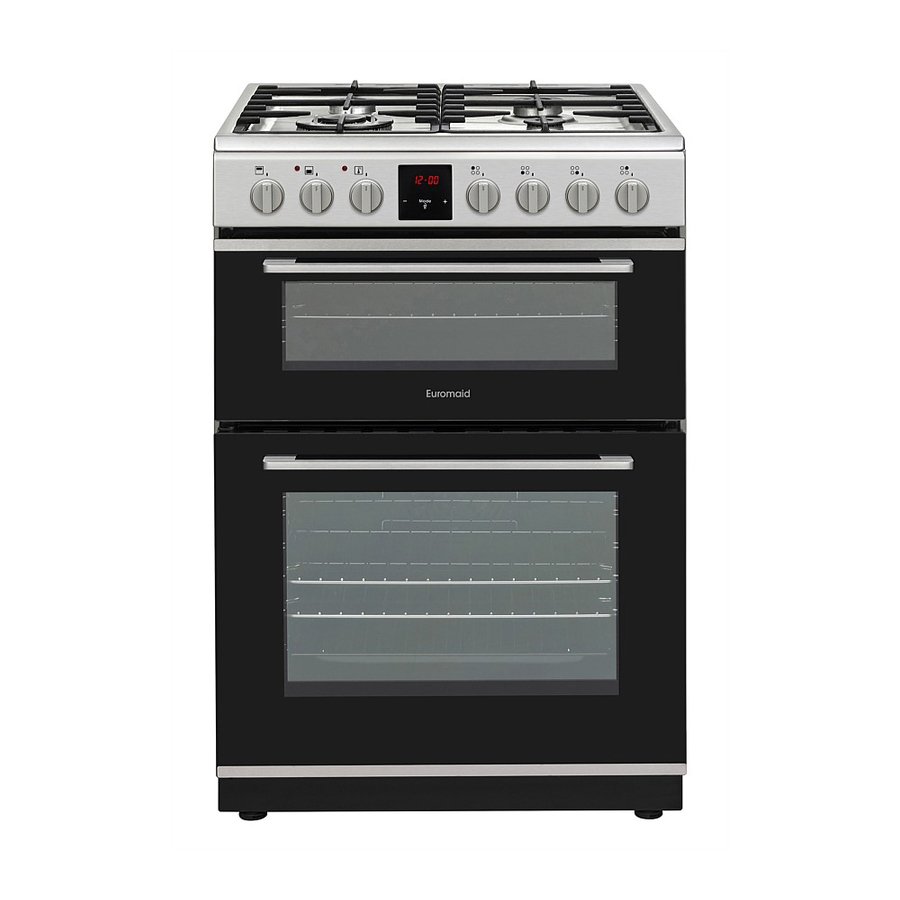
- Page 1 Double Oven / User Manual EMFS60DODFSS...
- Page 2 Dear Customer, Congratulations on the purchase of your new product from Belling. We recommend you please take some time to read the instruction manual thoroughly to familiarise yourself with the functionality and operations to ensure optimum performance of your new appliance. After reading the manual, please store it in a safe and accessible location for future reference.
-
Page 3: Table Of Contents
CONTENTS 1.SAFETY INSTRUCTIONS ....................4 1.1 General Safety Warnings ....................4 1.2 Installation Warnings ......................7 1.3 During Use ........................8 1.4 During Cleaning and Maintenance ................10 2.INSTALLATION AND PREPARATION FOR USE ............12 2.1 Instructions for the Installer ..................12 2.2 Installation of the Cooker ....................13 2.3 Gas Connection ......................13 2.4 Gas Conversion (if available) ..................14 2.5 Electrical Connection and Safety (if available) ............15... -
Page 4: Safety Instructions
1. SAFETY INSTRUCTIONS • Carefully read all instructions before using your appliance and keep them in a convenient place for reference when necessary. • DO NOT USE OR STORE FLAMMABLE MATERIALS IN THE APPLIANCE STORAGE DRAWER OR NEAR APPLIANCE • DO NOT SPRAY AEROSOLS IN THE VICINITY OF THIS APPLIANCE WHILE IT IS IN OPERATION •... - Page 5 of experience and knowledge if they have been given supervision or instruction concerning use of the appliance in a safe way and understand the hazards involved. Children should not play with the appliance. Cleaning and user maintenance should not be made by children without supervision. WARNING: The appliance and its accessible parts become hot during use.
- Page 6 information refer to the anti-tilting kit set guide.) • During use the appliance will get hot. Care should be taken to avoid touching heating elements inside the oven. • Handles may become hot after a short period during use. • Do not use harsh abrasive cleaners or scourers to clean oven surfaces.
- Page 7 cooking food and is intended for indoor domestic household use only. It should not be used for any other purpose or in any other application, such as for non-domestic use, in a commercial environment or for heating a room. • Do not use the oven door handles to lift or move the appliance.
-
Page 8: Installation Warnings
made of glass or glass ceramic: CAUTION: “In case of hotplate glass breakage”: - immediately shut off all burners and any electrical heating element and isolate the appliance from the power supply - do not touch the appliance surface - do not use the appliance. •... -
Page 9: During Use
1.3 During Use • When you first use your oven you may notice a slight smell. This is perfectly normal and is caused by the insulation materials on the heater elements. We suggest that, before using your oven for the first time, you leave it empty and set it at maximum temperature for 45 minutes. - Page 10 • Make sure the appliance control knobs are always in the “0” (stop) position when the appliance is not in use. • The trays incline when pulled out. Take care not to spill or drop hot food when removing it from the oven.
-
Page 11: During Cleaning And Maintenance
use. Avoid touching the inside surface. • Do not hang towels, dishcloths or clothes from the appliance or its handles. 1.4 During Cleaning and Maintenance • Make sure that your appliance is turned off at the mains before carrying out any cleaning or maintenance operations. - Page 12 EN - 10...
-
Page 13: Gas Connection
Overall appliance dimensions (WxDxH) 600mm x 600mm x 900mm Clearance from combustible materials: 200mm sides from the edge of the nearest burner. 600mm overhead from the top of the trivets. 2.3 Gas Connection LPG: Gas pressure must be adjusted to Assembly of gas supply and leakage 2.75 kPa. -
Page 14: Gas Conversion (If Available)
1. Disconnect power. Points that must be checked during fixed gas connection assembly 2. Light the auxiliary burner and set to high The method used to assemble a fixed flame. Ensure all other burners are off. gas connection (gas connection made 3. -
Page 15: Electrical Connection And Safety (If Available)
Changing injectors Hob Valve with flame failure Valve with flame failure burners device device • Cut off the main gas supply and unplug the appliance from the mains electrical supply. • Remove the burner caps and the adapters. Bypass screw Screw(i •... - Page 16 the flame does not die out when passing from the maximum position to the minimum Burner position. Create an artificial wind with your hand towards the flame to see if the flames are stable. Adapter Changing the gas inlet For some countries, the gas inlet type can be different for NG/LPG gases.
-
Page 17: Safety Chain
3- Safety chain (mounted to appliance) • The appliance is designed for a power supply of 220-240 V~. If your supply is 4- Tightly fix chain to cooker rear different, contact the authorized service 5- Rear of cooker personnel or qualified electrician. 6- Kitchen wall •... -
Page 18: Product Features
3. PRODUCT FEATURES Important: Specifications for the product vary and the appearance of your appliance may differ from that shown in the figures below. List of Components 1. Cooktop 2. Control Panel 3. Top Oven Door Handle 4. Top Oven Door 5. -
Page 19: Use Of Product
4. USE OF PRODUCT ignition hole that is located on the front left corner of the burner. Move the ignition source away as soon as you see a stable 4.1 Use of gas burners flame. Ignition of the burners For grill burner: Push in and turn the grill The position symbol above each control control knob clockwise until the marker on knob indicates the burner that the knob... - Page 20 Rapid / Wok Burner 22-26 cm Semi-rapid Burner 14-22 cm Auxiliary Burner 12-18 cm Make sure that the tips of the flames do not spread out from the outer circumference of the pan, as this may harm plastic accessories, such as handles. OFF position MAX position Switch the main gas control valve off when...
- Page 21 Main Oven Functions switch on, and the upper and lower heating elements and fan will start operating. The * The functions available on your oven may temperature can be adjusted using the main differ from those listed below depending on oven thermostat knob.
- Page 22 Static Cooking Faster Grilling Function: Switch on Function: Switch on the STATIC function the FASTER GRILL using the top oven function using the function control knob. function selector knob. The oven thermostat The oven thermostat and warning lights will and warning lights will illuminate, and the illuminate, and the grill and upper heating upper and lower heating elements will...
- Page 23 3. The symbol “ ” will 1. Press the “MODE” remain illuminated, the for 2 sec to deactive time will be saved and keylock and the dot the warning will be set. in the middle of the screen will start to flash.
- Page 24 so that cooking will finish at a set time. You 2. Press “MODE” until can set an end time of up to 10 hours after you see “dur” symbol the current time of day. Prepare the food for on the screen. The cooking and put it in the oven.
-
Page 25: Accessories
sound, while the current time of day is displayed, press “+” and “-” keys and the dot in the middle of the screen will start to flash. Press “MODE” to display current signal sound. After this, each time the “-” button is pressed, a different signal will sound. -
Page 26: Cleaning And Maintenance
The Deep Tray the wok adaptor may cause the burner to malfunction. The deep tray is best used for cooking stews. Do not use the wok adaptor with Put the tray into any rack and push it to the flat-bottomed saucepans. Do not use end to make sure it is placed correctly. - Page 27 • You may need to use a liquid cleaning material occasionally to completely clean the oven. Cleaning the Gas Hob • Clean the gas hob on a regular basis. • Take off the pan supports, caps and Catalytic Cleaning crowns of the hob burners. Catalytic liners are installed within the oven •...
- Page 28 cloth soaked in soapy water. Then, wipe them over again with a wet cloth and dry them. Do not clean the enamelled parts while they are still hot from cooking. Do not leave vinegar, coffee, milk, salt, water, lemon or tomato juice on the enamel for a long time.
- Page 29 3. Close the door until it almost reaches the fully closed position and remove the door by pulling it towards you. EN - 29...
-
Page 30: Maintenance
Removal of the Wire Shelf To remove the wire rack, pull the wire rack as shown in the figure. After releasing it from the clips (a), lift it up. 5.2 Maintenance WARNING: The maintenance of this appliance should be carried out by an authorised service person or qualified technician only. -
Page 31: Troubleshooting&Transport
6. TROUBLESHOOTING&TRANSPORT 6.1 Troubleshooting If you still have a problem with your appliance after checking these basic troubleshooting steps, please contact an authorised service person or qualified technician. Problem Possible Cause Solution The burners may be in the ´off` position. Check the position of the control knob. -
Page 32: Transport
Check that the recommended temperatures and shelf positions are being used. Do not frequently open the door unless you are Cooking is uneven Oven shelves are incorrectly cooking things that need to be turned. If you within the oven. positioned. open the door often, the interior temperature will be lower and this may affect the results of your cooking. -
Page 33: Technical Specifications
7. TECHNICAL SPECIFICATIONS 7.1 Injector Table Burner Gas Type Injector Size (mm) (kPa) (M/h) 0.90 Auxilliary 1.18 Semi Rapid 1.70 Natural Gas Maın Oven Burner 1.35 Grill Burner 1.35 Auxilliary 0.50 Universal LPG Semi Rapid 2.75 0.72 0.98 Maın Oven Burner 0.75 Grill Burner 0.69... - Page 34 10757403 IB...
Need help?
Do you have a question about the EMFS60DODFSS and is the answer not in the manual?
Questions and answers