Advertisement
Table of Contents
Advertisement
Table of Contents

Subscribe to Our Youtube Channel
Related Manuals for Clover D14A


Summary of Contents for Clover D14A
- Page 1 Updated on 18 March, 2010 - 1 -...
-
Page 2: Table Of Contents
6. CLEANING ....................……………………….7 7. TROUBLESHOOTING GUIDE................………..8, 9, 10 8. WIRING DIAGRAM…………………………............………..……..10 9. EXPLODED VIEW & SERVICE PARTS LIST A. D14A..........................11, 12 B. D14B..........................13, 14 FOR YOUR SAFETY Please read the following safety precaution before servicing the watercooler. 1) Check if an electric leakage occurs in the appliance. -
Page 3: Specification & Parts Identification
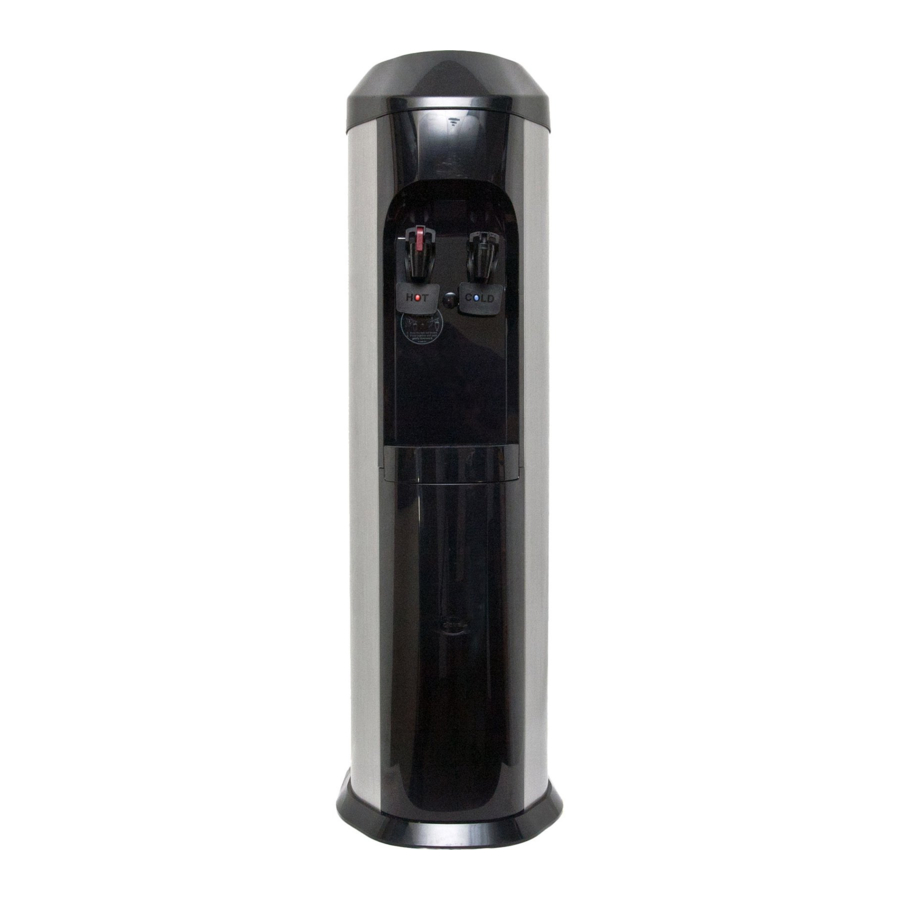
Updated on 18 March, 2010 1. SPECIFICATION & PARTS IDENTIFICATION MODEL D14A(HOT & COLD) D14B(COOK & COLD) DIMENSION 313W×323D×1000H(mm) WEIGHT 16kg 15kg CONSUMPTION 105W TEMP CONTROL AUTO COLD TANK Stainless Steel CAPACITY 3.8 ℓ/h (10℃) CONSUMPTION 440W/465W PROTECTOR Heat Limiter TEMP. -
Page 4: Operation & Function Of Parts
Updated on 18 March, 2010 2. OPERATION & FUNCTION OF PARTS A. Cooling Operation The vapor refrigerants that compressed to high temperature & high pressure conditions in the compressor, turn into liquid refrigerant of high temperature and high pressure passing through the condenser, and then turn into the liquid refrigerants of low temperature and low pressure conditions by passing through the capillary tubes. -
Page 5: Function Of Parts
Updated on 18 March, 2010 The electric heater inside of the hot water tank heats the supplied water. The temperature of hot water is controlled by the hot control at a proper temperature. In case of overheating, the heat limiter will operate automatically. -
Page 6: Installation Procedures
Updated on 18 March, 2010 4. INSTALLATION PROCEDURES A. Install drip tray below faucet. B. Thoroughly clean the dual float valve, the cooling tank and baffle. The dual float valve and baffle must be in exact place for proper cooling operation. CAUTION: IF THE COLD WATER BAFFLE IS REMOVED, COLD WATER WILL NOT BE FORMED NOR DISCHARGED. -
Page 7: Cleaning
Updated on 18 March, 2010 G. When storing, ensure it stands on its erect position on the flat and even ground. (Do not lay the product on its sides down or upside down.) H. When not use for a long period of time, conduct product cleaning before you put in storage. CAUTION: FAILURE TO ABIDE BY ABOVE PROCEDURE MAY INCUR PHYSICAL DAMAGE ON THE COOLER. -
Page 8: Troubleshooting Guide
Updated on 18 March, 2010 7. TROUBLESHOOTING GUIDE TROUBLE POSSIBLE CAUSE REMEDY REFRIGERATION SYSTEM No electric power to outlet. Turn on electric power outlet. Adjust or replace the thermostat, as The thermostat is misadjusted or defective. necessary. The wires leading to the thermostat are Check the internal wiring. - Page 9 Updated on 18 March, 2010 The compressor is defective. If wattage readings are normal, the cold Replace the cold water thermostat. water thermostat may be defective. E. The water cooler has a short running The cold water thermostat is improperly set cycle.
-
Page 10: Wiring Diagram
Updated on 18 March, 2010 because of inherent conditions. operating sounds. WATER LEAKAGE A. Water drips from The faucet body packing and spring is Press down the faucet lever several times. faucet. defective. Replace faucet assembly. B. Leakage through inside or outside of The faucet is not completely connected. - Page 11 Updated on 18 March, 2010 - 11 -...
- Page 12 Updated on 18 March, 2010 - 12 -...
- Page 13 Updated on 18 March, 2010 - 13 -...
- Page 14 Updated on 18 March, 2010 - 14 -...
Need help?
Do you have a question about the D14A and is the answer not in the manual?
Questions and answers