Table of Contents
Advertisement
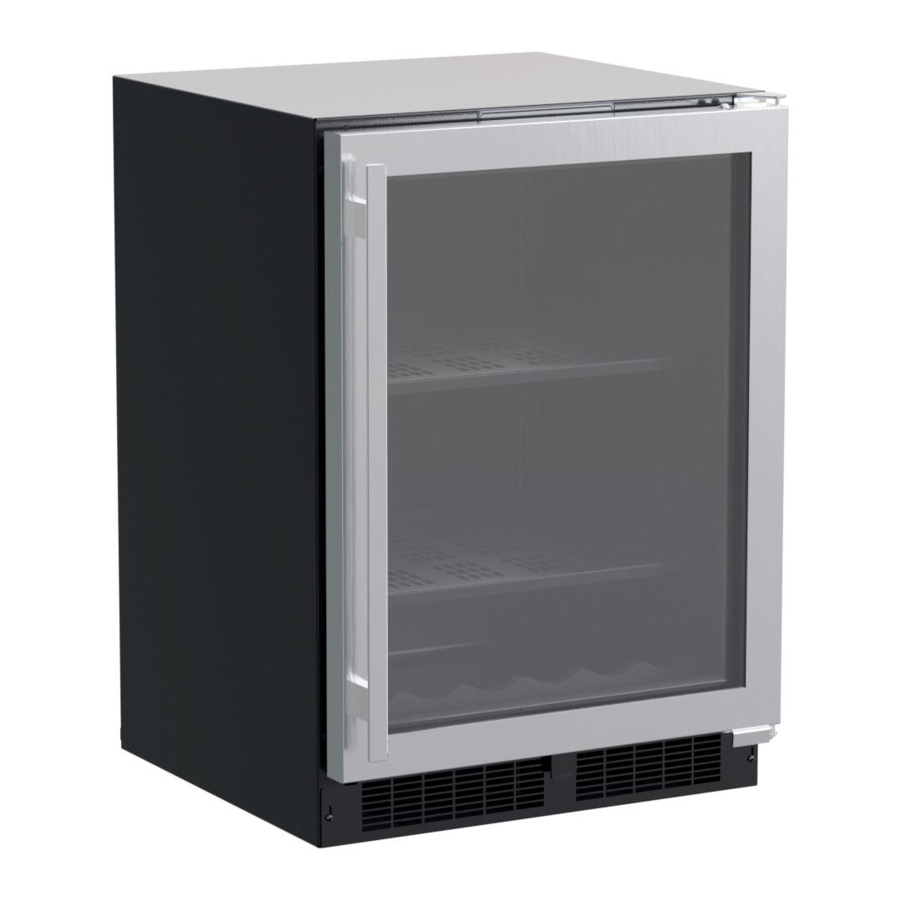
GE T TING STARTED
QUICK REFERENCE GUIDE
M ARVEL UNDERCOUNTER REFRIGERATION
M L B V 2 1 5
M L B V 1 2 4
M L B V 2 2 4
M L R E 2 1 5
M L R E 0 2 4
M L R E 1 2 4
M L R E 2 2 4
M L D R 2 2 4
M L K R 2 2 4
M L W C 1 2 4
M L W C 2 2 4
M L W C 3 2 4
M L W C 2 1 5
T H E O R I G I N A L R E F R I G E R AT I O N E X P E R T S S I N C E 1 8 9 2
Advertisement
Table of Contents


Need help?
Do you have a question about the MLBV215 and is the answer not in the manual?
Questions and answers