Advertisement
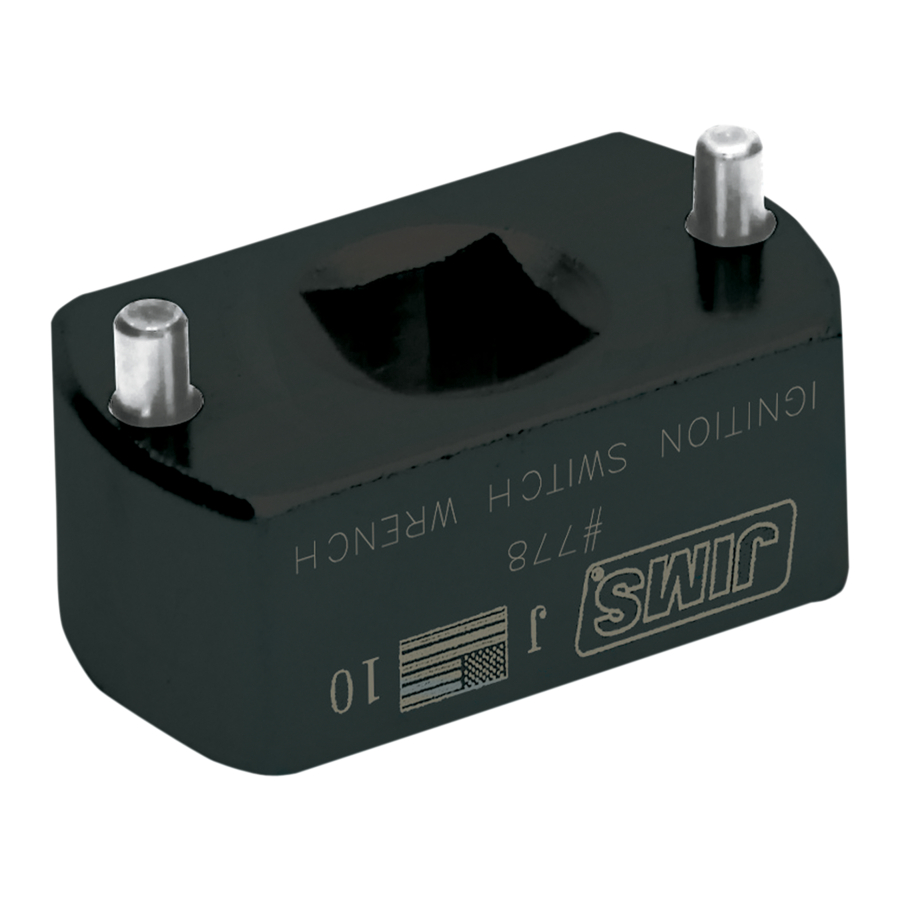
No.778-IS
I I n n s s t t r r u u c c t t i i o o n n S S h h e e e e t t F F o o r r T T o o o o l l N N o o . . 7 7 7 7 8 8
F F X X D D I I g g n n i i t t i i o o n n S S w w i i t t c c h h / / F F o o r r k k L L o o c c k k T T o o o o l l
This tool will remove or install the ignition / fork lock, switch face
plate which secures the ignition switch by the neck frame area on
all Dyna models.
No. 778 - Use on all yna models 2006 to present
Refer to H-D
®
service manual for the year & model you're servicing
for reference and specifications.
NOTE: PLE SE RE D LL INSTRUCTIONS COMPLETELY BEFORE PERFORMING NY WORK!
IF YOU DO NOT KNOW WH T YOU RE DOING, DO NOT DO IT!
No information in this instruction sheet pertaining to motorcycle repair is represented as foolproof or even altogether safe.
Even something safe, done incorrectly or incompletely can and will backfire. You and only you are responsible for the safe-
ty of your repair work and for you understanding the application and use of repair equipment, components, methods
and concepts.
Each and every step this tool is designed to do must be carefully and systematically performed safely by you. All informa-
tion listed in this instruction sheet has been tested, re-tested and used daily in JIMS
Department.
LW YS WE R S FETY GL SSES OR OTHER F CE ND EYE PROTECTION SUCH S FULL
F CE SHIELD. JIMS
IS NOT RESPONSIBLE FOR THE QU LITY ND S FETY OF YOUR WORK.
Read all instructions before performing this service.
Tools required for switch removal and installation:
• 3/8" drive ratchet wrench
• 3/8" drive extension
• H-D Service Manual for year and model you're working on
• No. 243 blue Loctite thread lock
Switch Removal:
1. Refer to H-D Service Manual for instructions on preparing
motorcycle for removal and installation of the ignition switch /
fork lock.
2. Now you should be ready to start the switch removal by remov-
ing the ignition switch label.
See Fig 1.
See JIMS
555 Dawson Drive, Camarillo, CA 93012 Phone 805-482-6913 • Fax 805-482-9224
Division of Thiessen Products, Inc.
IS NOT RESPONSIBLE FOR D M GE, INJURY, OR YOUR WORK. JIMS
®
• 3/8" drive torque wrench
CAUTION: Wear safety glasses over your eyes.
®
catalog for Hundreds of top quality professional tools.
The last tools you will ever need to buy.
Visit us on the web at www.jimsusa.com
®
Research and Development
Location
Dimple
Remove
Label
FIG.1
Rev A
08/15
®
1 1
Advertisement
Table of Contents

Related Manuals for JIMS 778


Summary of Contents for JIMS 778
- Page 1 Each and every step this tool is designed to do must be carefully and systematically performed safely by you. All informa- tion listed in this instruction sheet has been tested, re-tested and used daily in JIMS ® Research and Development Department.
- Page 2 Loctite to the I.D. of threads of the face nut and thread on by hand in a counter clockwise direction onto the switch body. Next use the JIMS tool No.788 and using a 3/8” drive torque wrench and tighten to H-D specification’s per manual. See Fig.
Need help?
Do you have a question about the 778 and is the answer not in the manual?
Questions and answers