Table of Contents
Advertisement
Quick Links
Advertisement
Table of Contents

Related Manuals for MORryde Aie1


Summary of Contents for MORryde Aie1
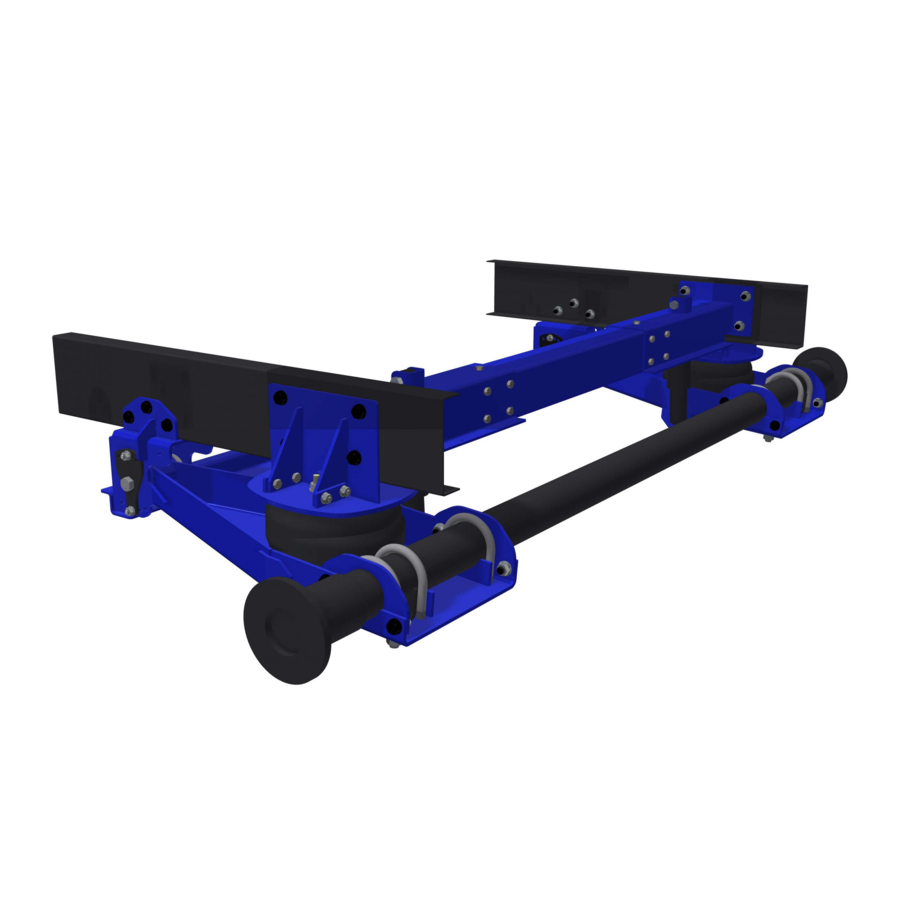
- Page 1 Single Axle Air Suspension System O W N E R S M A N U A L...
- Page 3 • Flat Tire Change Procedure .......................25 • Installing Wheel Covers ........................26 Getting Help • YouTube Video Suggestions ...................... 27 • Limited Warranty and Return Policy ..................27 • Replacement Parts Information ....................27 • Contact Information ........................27 PAGE 2 574.293.1581 MORryde.com • •...
-
Page 4: Torque Chart
CONFIDENTIAL: THE INFORMATION CONTAINED ON THIS DRAWING IS THE EXCLUSIVE PROPERTY OF FINISH: SHEET: ANGULAR ± 1° MORryde. THIS INFORMATION IS CONSIDERED AS CONFIDENTIAL INFORMATION AND SHALL NOT BE VARIES Above. Beyond. Always. COPIED, DUPLICATED OR SHARED WITH ANY 3RD PARTY WITHOUT WRITTEN CONSENT BY MORryde. - Page 5 ANGULAR ± 1° MORryde. THIS INFORMATION IS CONSIDERED AS CONFIDENTIAL INFORMATION AND SHALL NOT BE VARIES REVISION HISTORY COPIED, DUPLICATED OR SHARED WITH ANY 3RD PARTY WITHOUT WRITTEN CONSENT BY MORryde. MRA22-001 PAGE 4 ALL DIMENSIONS OUTSIDE AND IN INCHES UNLESS...
-
Page 6: Power Pack
I N T R O D U C T I O N The MORryde Air1 system controls air suspension height on your trailer using a remote and/or a mobile app to control air pressure. There are three main components to this system:... - Page 7 Union T — This may also be replaced Air Hose to Curbside with a Street T on the Curbside Air Spring Air Spring Air Hose to Roadside Air Spring From Compressor Union T To Air Spring PAGE 6 574.293.1581 MORryde.com • •...
- Page 8 P OW E R PAC K D E TA I L S Plumbing and Electrical Powerpack: Back View Air Compressor Electrical Connection to Module Air Filter One-Way Air Outlet to Module Air Intake Hose Check Valve Powerpack: Front View Pressure Control Module Power Supply Wire...
-
Page 9: Product And Safety Information
Do NOT kneel the trailer when working under it. Securely block all trailer wheels when the unit is disconnected from the towing vehicle. All work should be done on level ground. Don't place hands in this area PAGE 8 574.293.1581 MORryde.com • •... - Page 10 • Towing vehicle manufacturer's ratings • The system uses a 12v compressor. Contact • Hitch manufacturer's ratings MORryde for correct replacement if necessary. • Trailer manufacturer's ratings • Trailer coupler manufacturer's ratings • Use the correct size ball for the trailer coupler and prior to hitching and towing, ensure compatibility.
- Page 11 System Mobile App U S E R G U I D E PAGE 10 574.293.1581 MORryde.com • •...
-
Page 12: Operation
R E M OT E Up arrow / Inflate •• (P2) Bluetooth signal strength Battery life indicator indicator and connection status (indicates full or low) indicator Air pressure setting (PSI or BAR) Indicates when the system is Indicates preset; inflating or deflating no preset indicated when pressure is set manually Down arrow / Deflate... -
Page 13: Troubleshoot
4). The factory default is PSI. figure 4 figure 2 Troubleshoot Select "Troubleshoot" from the menu to see system error messages. For more information about error messages, review the section in this manual called Troubleshooting Guide. figure 3 PAGE 12 574.293.1581 MORryde.com • •... -
Page 14: User Interface Operation
R E M OT E P R E S E T S STEP 1 Set the pressure to the desired level using the inflate and deflate buttons (fig. Up arrow / Inflate STEP 2 To set each preset: •• (P2) Preset 1: Press and hold the •... - Page 15 STEP 3 The app will automatically go to the "Devices" screen if no connected module is detected. Click on the device you want to pair. The module will have MORryde Air1 in the title. Each device also shows the connection status (fig.
-
Page 16: Firmware Update
Connect the app to the module to change firmware on the module (fig. 11). STEP 2 Update MORryde Air1 app to download the latest firmware for transfer to the module. A N D R O I D A P P Dashboard Operation Menu... - Page 17 STEP 3 The app will automatically go to the "Devices" screen if no connected module is detected. Click on the device you want to pair. The module will have MORryde Air1 in the title. Each device also shows the connection status (fig.
-
Page 18: Firmware Updates
17 figure 16 Firmware Updates STEP 1 Connect the app to the module to change firmware on the module (fig. 17). STEP 2 Update the MORryde Air1 app to download the latest firmware for transfer to the module. - Page 19 (fig. 19). If the trailer is going to be used frequently in cold weather, contact MORryde International for a Cold Weather Kit that can be added to your Single Axle Air Suspension.
- Page 20 Negative Positive Internal clips Replacing the Batteries in the Remote STEP 1 To install the two CR2032 batteries in the remote, use a small flat screwdriver to separate the two halves of the remote by prying apart the internal clip locations. STEP 2 Stack the batteries positive to negative inside the rear cover with the positive end pointed in the direction of the circuit board.
- Page 21 Locate and correct the leak (See Finding Air Leaks Compressor runs often Small air leak in the system and Fixing Leaks in Barbed Fittings and Fixing without commanding an Leaks on PTC Fittings) inflate adjustment PAGE 20 574.293.1581 MORryde.com • •...
- Page 22 Finding Air Leaks STEP 1 Inflate the air springs to 30 PSI (2.1 BAR). STEP 2 Spray all connections with a solution of liquid dish soap and water. Wait 30 seconds and check for bubbles, which indicate leaks. STEP 3 Check the air pressure again after 24 hours.
- Page 23 Schrader valve using an external air supply (gas station air or external air compressor). Inflate to achieve the green zone suspension height before towing. Depress the Schrader valve to deflate and reduce height. PAGE 22 574.293.1581 MORryde.com • •...
- Page 24 Tools Required: • 9/16" wrench and socket • 15/16" wrench and socket • 1" open-end wrench • Drift pins • Torque wrench Axle Thrust Adjustment To adjust the axle thrust, rotate the axle thrust adjustment plates. This repositions the axle pivot bolt. The standard positions for the bolts securing the axle thrust adjuster plates to the pivot bracket are 12 (Center Position).
- Page 25 (4) 3/8-15x1" bolts. 12 o'clock STEP 7 Retighten the 5/8-11 axle pivot bolt nut. Axle Thrust Adjuster Plate STEP 8 Retorque the bolts; see torque chart for specifications. Suspension Arm Pivot Bolt Forward Position 7 o'clock PAGE 24 574.293.1581 MORryde.com • •...
- Page 26 Flat Tire Change Procedure Coupled to a Tow Vehicle: Uncoupled from a Tow Vehicle: STEP 1 STEP 1 Set the tow vehicle's parking brake. Position the trailer on level ground. STEP 2 STEP 2 Break loose the lug nuts on the wheel to be changed. Use wheel chocks to block the tire/tires that will not be changed.
- Page 27 Bottle Jack Scissor Jack Lug Nut Star Pattern (5-Bolt) Installing Wheel Covers STEP 1 Elevate the trailer. STEP 2 Place wheel covers over tires. The additional clearance makes this easier. STEP 3 Kneel the trailer. PAGE 26 574.293.1581 MORryde.com • •...
-
Page 28: Contact Information
G E T T I N G H E L P YouTube Video Suggestions Contact Information For help or how-to videos, search MORryde's YouTube channel. Mailing address General Operation of Remote and App 1966 Sterling Avenue Need help? AKTV8 can be reached at 855.772.5888 or visit Elkhart, Indiana 46515-0579 the website at https://aktv8.com/contact/...
Need help?
Do you have a question about the Aie1 and is the answer not in the manual?
Questions and answers