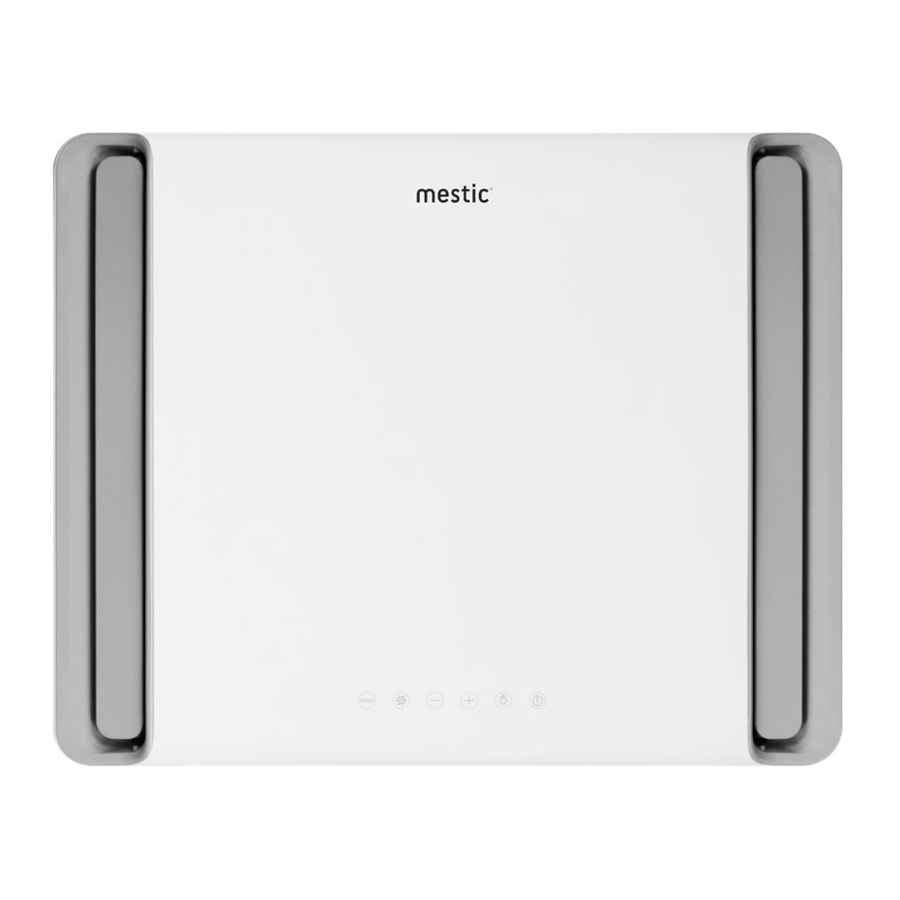
Summary of Contents for MESTIC RTA-2500
- Page 1 MESTIC RTA-2500 AIRCONDITIONER Owner’s Manual Original Instructions Recreational Vehicle Air Conditioner...
-
Page 2: Table Of Contents
A FEW WORDS ABOUT YOUR NEW AIR CONDITIONING UNIT ELECTRICAL DATA ELECTRIC DIAGRAM PACKING LIST PARTS NAME OPERATION OF WIRELESS REMOTE CONTROLLER CONTROL PANEL INSTALLATION INSTRUCTION STEP 1-SELECTING AN INSTALLATION LOCATION & INSTALLING THE ROOF TOP AIR CONDITIONER STEP 2-MOUNTING OUTDOOR UNIT STEP 3-INSTALLING THE CEILING ASSEMBLY STEP 4-ELECTRICAL WIRING STEP 5-COMPLETING THE INSTALLATION... - Page 3 Cleaning and user maintenance shall not be made by children without supervision. • To be in compliance with IEC/EN 61000-3-11, impedance value of power-supply system connected to product must be less than or equal to the allowable maximum value of Zsys in the following sheet: Model Max unit RTA-2500 0.316 Ω...
- Page 4 INSTALLATION PRECAUTION INSTALLATION PRECAUTION WARNING: Requirements Forelectric Connection • Observe all governing codes and ordinances. Safety precaution • Do not use damaged or non-standard power cord. Must follow the electric safety regulations when installing the unit. • Be caution during installation and maintenance. Prohibit incorrect operation to prevent electric shock, casualty and other accidents.
-
Page 5: A Few Words About Your New Air Conditioning Unit
A FEW WORDS ABOUT YOUR NEW AIR CONDITIONING UNIT ELECTRIC DIAGRAM Thank you for choosing the Recreational Vehicle Air Conditioner. This manual will supply you with all the information for installation, operation and maintenance. Take a few minutes to discover how to get the most in cooling comfort and economic operation from your new air conditioner. -
Page 6: Packing List
PACKING LIST PARTS NAME Packing List of Indoor Unit Packing List of Outdoor Unit... -
Page 7: Operation Of Wireless Remote Controller
OPERATION OF WIRELESS REMOTE CONTROLLER INTRODUCTION FOR BUTTONS ON REMOTE CONTROLLER Buttons on remote controller Note: • This is a general use remote controlle , it could be used for the air conditioners with multifunction; For some Note: This remote controller is the universal remote controller. Some function is not available for this unit. function, which the model doesn’t have, if press the corresponding button on the remote controller that the unit will keep the original running status. - Page 8 5 FAN button 10 TEMP-knop Press this button, Auto, Low, Middle, High speed can be circularly selected. After powered on, Auto fan is not available Press this button, could select displaying the indoor setting temperature or indoor ambient temperature. When the for this mode.
- Page 9 INTRODUCTION FOR SPECIAL FUNCTION OPERATION GUIDE About AUTO RUN General operation When AUTO RUN mode is selected, the setting temperature will not be displayed on the LCD, the unit will be in ac- After powered on, press ON/OFF button, the unit wi start to run. (Note: when it is powered on, the guide louver cordance with the room temp.
-
Page 10: Control Panel
REPLACEMENT OF BATTERIES IN REMOTE CONTROLLER CONTROL PANEL Note: If the remote controller is missing, operate on the control panel. Press the back side of remote controller marked with “ “, as shown in the fig, and then push out the cover of battery box along the arrow direction. -
Page 11: Installation Instruction
INSTALLATION INSTRUCTION BEFORE INSTALLATION CASE B. Testrun the unit with proper power supply. Refer to the operation instruction section in the Owner’s Manual Operation Als er geen opening voor een dakventilatie aanwezig is, moet een nieuwe opening in het dak van het voertuig worden &... -
Page 12: Step 2-Mounting Outdoor Unit
STEP 2-MOUNTING OUTDOOR UNIT Open the package and take out the outdoor unit 1) When taking out the outdoor unit after unpacking, do not lift the air outlet grille at the back of outer case (see Figure4-1). Fix the outdoor unit at the roof of vehicle and then drill holes. -
Page 13: Step 3-Installing The Ceiling Assembly
STEP 3-INSTALLING THE CEILING ASSEMBLY The following step by step instructions must be performed in the following sequence to ensure proper installation. Carefully take the ceiling assembly out of the carton the basepan gasket has been evenly compressed. NOTICE (The remote control packed with the ceiling assembly). Before installing the air duct assembly of the Make sure that you have properly matched the roof top air conditioner and interior ceiling assembly.Caution Remove the ceiling grille from the ceiling assembly. -
Page 14: Step 4-Electrical Wiring
ELECTRICAL WIRING STEP 4-ELECTRICAL WIRING ROUTING 220-240V AC WIRING WARNING : Make sure that all power supply to the unit is disconnected before performing any work on the unit to avoid the possibility of shock or injury and/or damage to the equipment. After the interior ceiling assembly frame is properly secured to the roof top air conditioner, the following electrical connections must be performed. -
Page 15: Step 5-Completing The Installation
COMPLETING THE INSTALLATION TROUBLESHOOTING STEP 5-COMPLETING THE INSTALLATION TROUBLESHOOTING GUIDE To complete the installation and system checkout requirements, the following If you have problems with your recreational vehicle air conditioner, check this guide before contacting your service steps must be performed. representative. -
Page 16: Error Code
ERROR CODE NORMAL MAINTENANCE PROCEDURES When air conditioner status is abnormal, temperature indicator on indoor unit will blink to display corresponding error code. Please refer to below list foor indenrification of error code. Above indicator diagram is only for reference. Please refer to actual product for the actual indicator and position. - Page 17 WARNING FAILURE TO FOLLOWING INSTRUCTIONS COULD RESULT IN SERIOUS PERSONAL INJURY Don’t touch the capacitor terminals without the electric discharge, the capacitor still may have the high voltage even though the power supply is turned off. Be careful when you maintain the refrigeration system, which has the high internal pressure. Do not block the filter and the indoor air inlet badly to prevent water leakage.


Need help?
Do you have a question about the RTA-2500 and is the answer not in the manual?
Questions and answers