Advertisement
Available languages
Available languages
Installation Instructions
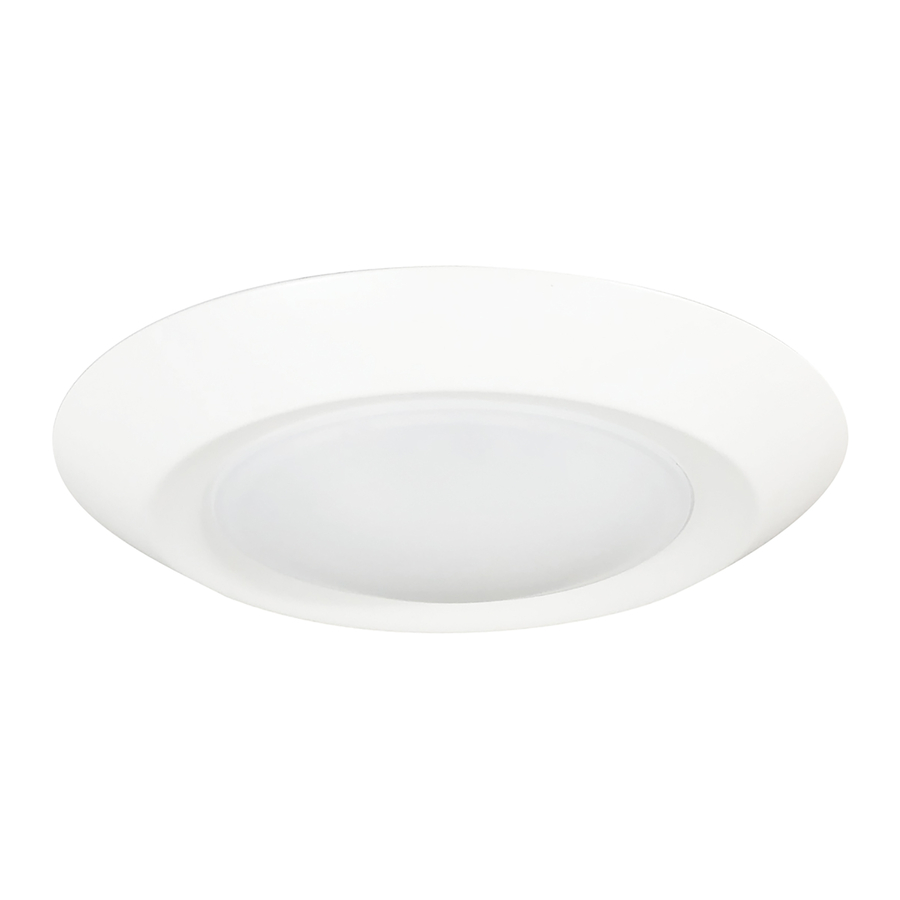
NLOPAC-R6REGT24
6" AC Opal Regressed Surface Mounted LED
WARNING - This equipment is intended to be installed only by qualified personnel. The installation must be made in accordance with the current edition to the National Electric Code and all applicable
state and local building codes. The final installation must be approved by the appropriate qualified electrical/building inspector(s). Improper installation may result in a fire or electrical hazard. Be sure the
electrical power to the circuit has been disconnected before installing this electrical system.
AVERTISSEMENT - Cet équipement est destiné à être installé uniquement par du personnel qualifié. L'installation doit être faite en conformité avec l'édition actuelle du Code national de l'électricité et
toutes étatiques et locales codes du bâtiment applicables. L'installation finale doit être approuvée par l' inspecteur en électricité / bâtiment qualifié approprié(s). Une mauvaise installation peut entraîner un
incendie ou un risque électrique. Soyez sûr de la puissance électrique vers le circuit a été coupée avant l'installation de ce système électrique.
JUNCTION BOX INSTALLATION INSTRUCTIONS:
1. Turn off power.
2. Fasten the provided screws to either a 3" or 4" junction box. Leave enough space between the junction box and screw head to fit
the luminaire.
3. Pull supply wires from junction box. While supporting the luminaire, use wire nuts to make electrical connections (Figure 1) ,
Black lead to hot (Black) supply lead; White lead to neutral (White) supply lead; Green lead to ground (green) supply lead.
4. Turn the luminaires lens counter clockwise to detach the lens from the luminaire.
5. Align the fixture with the junction box and insert the screws through the fixture keyholes. Rotate the fixture until the screws slide
into the narrower end of the keyholes.
6. Tighten the screws until the fixture is secure.
7. Attach the lens back to the fixture by placing the feet of the lens into the slots. Turn the lens clockwise to lock into place.
8. Turn on power.
Figure 1
White - Neutral
Black - Hot / Live
Green - Ground Wire
RECESSED HOUSING INSTALLATION KIT (SOLD SEPARATELY):
1.
Remove existing trim from recessed housing. Verify housing has holders that will accommodate the torsion
springs from kit.
2.
Tear off the label from the fixture.
3.
Rotate lens to the left to remove it. Set Aside.
4.
Affix the spring sets to the fixture using the screws provided. (Figure 2)
5.
Wire the AC Opal to the socket adapter.
6.
Screw the socket adapter into existing socket in housing. (Figure 3)
7.
Squeeze both torsion spring arms together and insert into the torsion spring slots (or receiver brackets) of
the recessed housing. (Figure 4)
8.
Tuck all wires into the recessed housing and carefully push the push the Opal tight to the ceiling. (Figure 6)
9.
Re-attach the lens by rotating it to the right. Ensure lens is securely fastened.
NOTE: When installing the lens line up clips on lens away from clips in pan then twist.
IMPORTANT: Should mounting holes not line up with hole(s)
in J-box, secure the Opal to the ceiling material using compatible
screws making sure to completely cover junction box.
6505 Gayhart Street, Commerce, CA 90040
TEL 323.767.2600 | www.noralighting.com | e-mail: nora@noralighting.com
© 2020 Nora Lighting, Inc. All rights reserved. Instructions subject to change without notice.
READ PRIOR TO ATTEMPTING INSTALLATION
ALWAYS TURN OFF MAIN POWER BEFORE INSTALLATION
INSTALLATION SHOULD BE CARRIED OUT BY YOUR LOCAL ELECTRICIAN
JUNCTION BOX
Figure 2
Figure 3
Min. lamp compartment dimensions
152mm (DIA) x 127mm (H)
FITS 3" & 4"
Figure 4
021920P1
IS-NLOPAC-6REGT24R01
Advertisement
Table of Contents

Related Manuals for Nora Lighting NLOPAC-R6REGT24


Summary of Contents for Nora Lighting NLOPAC-R6REGT24
- Page 1 Figure 4 Min. lamp compartment dimensions 152mm (DIA) x 127mm (H) 6505 Gayhart Street, Commerce, CA 90040 021920P1 TEL 323.767.2600 | www.noralighting.com | e-mail: nora@noralighting.com IS-NLOPAC-6REGT24R01 © 2020 Nora Lighting, Inc. All rights reserved. Instructions subject to change without notice.
- Page 2 Figure 4 Min. lamp compartment dimensions 152mm (DIA) x 127mm (H) 6505 Gayhart Street, Commerce, CA 90040 021920P2 TEL 323.767.2600 | www.noralighting.com | e-mail: nora@noralighting.com IS-NLOPAC-6REGT24R01 © 2020 Nora Lighting, Inc. All rights reserved. Instructions subject to change without notice.
Need help?
Do you have a question about the NLOPAC-R6REGT24 and is the answer not in the manual?
Questions and answers