Table of Contents
Advertisement
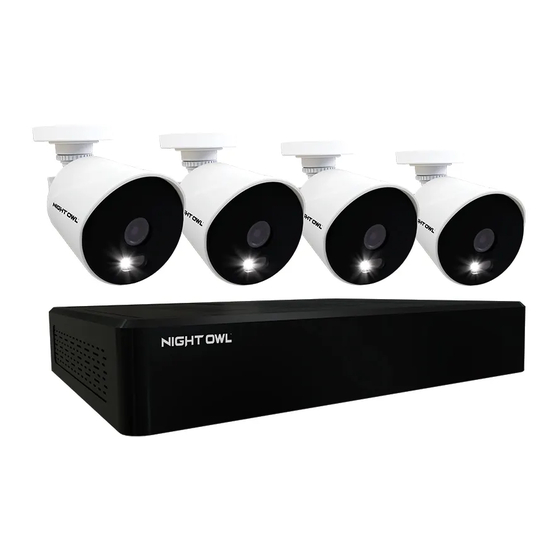
DP2 Series
DVR Component Model #:
Firmware Version:
Camera Component Model #:
Support.NightOwlSP.com
DP2 / DP8 Series
DVR-DP2-16
T2889N
CM-DP2L-B
USER'S MANUAL
DP8 Series
DVR Component Model #:
Firmware Version:
Camera Component Model #:
24/7
SUPPORT
English
Español / Français
DVR-DP8-12
T2889N
CM-DP8L-B
Advertisement
Table of Contents


Need help?
Do you have a question about the DP2 Series and is the answer not in the manual?
Questions and answers
We have DP2 series it has power going to it the mouse is lighting up but the box isn’t I can hear a clicking inside the box but nothing on the tv screen.
If the Night Owl DP2 Series box has power and the mouse is lighting up but there is no display on the TV screen, the issue could be that the camera cables are loose or disconnected. Check the camera video cable and connections, disconnect and reconnect the cable at both the system and the camera, or try moving the camera to another channel or using another cable.
This answer is automatically generated
@Mr. Anderson There is a yellow light blinking on the back I don’t think it did that before. There was a red light on the inside of the box but not now. I can’t do anything because it won’t put anything up on the tv. The red light came on briefly then went off. The mouse lights up & the power box has a green light
Aidez moi à réinitialiser mon DRV DP2 16 car j'ai oublier le mot de passe du compte dejà enregistrer sur ça
To reset the Night Owl DP2 Series DVR password if forgotten, follow these steps:
1. Connect the DVR to a TV or monitor.
2. Access the Login screen and click "Forgot password?".
3. Follow the instructions on the Reset Password screen.
4. Visit https://www.no-protect.com/.
5. Log in to your Night Owl Protect account or create one if needed.
6. If the device is Offline but already registered, proceed to the next step. If not registered, click "Register New Device" and follow the prompts.
7. Once the device is added to My Devices, click "View Details", then "Reset Code".
8. Enter the date from the Reset Password screen on the TV/monitor and click "Get Code".
9. A temporary access code will be provided. Use it to reset the password on your DVR.
Note: Password resets must be done through the Night Owl Protect App or Web Portal, not directly from the DVR.
This answer is automatically generated
Also there is a yellow light blinking on the back that didn’t do that before