Advertisement
Available languages
Available languages
Quick Links
Advertisement

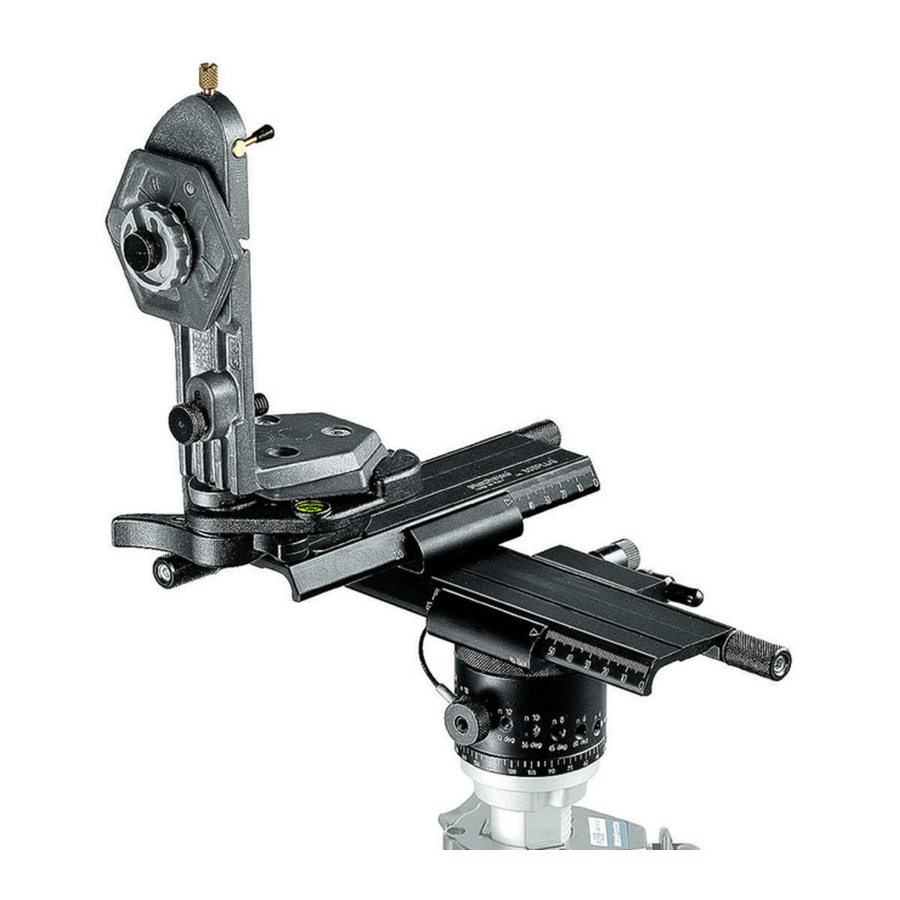
Summary of Contents for Manfrotto 303
- Page 1 Cod. 303,13 - 09/04 Copyright © 2004 Manfrotto Bassano Italy...
- Page 2 90 90 45 45 60 60 45 45 60 60 INSTRUCTIONS 303 - 303PLUS...
- Page 6 303PLUS 9 0 9 0 45 45 60 60 9 0 9 0 45 45 60 60...
- Page 7 3 functions: plate "S” or “P". For the 1 function (accurately levelling), you should use the levelling devices available on the Manfrotto range • Rough initial positioning is achieved as follows & 1. (Ref. figure 2): Once the camera is mounted on the “Camera Support REFER TO FIGURE Bracket”...
- Page 8 NOTE/ANMERKUNG:...
- Page 9 distance remains constant, the more accurate the “Nodal Point” positioning. NOTE 3. For optimum results, make minor adjustments by moving Sliding The angle of the lever on the ratchet knob “H” can be repositioned as required Plates “S” and “P”. without effecting the lock itself.
- Page 10 Ogni piastra scorrevole può essere mossa rapidamente oppure con movimento 2-3 sopra menzionati. Per la funzione 1 (livellamento accurato), si consiglia l’uso micrometrico. degli appositi dispositivi disponibili nella gamma Manfrotto. Per ottenere il movimento micrometrico, accertarsi per prima cosa che il pomello "Z" sia allentato.
- Page 11 • Posizionamento accurato: se la scena da fotografare include soggetti a varie • Avvitare la manopola “F” nel foro di selezione “G” prescelto. distanze dal punto di ripresa (soggetti vicini e lontani), il “Punto Nodale” va • Allentare la leva di bloccaggio “H” e ruotare la fotocamera sulla piastra posizionato con maggiore accuratezza come segue superiore “V”...
- Page 12 Für die Funktion 1 (präzise Ausrichtung) sollte eine geeignete Nivelliervorrichtung • Für eine erste Grobeinstellung verfahren Sie wie folgt: aus dem Manfrotto Programm gewählt werden. 1. (Abb. 2): Nach Anbringung der Kamera auf der Kameraschiene "R" richten Sie die Aufnahmeachse "M" der Kamera auf die Panorama-Drehachse "N"...
- Page 13 Nach optimaler Ausrichtung kann die Stellung der Einstellschlitten "S" und "R" an ANMERKUNG den beiden Skalen abgelesen werden. Der Drehwinkel der Klemme "H" ist ohne Einfluss auf die Klemmwirkung einstellbar. Ziehen Sie Klemme hierzu nach außen, und drehen Sie sie in die WAHL DES DREHWINKELS gewünschte Stellung, wo sie einrastet.
- Page 14 En ce qui concerne la fonction 1 (mise à niveau précise), nous vous Pour obtenir un déplacement rapide, assurez-vous tout d'abord que la vis de recommandons d'utiliser les dispositifs de mise à niveau de la gamme Manfrotto. blocage "Z" est desserrée.
- Page 15 Réglage précis : Débloquez le levier de blocage "H" et faites tourner le boîtier sur le plateau Si la scène à photographier contient des objets situés à des distances variables supérieur "V" pour le placer dans la position de la première prise. par rapport au photographe (objets proches et éloignés), le "Point Nodal"...
- Page 16 1,25 mm cada giro de tornillo. sobre mencionadas: Para obtener un movimiento RÁPIDO, primero asegurense que el mando de Para la función 1 (exacta nivelación) se deben utilizar los dispositivos Manfrotto bloqueo “Z” esté suelto. para la nivelación Luego giren el botón “K" como en la fig.1 y contemporáneamente deslicen el plato “S”...
- Page 17 • Ajuste Preciso: si la escena incluye objetos colocados a varia distancias Enrosquen el mando “F” en los huecos predispuestos para el montaje “G”. desde el punto de la encuadradura (objetos cercanos o lejanos), el “Nodal Suelten la palanca de bloqueo “H” y giren la cámera en la plataforma superior “V” Point”...
- Page 19 4 4A 4B 90° 60° 45° 36° 30° 24° 20° 15° 10° 5°...
- Page 20 NOTE/ANMERKUNG:...


Need help?
Do you have a question about the 303 and is the answer not in the manual?
Questions and answers