Table of Contents
Advertisement
Quick Links
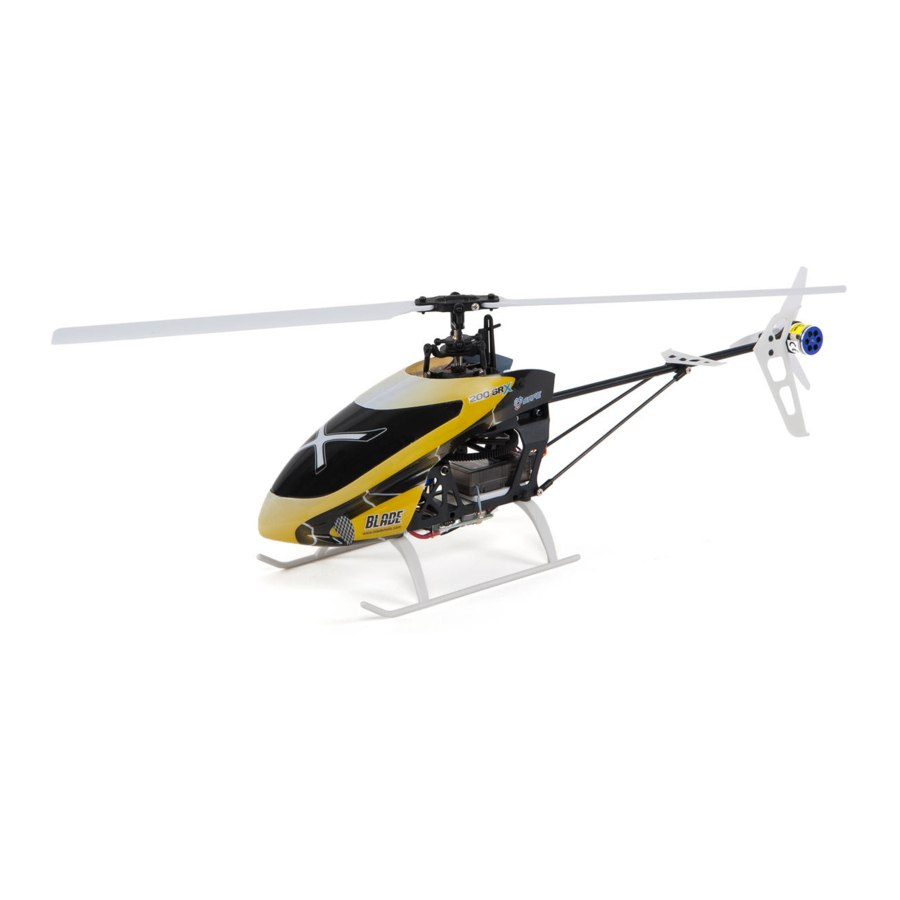
Blade® 200 SR X Gain Adjustment
The 200 SR X default settings are appropriate for most users. We recommend flying with the default gain
parameters first, especially for newer pilots. More advanced pilots may want to adjust the gain parameters. Pilots
flying at higher altitudes (above 4000 feet or 1200 meters msl) will likely want to increase the motor power to
improve performance.
Entering Gain Adjustment Mode
1. Lower the throttle stick to the lowest position. If your transmitter utilizes mechanical trims (like the
included RTF transmitter), set the throttle trim to the highest position. Set all other trims to the center
position.
Gas-Stick auf Gas aus (zur Vorsicht die Blätter abschrauben)
2. Power ON the transmitter.
Sender einschalten
3. Install the flight battery on the helicopter frame. Secure the flight battery with the hook and loop strap.
Akku aufschnallen
4. Connect the battery connector to the ESC.
Akku einstecken
5. Place the helicopter on a flat surface and leave it still until the motor beeps twice and the blue ESC LED
glows solid, indicating initialization is complete.
Den Heli auf eine ebene Fläche stellen und warten bis die Initialisierung fertig ist
6. Move and hold the left stick to the bottom right corner and the right stick to the bottom right corner. See
illustration.
Den linken und rechten Stick in die rechte untere Ecke ziehen (außer bei mir da ich Mode 1 fliege und Gas
ziehe)
Panic Button noch dazu halten und warten bis die Servos sich bewegt haben – dann alles loslassen.
Sie befinden sich nun im Gain Einstell Modus
7. Press and hold the bind/panic switch until the swash servos move.
8. Release the sticks and bind/panic switch.
9. The model is now in Gain Adjustment Mode.
Bei der Spektrum DX6i muss man den FLAP/Gyro ziehen um in die GAIN Einstellungen zu
gelangen
Gain Adjustment
The gain adjustment parameters are scaled to appropriate and safe adjustments per function, so you cannot
accidentally make your model unflyable. Plus, any changes made are easily reversible by resetting to the default
settings. For example, 0% cyclic gain does not turn the gyros off; it simply decreases the gain. 100% is the default
gain for each parameter.
The selected gain parameter is indicated by the lean of the swashplate on the roll axis:
Gain Parameter 1 = 100% Left
Gain Parameter 2 = 50% Left
Gain Parameter 3 = 50% Right
Gain Parameter 4 = 100% Right
Use the aileron stick to select the gain parameter you would like to adjust. Move the stick to the right to select the
next gain parameter. Move the stick to the left to select the previous gain parameter.
Benutzen Sie den Roll-Stick nach Rechts, um zum nächsten Gain-Parameter zu gelangen
Mit Roll-Stick nach links zum vorherigen Gain-Parameter.
Advertisement
Table of Contents

Related Manuals for Blade 200 SR X


Summary of Contents for Blade 200 SR X
- Page 1 Blade® 200 SR X Gain Adjustment The 200 SR X default settings are appropriate for most users. We recommend flying with the default gain parameters first, especially for newer pilots. More advanced pilots may want to adjust the gain parameters. Pilots flying at higher altitudes (above 4000 feet or 1200 meters msl) will likely want to increase the motor power to improve performance.
- Page 2 Mit dem Elevator (Nick) Stick aufwärts wir der Gain Wert erhöht – mit dem Elevator (Nick) Stick abwärts wir der Gain Wert erniedrigt Once the gain parameter is selected, the gain value is indicated by the lean of the swashplate on the pitch axis: 0% Gain = Full Aft 50% Gain = 50% Aft 100% Gain = Level Swash on the Pitch Axis...
- Page 3 Gain Parameter 1 = Cyclic Gain Adjustment (H1 – Wert A im Flight log Bildschirm) Default = 100% Higher gain results in greater stability and faster response to stick inputs. Setting the gain too high may result in random twitches in flight, depending on the level of vibration on the model. Lower gain results in a decrease in stability and a slightly slower response to stick inputs.
- Page 4 Gain Parameter 3 = Filtering Adjustment (H3 – Wert L im Flight log Bildschirm) Default = 100% This adjustment is most useful for pilots flying in high-altitude locations. Higher gain results in decreased vibration filtering. Use higher gain if the model feels disconnected and unstable. Lower gain results in increased vibration filtering.
- Page 5 Gain Parameter 4 = Motor Power Adjustment (H4 – Wert R im Flight log Bildschirm) Default = 100% - (kann bis auf 200% hochgesetzt werden) Higher values result in a faster climb rate but may result in the tail drifting during fast accelerations. After adjusting the motor power, tail rotor gain adjustment may be necessary.
- Page 6 So muss das für 200% Motorleistung aussehen: A= H1 = Cyclic Gain (Roll und Nick) B= H2 = Tail Rotor Adjustment (Heck) C= H3 = Filtering Adjustment (Vibrationen ausfiltern) R= H4 = MotorPower Telemetry-Enabled Transmitters If you are using a Spektrum™ telemetry-enabled transmitter the gain adjustments can be viewed on the Flight Log Screen.
- Page 7 ©2014 Horizon Hobby, LLC. Blade and the Horizon Hobby logo are registered trademarks of Horizon Hobby, LLC. The Spektrum trademark is used with permission of Bachmann Industries, Inc.
Need help?
Do you have a question about the 200 SR X and is the answer not in the manual?
Questions and answers