
Related Manuals for in-lite FLUX 60


Summary of Contents for in-lite FLUX 60
- Page 1 FLUX 60 Handleiding Manual Installationshinweise Manuel d’utilisation Manual de instrucciones in-lite...
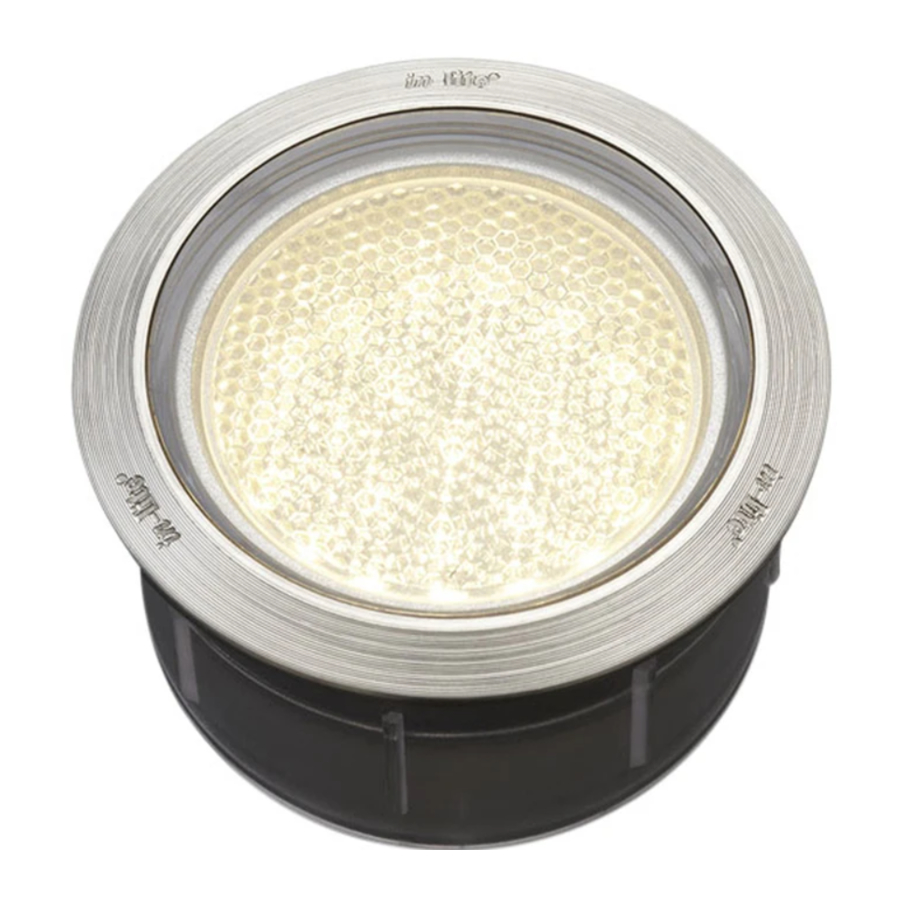
- Page 2 Ø 60 mm...
- Page 4 Deze is alleen geschikt voor het gebruik in combinatie met een laag- Slagvast polycarbonaat spanningssysteem, 12V. Dit product alleen gebruiken binnen het in-lite RVS ring systeem. Bij gebruik van andere dan in-lite producten vervalt de garantie. Lees voorafgaande aan de installatie de volgende voorschriften. Geadviseerd wordt deze installatievoorschriften te bewaren.
- Page 5 b. Klem het juiste kabelgootje bovenop de hoofdkabel. Er blijft geen Het installeren van het armatuur op 12V ruimte over tussen de kabel en het gootje. Door de reeds gemonteerde lichtbron is het armatuur direct geschikt c. Plaats het kabelgootje (met de kabel aan de onderzijde) in de Easy- voor gebruik.
- Page 6 It is only suitable for use in combination with a 12 V low-voltage Impact-resistant polycarbonate system. This product should only be used within the in-lite system. Use Stainless steel ring of products other than those made by in-lite will invalidate the warranty.
- Page 7 c. Place the cable duct (with the cable at the bottom) in the Easy- Connecting the fixture to 12 V Lock connector. The already installed lamp means the fixture is immediately ready for d. Tighten the threaded cap on the Easy-Lock connector. This will use.
- Page 8 Inhalt 1x FLUX 60 12 V / 2 W Allgemeine Installationshinweise Abmessung Ø 60 mm, Ring Ø 68 mm Bitte beachten Sie bei der Installation, dass alle Komponenten zu- Einbauhöhe 55 mm gänglich sein müssen, falls ein Austausch nötig sein sollte.
- Page 9 kein Zwischenraum zwischen Kabel und Kanal. Anschluss der Armatur an 12 V c. Den Kabelkanal (mit dem Kabel an der Unterseite) in den Easy- Dank der bereits installierten Lichtquelle ist die Armatur gebrauchs- Lock-Verbinder einsetzen. fertig; es braucht also nicht erst eine Lichtquelle eingesetzt zu werden. d.
- Page 10 Matériau Ce câble ne peut être combiné qu’à un système basse tension de 12 V. Polycarbonate résilient Utilisez ce produit uniquement avec un système in-lite. L’utilisation de Anneau inox produits autres que les produits in-lite annulera la garantie. Lisez attentivement les instructions suivantes avant de procéder Profitez de l’éclairage de votre jardin.
- Page 11 b. Fixez la gouttière de câble appropriée en dessus du câble princi- Installation de l’armature sur 12 V pal. Il ne reste plus d’espace entre le câble et la gouttière. La source lumineuse étant déjà montée, l’armature est immédiatement c. Placez la gouttière de câble (avec le câble du côté inférieur) dans prête à...
- Page 12 12 V. Este producto debe utilizarse únicamente en Anilla de acero inoxidable combinación con el sistema in-lite. En caso de emplear productos dis- tintos de los productos in-lite, caducará la garantía. Lea las siguientes instrucciones antes de proceder a la instalación.
- Page 13 b. Apriete la canaleta adecuada sobre el cable principal. No debe Instalación de la armadura a 12 V quedar espacio entre el cable y la canaleta. Gracias a que la fuente de iluminación ya viene instalada, la armadura c. Coloque la canaleta (con el cable por debajo) en el conector Easy- está...
- Page 14 www.in-lite.com...
Need help?
Do you have a question about the FLUX 60 and is the answer not in the manual?
Questions and answers