Advertisement
Quick Links
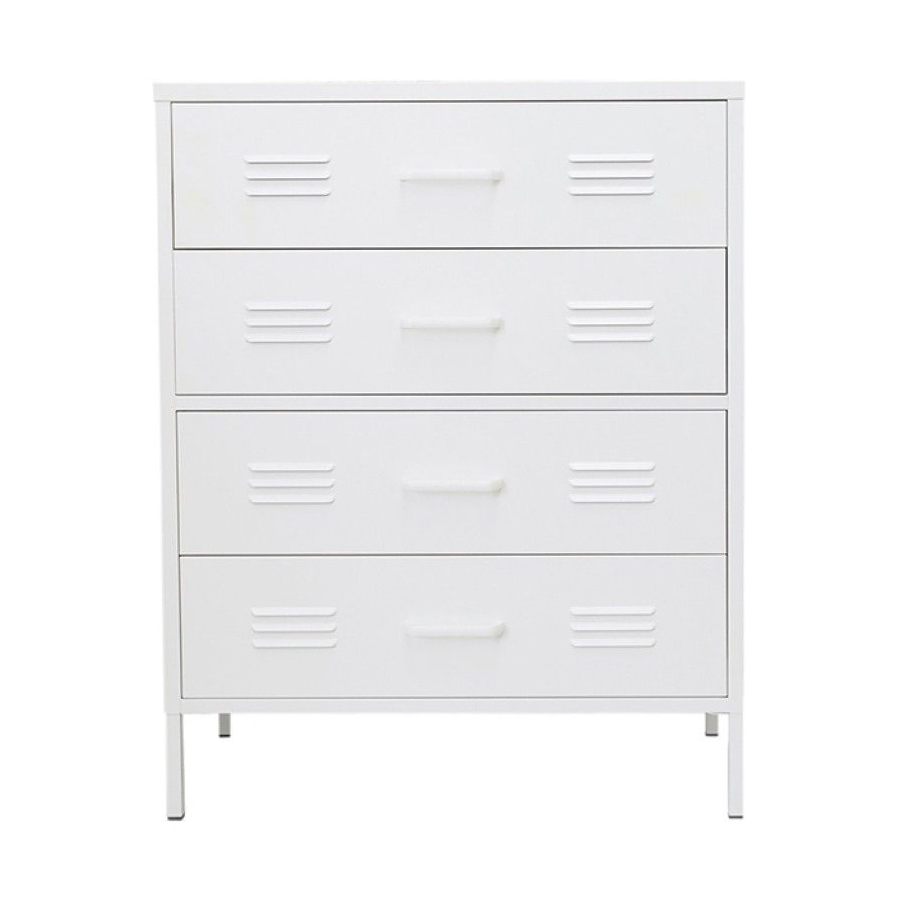
Axel Locka 4 Drawer
Assembly Instructions
Thank you for your purchase.
Please follow the instructions below for correct assembly.
A
B
screw
allen
x2
key x1
E
F
screw
handle
x8
x4
Hardware Supplied
Phillips screwdriver required
mocka.co.nz | mocka.com.au
C
D
screw
screw
x20
x16
G
wall mount
x1
WARNING:
Any furniture that is not anchored to a wall has the potential to tip over in certain
circumstances, i.e. if a child attempts to climb up on the furniture or in the event of an earthquake.
Accordingly, we recommend that all furniture is anchored to a wall. We supply a free safety wall
anchor with all furniture sold and we recommend these are used to prevent your product tipping.
The fixing device provided should fit most wall types, but please note that different wall materials
may require different fixing devices from those supplied.
1
Advertisement

Subscribe to Our Youtube Channel
Related Manuals for Mocka Axel Locka 4 Drawer

Summary of Contents for Mocka Axel Locka 4 Drawer
- Page 1 Axel Locka 4 Drawer Assembly Instructions Thank you for your purchase. Please follow the instructions below for correct assembly. WARNING: Any furniture that is not anchored to a wall has the potential to tip over in certain circumstances, i.e. if a child attempts to climb up on the furniture or in the event of an earthquake.
- Page 2 Axel Locka 4 Drawer Assembly Instructions This hole facing inwards CLICK! CLICK! Slide the legs [1] into the bottom of the side panel [2] until they click into place. mocka.co.nz | mocka.com.au...
- Page 3 Axel Locka 4 Drawer Assembly Instructions CLICK! CLICK! Slide the bottom of the side panel [3] onto the legs [1] until they click Insert each end of the shelf bracket [4] into the gaps on the sides of the into place.
- Page 4 Axel Locka 4 Drawer Assembly Instructions Slide panel [5] down along panel [2] as shown. Slide back panel [6] between panels [3] and [5] as shown. mocka.co.nz | mocka.com.au...
- Page 5 Axel Locka 4 Drawer Jolt Wardrobe Assembly Instructions ASSEMBLY INSTRUCTIONS Attach the top panel [7] as shown. Insert 4x screws (C) into the underside of panel [7] as shown and tighten with a screwdriver. Bend the metal tabs on each side with a screwdriver.
- Page 6 Axel Locka 4 Drawer Assembly Instructions Drawers x4 Carefully turn the unit over as shown. Attach each bracket [8] to the Attach drawer side panels [10] and [11] to base panel [9] as shown. underside of the legs [1] using 3x screws (C). Tighten with a screwdriver.
- Page 7 Axel Locka 4 Drawer Assembly Instructions Flip the drawer over and attach back panel [12] as shown. Secure panel [12] as shown. mocka.co.nz | mocka.com.au...
- Page 8 Axel Locka 4 Drawer Assembly Instructions Attach 1x handle (F) to front drawer panel [13] and secure with 2x Repeat Steps 10 to 13 to complete all four drawers. Slide the rails out screws (E). Now attach panel [13] to side panels [10] and [11] and from inside the unit as shown.
- Page 9 Axel Locka 4 Drawer Assembly Instructions Insert the assembled drawer into the unit, ensuring it slides smoothly Lift the completed unit into place, do not drag. Mark its height on the wall and easily along the rails. with a pencil. Attach one end of the wall mount strap (G) to the back of the unit with a 1x screw (G).
Need help?
Do you have a question about the Axel Locka 4 Drawer and is the answer not in the manual?
Questions and answers