Advertisement
Quick Links
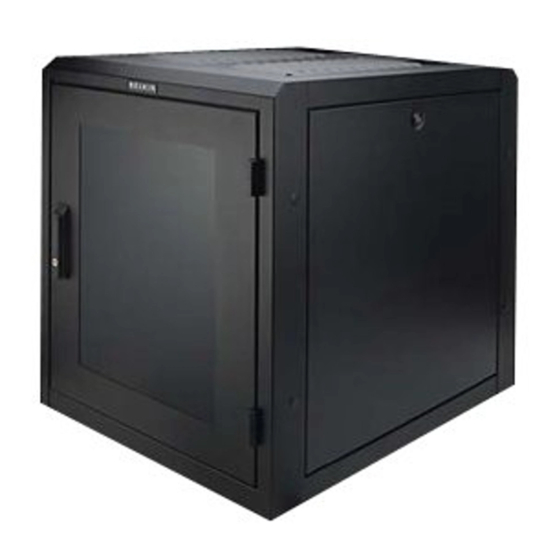
RK1004 INSTRUCTIONS
RK1004 Product Inventory
Enclosure (1)
Leveling Glides (4)
M6 Screw (50)
M6 Cage Nut (50)
Rack Mount Power Strip (1)
Key (8)
Leveling Glide Instructions
1. Your Belkin RK1004 comes with 4 leveling
glides. Thread these into the 1/2 inch x 13
threaded holes located on the outside of each
corner of the Enclosure.
2. Once installed, Enclosure can be leveled
using a 3/4 inch open-end wrench.
NOTE: A 11/16" through hole (4) is supplied
for those applications where the Enclosure
needs to be anchored to the floor.
All trade names are registered trademarks of respective manufacturers listed.
RK1004 Instructions
Side Panel Removal
www.belkin.com
Belkin Corporation
501 West Walnut Street
Compton, CA 90220-5221, USA
Tel: 310-898-1100; Fax: 310-898-1111
© 2005 Belkin Corporation. All rights reserved.
Page 1
Through Holes (4)
Threaded Holes
11/16" dia.
1/2" - 13 thds.
P35772
Advertisement

Related Manuals for Belkin RK1004


Summary of Contents for Belkin RK1004
-
Page 1: Side Panel Removal
M6 Cage Nut (50) Rack Mount Power Strip (1) Key (8) Leveling Glide Instructions 1. Your Belkin RK1004 comes with 4 leveling glides. Thread these into the 1/2 inch x 13 threaded holes located on the outside of each corner of the Enclosure. -
Page 2: Mounting Rails
Operating Door Swing Handle Instructions 1. The doors on your RK1004 Enclosure are reversible. Open the door and lift it off of its hinges. 2. Remove the male and female hinge parts from the Enclosure and the door. 3. Reverse them and re-install to allow left-hand door swing.