Advertisement
Quick Links
ASME A112.18.1 / CSA B125.1
ICC/ANSI A117.1
Model/Modelo/Modèle
9192T-DST, 9992T-DST &
19922T-SSSD-DST
Series/Series/Seria
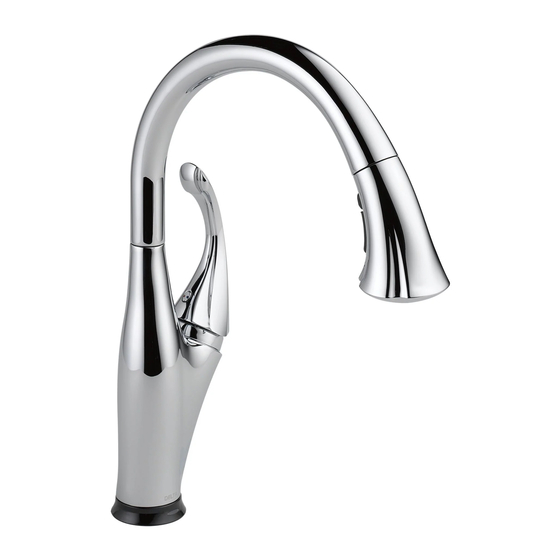
ADDISON
& ASHTON
™
Write purchased model number here.
Escriba aquí el número del modelo comprado.
Inscrivez le numéro de modèle ici.
WARNING: THIS FAUCET IS NOT TO BE USED WITH
PORTABLE DISHWASHERS! / ADVERTENCIA: ¡SESTA
LLAVE NO SE DEBE UTILIZAR CON MAQUINAS
LAVAPLATOS PORTATILES! / AVERTISSEMENT: ON NE
DOIT PAS BRANCHER UN LAVE-VAISSELE PORTATIF
SUR CE ROBINET!
For easy installation of your
Delta
faucet you will need:
®
• To READ ALL the instructions completely
before beginning.
• To READ ALL warnings, care, and
maintenance information.
Para instalación fácil de su llave
Delta
usted necesitará:
®
• LEER TODAS las instrucciones completamente
antes de empezar.
• LEER TODOS los avisos, cuidados, e
información de mantenimiento.
Pour installer votre robinet
Delta
facilement, vous devez:
®
• LIRE TOUTES les instructions avant de débuter;
• LIRE TOUS les avertissements ainsi que toutes
les instructions de nettoyage et d'entretien;
70695
™
70695
HIGH-RISE, PULL-DOWN KITCHEN
AND BAR / PREP, TOUCH FAUCETS
LLAVES DE AGUA ELEVADAS,
DESLIZABLES HACIA ABAJO,
PARA COCINAS Y BARES / PREP
ROBINETS TACTILES À BEC HAUT
RÉTRACTABLE POUR ÉVIER DE BAR
OU D'ÎLOT
You may need
Usted puede necesitar
Articles dont vous pouvez avoir besoin:
1
4/26/11
Rev. A
Advertisement


Need help?
Do you have a question about the ADDISON 9192T-DST and is the answer not in the manual?
Questions and answers