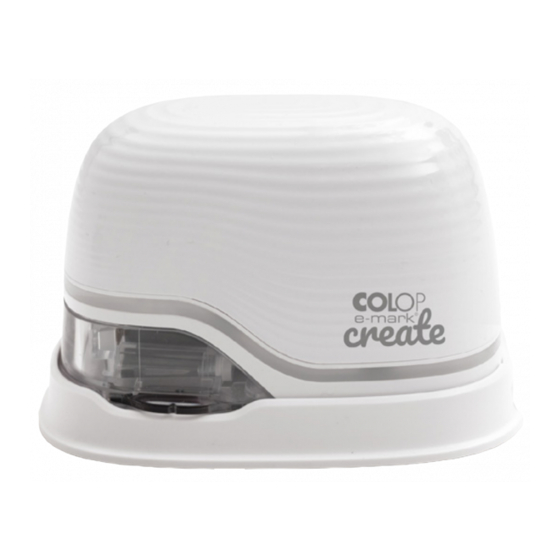
Colop e-mark create Quick Setup Manual
Hide thumbs
Also See for e-mark create:
- Operating and maintenance manual (51 pages) ,
- Operating and maintenance manual (60 pages)
Advertisement
QUICK SET UP GUIDE
For complete instructions visit:
emarkcreate.colop.com/support
7
Re-insert battery and close top cover.
11
Connect via WIFI. Optional for iOS Devices.
1
Remove top cover.
4
Remove protective film from printhead.
8
Turn on device and print test image.
12
Enter SSID & password, found here
2
Remove battery & pull out tab (first use only).
5
CORRECT
INCORRECT
Insert ink cartridge.
9
Place on docking station & plug in to charge.
3
1
2
Open bottom latch by pinching
& sliding forwards & downwards.
6
Close bottom latch.
10
Install App: getemarkcreateapp.colop.com
Advertisement
Table of Contents

Summary of Contents for Colop e-mark create
- Page 1 Close bottom latch. Re-insert battery and close top cover. Turn on device and print test image. Place on docking station & plug in to charge. Install App: getemarkcreateapp.colop.com Connect via WIFI. Optional for iOS Devices. Enter SSID & password, found here...
- Page 2 Flashing Red Lights point towards docking station or towards the print Return e-mark create® to the docking 4. Follow the chart above to print each line. The 4. Swipe e-mark® create to print your design. The surface during the cleaning cycle.


Need help?
Do you have a question about the e-mark create and is the answer not in the manual?
Questions and answers