
Related Manuals for ARC MRYT-1805


Summary of Contents for ARC MRYT-1805
-
Page 1: Table Of Contents
Issue date: 16/09/2019 ROTARY DIMMER WALL SWITCH MRYT-1805 CONTENTS 1. Overview and features Page 2. 2. Diagrams Page 3. 3. Battery Page 4. 4. Mounting on surface Page 6. 5. Pairing / Un-pairing device Page 9. 6. Operation Page 12. -
Page 2: Overview And Features
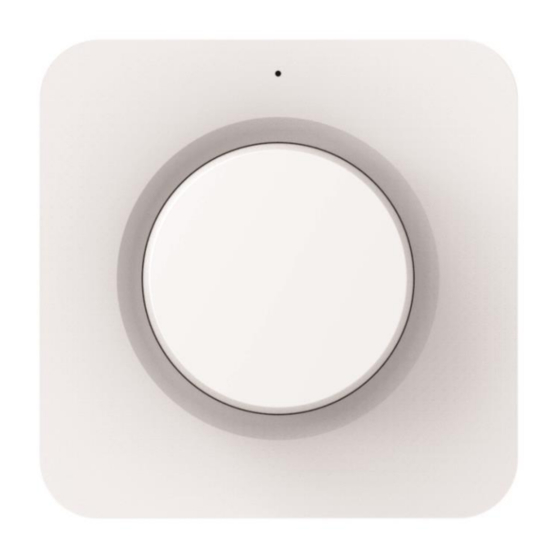
Issue date: 16/09/2019 1. Overview and features Ultra slim design wireless rotary dimmer wall switch that plays a key role in enhancing the convince, comfort and energy efficiency of smart homes. In addition to rotary function, single button is also built in for the eze of On/Off control. -
Page 3: Diagrams
Issue date: 16/09/2019 2. Diagrams. Notes for the diagrams: Switch Position. Ⅰ Operating in conjunction with L & M series receiver. L & M series receiver will dim up & down in steps. Ⅱ Operating M series receiver only. M series receiver will smooth dim up & down. Dimming of L series receiver(s) is not compatible under Ⅱ... -
Page 4: Battery
Issue date: 16/09/2019 3. Battery Red LED will flash once every 4 seconds to indicate the battery is low. 1. With a slot screwdriver gently insert into bottom slot then lift open the back cabinet. 2. Remove back cabinet. 3. Remove battery insulation strip. (First time use only) BATTERY... - Page 5 Issue date: 16/09/2019 4. Or replace with a new 3V CR2032 battery making sure the positive symbol is facing upwards. LITHIUM BATTERY CAUTION: Risk of Explosion if battery is replaced by an incorrect type. Dispose of used batteries according to the environment protection rules. BATTERY...
-
Page 6: Mounting On Surface
Issue date: 16/09/2019 4. Mounting On Surface Wireless rotary dimmer wall switch has 2 ways of mounting on surface. Method 1. With 3M double sided adhesive tape enclosed in the accessory pack. 1. Correctly position the adhesive tape on the back cabinet. 2. - Page 7 Issue date: 16/09/2019 4. Align the rotary switch onto the 6 clips and with a little force push forward making sure ‘click’ sound is heard. Method 2. Mounting with 2 screws enclosed in the accessory pack: 1. Position back cabinet onto surface making sure the arrow is facing up then affix tightly with 2 screws.
- Page 8 Issue date: 16/09/2019 To remove the rotary switch, with a slot screwdriver gently insert into bottom slot then lift up the rotary. MOUNTING...
-
Page 9: Pairing / Un-Pairing Device
Issue date: 16/09/2019 5. Pairing / Un-pairing Device L Series pairing method. Learning mode lasts for 12 seconds; if no signal is received from remote control / wall switch between this time then the receiver will automatically exit learning mode without pairing any device. To exit learning mode manually, simply press the ‘Learn’... - Page 10 Issue date: 16/09/2019 To Unpair: 1. On the L series receiver press the ‘Learn’ button once, (LED on receiver will flash), this will enter learning mode. 2. With the rotary switch press button twice to unpair, red LED will flash twice and LED on receiver will flash twice to confirm that memory is deleted successfully.
- Page 11 Issue date: 16/09/2019 To Pair: with module receiver 1. On the M series receiver press the ‘Learn’ button once (LED on receiver will flash), this will enter learning mode. 3. With the rotary switch press button once to pair, green LED will flash once and LED on receiver will flash twice to confirm that pairing is successful and complete.
-
Page 12: Operation
Issue date: 16/09/2019 6. Operation Colour status of LED indication. Red represents: Battery low – LED flash once every 4 seconds. OFF – LED flash twice. Green represents: Dimming – LED will continue to flash until the button is released or turning the rotary button. - Page 13 Issue date: 16/09/2019 IMMING PERATION Switch Position Ⅰ When operating in conjunction with L & M series receiver, please only use dimming method 1. In use of dimming method 2,3,4 or in conjunction may cause dimming to react abnormally. L Series dimming Up & Down ※...
- Page 14 Issue date: 16/09/2019 Step Dim Down. 1. With the load ON or OFF. 2. Turn rotary button counterclockwise to dim down. 3. During dimming process load will stop at the minimum brightness and will not continue dimming. Method 2. 1. With the load ON. 2.
- Page 15 Issue date: 16/09/2019 Switch Position Ⅱ Operation of M series receiver only. M Series dimming Up & Down. !After setting brightness level, the next time switching ON the load will return to the previous stipulated brightness. There are 3 methods of dimming. Method 1.
- Page 16 Issue date: 16/09/2019 1. With the load ON or OFF. 2. Turn rotary button counterclockwise to dim down. 3. During dimming process load will stop at the minimum brightness and will not continue dimming. Method 2. 1. With the load ON. 2.
-
Page 17: Specifications
Issue date: 16/09/2019 7. Specifications Battery: 3V CR2032 Lithium Cell Battery Radio Frequency: 433.92MHz 1W Power consumption: Environment Temperature: -10 ~ 35 ºC (Indoor Use) Range: up to 50 m indoors (Depends on building materials) In accordance with: Low Voltage Directive 2014/35/EU RED Directive 2014/53/EU CE Certification: The CE marked affixed to this product confirms...
Need help?
Do you have a question about the MRYT-1805 and is the answer not in the manual?
Questions and answers