Advertisement
Setting up the Okidata Microline 320 Turbo to work with AutoDealer Plus
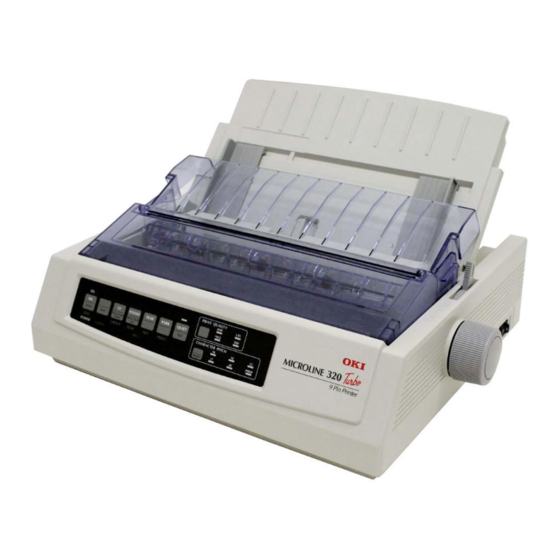
Physically Setting up the Printer:
1.
First make sure the power switch
is in the "Off" position. Next plug
in the power cable to the back of
the printer, and plug the other
end into the wall. Then plug the
parallel data cable into the
printer. Make sure you plug the
other end of the data cable into
the back of your computer. Make
sure the printer turned off. We
will turn it on in a later step.
2. Move the lever on the right side
of the printer to the middle
position, so it is set to "Top"
feed.
3. Adjust the paper guide to
accept paper in the manual
feed position. The paper guide
should be at a 45 degree angle.
4. Slide the margin bracket on
the left side until it is touching
the notch. This margin
bracket will never need to be
adjusted and should always
remain in this position. Align
the right bracket by placing a
standard sheet of paper in the
printer and sliding it until it
keeps the paper in place
between both brackets
without binding the paper.
Advertisement
Table of Contents

Related Manuals for OKIDATA Microline 320 Turbo


Summary of Contents for OKIDATA Microline 320 Turbo
- Page 1 Setting up the Okidata Microline 320 Turbo to work with AutoDealer Plus Physically Setting up the Printer: First make sure the power switch is in the “Off” position. Next plug in the power cable to the back of the printer, and plug the other end into the wall.
- Page 2 Resetting the printer: This will revert the printer back to factory settings. Even if this is a new printer it is recommended that you reset it. 1. First make sure the printer is turned off, but still plugged in. Hold down the “SEL” button and the “Quiet” button at the same time (see diagram below). While holding both buttons down, turn the printer on.
- Page 3 Now press the “Item” button ten times making sure that you wait at least 2 seconds for it to finish printing that line before you hit the next button, until it prints the following line: Set-Up Auto Select Press the “Set” button and it will print the same line as above but it will now say “Yes” in the right column.
- Page 4 Printing a Test Page: Finally, make sure that you do not set the Okidata as the default printer in Windows. You should have another printer setup on this computer, such as a laser printer, for printing other documents. Set your laser printer as the default printer for Windows.
Need help?
Do you have a question about the Microline 320 Turbo and is the answer not in the manual?
Questions and answers