Advertisement
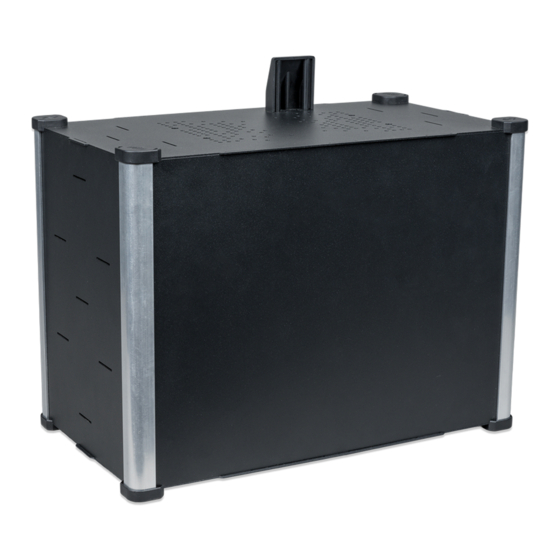
Quick Installation Guide SHS 200 Battery Box
Included
Top Plate
B
A A
C
(x4) Profile
(x2) Front/
(x2) Side
Back Plate
Plate
D
F
E
Plastic Cap
(x8) Corner
Cap
H
(x4) Screw
(x8) Self-Tap
(x3) Screw
back cover
Screw for metal
Not Included
K
L
J
(x4) Screw
SHS-200
Battery
PV
Fix the pro les to the bottom plate.
Use supplied M4 screws.
A
A
A
A
H
E
H
www.victronenergy.com
Slide the front and back plate through the
pro les gap.
C
C
A, E, H
G
Snap-in four Corner-Caps on top of each screw
head. The cap should click once it's properly
attached.
I
G
G
M
A, C, E, H
Carefully, lift the battery and slide it inside the
enclosure from the top.
H
A, C, E
H, G
Slide in the lateral plates through the pro le gaps.
A, C, E
H, G
Fix the plastic cap to the top
G
plate. Make sure the battery
cable is going through the
opening as shown on the
picture.
I
J
K
D
D
Fix the SHS-200 top-plate of the
battery box. Use the 4 screws supplied
together with the SHS wall-montures.
K
B
B
F
M
Advertisement
Table of Contents

Related Manuals for Victron energy SHS 200


Summary of Contents for Victron energy SHS 200
- Page 1 Slide in the lateral plates through the pro le gaps. Quick Installation Guide SHS 200 Battery Box www.victronenergy.com Slide the front and back plate through the Included pro les gap. Top Plate Fix the SHS-200 top-plate of the battery box. Use the 4 screws supplied together with the SHS wall-montures.
- Page 2 Optional: To add extra protection against SHS-200 has turned ON. tampering, place 2 warranty void labels connecting side-plate with top-plate. Quick Installation Guide SHS 200 Battery Box B, F, I, J www.victronenergy.com Before closing the box, connect the battery cables to the battery terminals.
Need help?
Do you have a question about the SHS 200 and is the answer not in the manual?
Questions and answers