Table of Contents
Advertisement
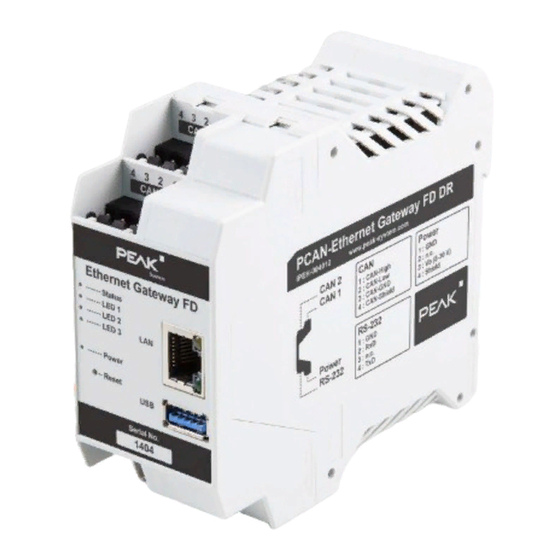
Quick Links
Advertisement
Table of Contents

Related Manuals for Peak PCAN-Gateway


Summary of Contents for Peak PCAN-Gateway
- Page 1 PCAN-Gateway Quick Start Guide...
-
Page 2: Simplified Eu Declaration Of Conformity
Congratulations ..on your new PCAN-Gateway. This guide covers the basic configuration and operation of the PCAN-Gateway product family. Documentation Detailed documentation in PDF format is available on our website. See the last page of this quick start for download links. - Page 3 4-pole screw- terminal strips (Phoenix) Pin Assignment Power Power: Voltage supply 8 - 30 V WLAN: 2.4 GHz dipole antenna not connected Vbat (8 - 30V) Shield 1 2 3 4 © 2021-03 PEAK-System Technik GmbH - www.peak-system.com...
- Page 4 Pin Assignment Tyco connector, 12-pin (Tyco) Power: Voltage supply 8 - 30 V WLAN: Internal chip antenna 3, 9 CAN1-Low 4, 10 CAN1-High 5, 11 CAN2-Low 6, 12 CAN2-High Wake-up © 2021-03 PEAK-System Technik GmbH - www.peak-system.com...
-
Page 5: Basic Configuration
Basic Configuration Preparation Power Supply: Connect the PCAN-Gateway to a suitable power supply (8 - 30 V DC). When the Status LED is blinking green, the device is ready and the default configuration is executed. Computer: Configure your PC with IP address settings that correspond to the default settings of the PCAN-Gateway (IP: 192.168.1.xxx, Subnet mask:... -
Page 6: Can Configuration
Enable this checkbox to use CAN FD and to show the data bit rate selection. Data Bit Rate: Select a bit rate for transmitting the data of CAN frames. Save your settings for each channel with the button Save Settings. © 2021-03 PEAK-System Technik GmbH - www.peak-system.com... - Page 7 After the basic configuration, the default WLAN network is no longer available. Reset You can reset a PCAN-Gateway if it is no longer accessible. Press with a paper clip into the reset hole for longer than 8 seconds. Regular gateways are thereby reset to the factory defaults (configuration and software).
-
Page 8: Application Example
In this application example, message traffic from CAN bus A is being forwarded to CAN bus B via an IP network. For this unidirectional data transmission two PCAN-Gateways and the creation of a route on each device are required. © 2021-03 PEAK-System Technik GmbH - www.peak-system.com... - Page 9 Click the Add Route button at the bottom of the page to complete the route creation process. After saving, the route will be displayed in the overview on the page Routing >> Manage Routes. © 2021-03 PEAK-System Technik GmbH - www.peak-system.com...
- Page 10 Click the Add Route button at the bottom of the page to complete the route creation process. After saving, the route will be displayed in the overview on the page Routing >> Manage Routes. © 2021-03 PEAK-System Technik GmbH - www.peak-system.com...
-
Page 11: Final Check
A detailed description of this application example is available in the documentation of your PCAN-Gateway. Video Tutorials With short video tutorials on YouTube, we demonstrate how to configure and use the PCAN-Gateways. www.youtube.com/user/peaksystemtechnik © 2021-03 PEAK-System Technik GmbH - www.peak-system.com... -
Page 12: Software Updates
Software Updates For each model of the PCAN-Gateway product family there is a separate software package that can be downloaded from our website. The update can be installed via the configuration website. Simply follow the instructions on the page Device >> Software Update.
Need help?
Do you have a question about the PCAN-Gateway and is the answer not in the manual?
Questions and answers