Advertisement
Table of Contents
Advertisement
Table of Contents

Subscribe to Our Youtube Channel
Related Manuals for Apeks DST


Summary of Contents for Apeks DST
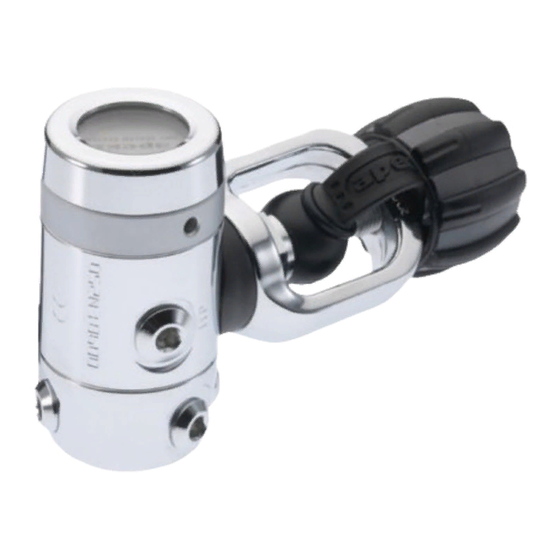
- Page 1 TECHNICAL MAINTENANCE MANUAL DST FIRST STAGE...
- Page 2 CHANGE RECORD Change No. Date Title or description Change made by...
-
Page 3: Table Of Contents
DST First Stage Technical Maintenance Manual CONTENTS INTRODUCTION .................4 FIRST STAGE DISASSEMBLY PROCEDURES ........5 FIRST STAGE REASSEMBLY PROCEDURES .........8 ADJUSTING THE FIRST STAGE .............12 FIRST STAGE FINAL ASSEMBLY ...........12 FINAL TESTING ................13 TABLE 1: FIRST STAGE TROUBLESHOOTING GUIDE ....14 TABLE 2: LIST OF TOOLS AND SERVICE KITS ......15 TABLE 3: TORQUE SPECIFICATIONS ...........16... -
Page 4: Introduction
Aqua Lung® or Apeks replacement parts. In addition, assembly must be carried out in a clean environment using powderless, latex gloves or equiva- Scheduled Service lent. -
Page 5: First Stage Disassembly Procedures
DST First Stage Technical Maintenance Manual DISASSEMBLY PROCEDURES Insert the Apeks pin spanner (pn AT30) into the hole of the environmental end cap (26). Ensure that the pin spanner is sitting flush to avoid damage to the end cap. Turn the environmental end cap counter-clockwise to remove it from the diaphragm clamp (21). - Page 6 Remove the turret retaining bolt (15) from the turret (8). Lift NOTE: You may encounter a new revision spring carrier. This out the o-ring (16) and blue thrust washer (14) from the top of was an inline change. Either version of the spring carrier is ac- the turret.
- Page 7 DST First Stage Technical Maintenance Manual Yoke Disassembly Use a 6mm hex key to carefully push the filter guard (31) out of the yoke clamp connector (32). Rotate the body so that the yoke screw (30) is facing upward. Turn the yoke screw counter-clockwise and remove it from the yoke clamp (27).
-
Page 8: First Stage Reassembly Procedures
Place the spring carrier (2) on top of the diaphragm (3), followed by the spring (1). THIS CONCLUDES THE DISASSEMBLY OF THE DST FIRST STAGE Before starting reassembly, perform parts cleaning and lubrication in accordance with Procedure A: Cleaning and Lubricating on... - Page 9 DST First Stage Technical Maintenance Manual Using the Apeks spanner Place the turret (8) onto the body (5) and carefully push wrench (pn AT30), tighten down. the diaphragm clamp (21) clockwise until you get metal to metal contact. Tighten down the spring adjuster (22) until 1-2 threads (¼”...
- Page 10 Install the turret bolt (15) through the turret (8). Using a 6mm Then place the small end of the filter (36) into the connector (32). hex key, tighten the turret bolt clockwise until snug. Slide the yoke clamp connector (32) through the yoke clamp (27) with Using a torque wrench the filter facing upward.
- Page 11 DST First Stage Technical Maintenance Manual Remove the first stage from the bench vise and remove the vise S l i d e t h e h a n d w h e e l mounting tool. Attach the protective cap (28) to the yoke clamp connector (34) through (27) by stretching it over the flange at the top of the yoke clamp.
-
Page 12: Adjusting The First Stage
ADJUSTING THE FIRST STAGE With the bleed valve open, slowly open the cylinder valve ¼ turn. While watching the gauge, slowly close the bleed valve. If the MP exceeds 145 psi (10 bar) quickly open the bleed valve and close the cylinder. If the MP is stable and does not continue to rise, WARNING: Compressed air can be highly explosive and open the cylinder valve all the way. -
Page 13: Final Testing
DST First Stage Technical Maintenance Manual FINAL TESTING Install a new hydrostatic diaphragm (25) into the environmental end cap (26). External Leak Test Using an in-lb torque wrench with a 9/16” crow-foot, torque the MP hose to 40 in-lbs (4.5 Nm) to the first stage. Install a properly adjusted second stage to the female end of the MP hose. - Page 14 TABLE 1: FIRST STAGE TROUBLESHOOTING GUIDE SYMPTOM POSSIBLE CAUSE TREATMENT 1. HP valve (11) worn or damaged. 1. Replace HP valve. 2. HP valve seat worn or damaged. 2. Replace body (5). High Pressure Creep 3. Turret bolt (15) internal wall dam- 3.
- Page 15 DST First Stage Technical Maintenance Manual TABLE 2: LIST OF TOOLS AND SERVICE KITS PART # DESCRIPTION APPLICATION 111610 MP Test Gauge Medium pressure testing Brass O-ring 944022 Tool Kit Removal and installation of o-rings Plastic O-ring 103102 Tool Seat InstallationTool...
- Page 16 TABLE 3: TORQUE SPECIFICATIONS PART # DESCRIPTION / KEY ITEM # TORQUE AP1407 Yoke Connector (32) 14.7 ft-lbs (20 Nm) DIN Handwheel Connector (34) AP1471 Turret Retaining Bolt (15) 70 in-lbs (8 Nm) AP1486 AP0203 MP Hose AP1408 40 in-lbs (4.5 Nm) AP1487 Blanking Plugs (9, 18, 19) AP1413...
-
Page 17: Procedure A: Cleaning And Lubricating
When it comes to issues of nitrox safety and compatibility, the concerns lie primarily with the first stage as it is subjected to high in- let pressures. High inlet pressures lead to adiabatic compression or heating of the gas. The Aqua Lung or Apeks regulator product described in this manual, when properly cleaned and assembled, is authorized for use with enriched air nitrox (EAN) that does not ex- ceed 40% (EAN 40). -
Page 18: Maintenance Notes
MAINTENANCE NOTES... -
Page 19: Dst First Stage Exploded View
DST First Stage Technical Maintenance Manual XTX 50 FIRST STAGE (DST Style) 40 in-lbs 4.5 Nm 14.7 ft-lbs 20 Nm 70 in-lbs 10 11 8 Nm 17 13 40 in-lbs 4.5 Nm 40 in-lbs 4.5 Nm Key # Part #... - Page 20 TECHNICAL MAINTENANCE MANUAL DST FIRST STAGE REGULATOR Aqua Lung America 2340 Cousteau Court, Vista CA 92081 760-597-5000 www.aqualung.com Rev. 05/2010 © 2010 Apeks Marine Equipment Ltd.
Need help?
Do you have a question about the DST and is the answer not in the manual?
Questions and answers