Table of Contents
Advertisement
Quick Links
Advertisement
Table of Contents

Related Manuals for Steeper Espire Elbow Basic


Summary of Contents for Steeper Espire Elbow Basic
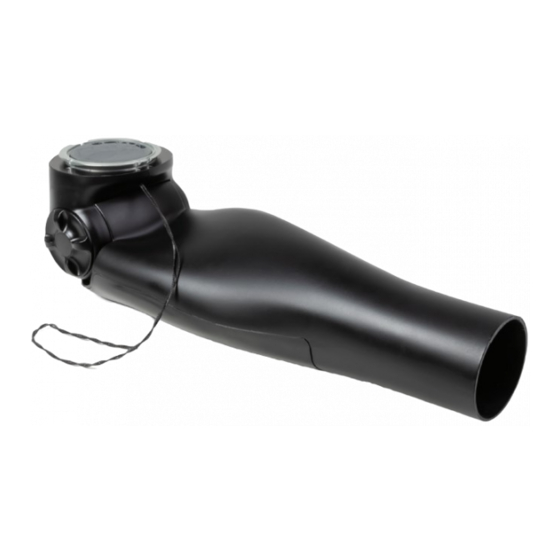
- Page 1 Espire Elbow ™ Classic Plus, Classic and Basic Technical Manual...
-
Page 2: Table Of Contents
CONTENTS SECTION 1 - SYSTEM OVERVIEW SECTION 4 - MEASURING AND CUTTING 6.2 - Internal-External Rotation SECTION 10 - MAINTENANCE AND FOREARM TROUBLESHOOTING 1.1 - Introduction 6.3 - Attaching the Lamination Collar to the Elbow 4.1 - Measuring the Forearm 10.1 - Troubleshooting 1.2 - Anatomy 6.4 - Determining Proper Orientation on Test Socket... -
Page 3: Section 1 - System Overview
Electronic/ Mechanical Mechanical final delivery. (Optional Extra) Mechanical Control Specifications Thank you for purchasing the Espire Elbow system from Steeper Elbow Lock Mechanical Mechanical Mechanical Weight Limit 25lb/11.3kg Group. If you have any questions, concerns or comments, please contact our Customer Service team at +44 (0) 870 240 4133... -
Page 4: Section 2 - Inputs (Classic Plus)
• D/C Cased Electrodes • Linear Transducers • Touch Pads • Switches (Single-State, Dual-State, Bump, etc) • Other Items Not Listed (Contact Steeper Group) *Not compatible with Steeper A/C Electrodes with TruSignal Board Location Input Option Note: For an input to be compatible, the shape of the... -
Page 5: Section 3 - Battery Installation (Classic Plus)
Internal Batteries from Steeper Below Elbow Battery Location Steeper 3500S batteries can be used to power the hand and NOTE: Do not drill in grey shaded areas or on grey seam lines The Espire Classic Plus provides a compartment on the bottom wrist. -
Page 6: Section 4 - Measuring And Cutting Forearm
4.2 Protective Foam Insert SECTION 4 - MEASURING AND CUTTING FOREARM (Classic Plus) A foam insert is installed prior to shipping to protect the output 4.1 Measuring the Forearm wires and to prevent dust or debris from entering the elbow. The Espire Elbow is available in two forearm lengths, Small (45mmØ... -
Page 7: Section 5 - Wrist Fabrication
5.2 Output Wires for Terminal Devices (Classic 5.3 Quick Disconnect Wrists (Classic Plus) 5.4 Electronic Wrist Rotators (Classic Plus) SECTION 5 - WRIST Plus) Electronic wrist rotators require a battery that supplies an Wiring FABRICATION additional plug for the wrist power (See section 3.1). To connect Output wires will already be installed into the circuit board of The hand-open, hand-close, and power output cables will a wrist rotator, install the battery in the forearm and use that... -
Page 8: Section 6 - The Lamination Collar And Clamp Ring
Top View The clamp ring is a two-piece assembly that is uniquely shaped SECTION 6 - THE LAMINATION Posterior to fit the profile of the Espire Elbow. When assembled to the elbow, the clamp screws will face posterior. COLLAR AND CLAMP RING 4. -
Page 9: Determining Proper Orientation On Test Socket
6. Create a new mould for the definitive socket. Transfer the The lock cable can be used with or without the Steeper Harness Standard Lock- A strong cable pull (clicking sound) measurements and position from the test socket. -
Page 10: Section 8 - Cable Mounting
SECTION 8 - CABLE MOUNTING Attach Cable Loop (or preferred cable anchor) 8.1 Cable Mounting Overview 1. Fold the leather cable loop and fasten together with the rivet. 2. Align the cable loop to the hole. Attach with a 10-32 fastener and hand tighten. Your preferred cable system can be mounted to the forearm to provide elbow flexion and/or prehensile control. -
Page 11: Section 9 - Setting Up The Counterbalance Or Spring Assist
Adjustment Dial Location 9.2 Counterbalance Adjustment 9.3 Spring Assist Adjustment SECTION 9 - SETTING UP THE The adjustment dial can be installed on either the medial or COUNTERBALANCE OR SPRING Direction Adjustment Result Direction Adjustment Result lateral side of the elbow and should be specified at the time of ordering. -
Page 12: Section 10 - Maintenance And Troubleshooting
11.3 Safety • Appropriate sound side limb dexterity or assistive device to SECTION 11 - INTENDED USE SECTION 10 - MAINTENANCE position and lock elbow system for use where necessary Please ensure that the user is fully aware of all the safety AND TROUBLESHOOTING AND SAFETY •... - Page 13 Caution: Penetration of dirt and humidity examined and approved by an authorised test centre. For contact a qualified prosthetist and have the prosthesis maximum safety and convenience, Steeper recommends The penetration of dirt and humidity may lead to faulty control inspected for any damage.
- Page 14 Additional Notes Definition Source Definition Source Symbol Symbol Definitions of symbols used in and on this device and packaging The requirements for accreditation 765/2008/EC Info: Basic information regarding this and market surveillance relating to the 768/2008/EC product. marketing of products; Medical Device MDD 93/42/ Symbol Definition...
- Page 15 Unit 3 Stourton Link, Intermezzo Drive Leeds, LS10 1DF Tel: +44 (0) 870 240 4133 Email: customerservices@steepergroup.com SteeperUSA Steeper Group, Unit 3 Stourton Link, 8666 Huebner Road, Suite 112 Intermezzo Drive, Leeds, UK, LS10 1DF San Antonio, TX 78240 Tel: (+1) 210 481 4126 MADE IN THE UK Email: inquiries@steeperusa.com...
Need help?
Do you have a question about the Espire Elbow Basic and is the answer not in the manual?
Questions and answers