
Related Manuals for Elster J48HL


Summary of Contents for Elster J48HL
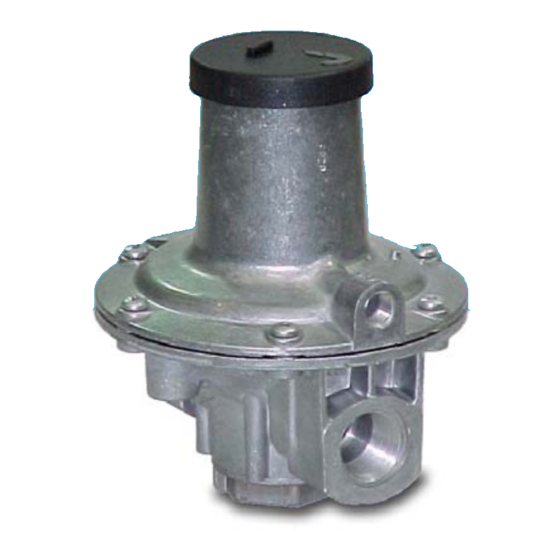
- Page 1 J48HL Gas Pressure Regulator This product is discontinued! Commissioning Instructions General Arrangement Parts List Maintenance Instructions For: J48HL Regulator ¾" - 2"...
- Page 2 J48HL: Commissioning Instructions OPERATING INSTRUCTIONS • Ensure that this product is suitable for the chosen application. • Installation, adjustment and maintenance by authorised, trained personnel only. • When being fitted to an appliance, refer to the appliance manufacturers instructions. Warning! Incorrect installation, adjustment, modification, operation and maintenance may cause injury or damage.
- Page 3 J48HL Regulator: General Arrangement Spring Adjustment Pre October 2000...
- Page 4 J48HL: Parts List ¾” and 1” sizes ITEM DESCRIPTION ¾” No. Off 1” No. Off BOTTOM PLUG J4806-017Z03 J4806-017Z03 VALVE SPINDLE J4806-054 J4806-054 BODY J4805-005+ J4806-094+ VALVE DISC HOLDER J4806-053 J4806-053 VALVE DISC J4806-025 J4806-025 VALVE SPACER J4806-051 J4806-051 SEC DIAPHRAGM CLAMP PLATE GASKET...
- Page 5 J48HL: Parts List 1¼”, 1½” and 2” sizes ITEM DESCRIPTION 1¼” No. Off 1½” No. Off 2” No. Off BOTTOM PLUG J4808-017Z03 J4808-017Z03 J4809-017Z03 VALVE SPINDLE J4808-058 J4808-058 J4809-050 BODY J4807-011+ J4808-084+ J4809-071+ VALVE DISC HOLDER J4808-057 J4808-057 J4809-049 VALVE DISC...
- Page 6 36 - 64 J4808-077 Yellow / Orange J4809-065 Grey / Gold J48HL: Maintenance Instructions Maintenance Instructions for: J48HL Regulator ¾" - 2", Dismantling Procedure: 1. Pull off top cap (16). 2. Turn spring adjusting screw (46) anticlockwise (to reduce loading on spring).
- Page 7 J48HL: Maintenance Instructions Dismantling Procedure (continued): 14. Remove the spring location washer (22). 15. Remove top diaphragm plate (23). 16. Carefully remove main diaphragm (9). 17. Remove diaphragm spacer (24). 18. Withdraw the valve spindle (2) through the bottom plug opening in body (3).
- Page 8 32. Replace top cap (16) by aligning slot in cap with sealing wire lug and push over until it clicks into position, and seal if necessary. Elster Jeavons is committed to a programme of continuous quality enhancement. All equipment designed by Elster Jeavons and manufactured within the Elster-Instromet Group benefits from the groups quality assurance standards, which are approved to EN ISO9001:2008.
Need help?
Do you have a question about the J48HL and is the answer not in the manual?
Questions and answers