Table of Contents
Advertisement
Quick Links
Download this manual
See also:
Instruction Manual
Advertisement
Table of Contents

Related Manuals for Audiovox D1500A


Summary of Contents for Audiovox D1500A
- Page 1 D1500A PORTABLE 5" LCD MONITOR & DVD PLAYER...
- Page 2 Notice: This Product incorporates copyright protection technology that is pro- tected by method claims of certain U.S. Patents and other intellectual property rights owned by Macrovision Corporation and other rights own- ers. Use of this copyright protection technology must be authorized by Macrovision Corporation, and is intended for home and other limited view- ing uses only unless otherwise authorized by Macrovision Corporation.
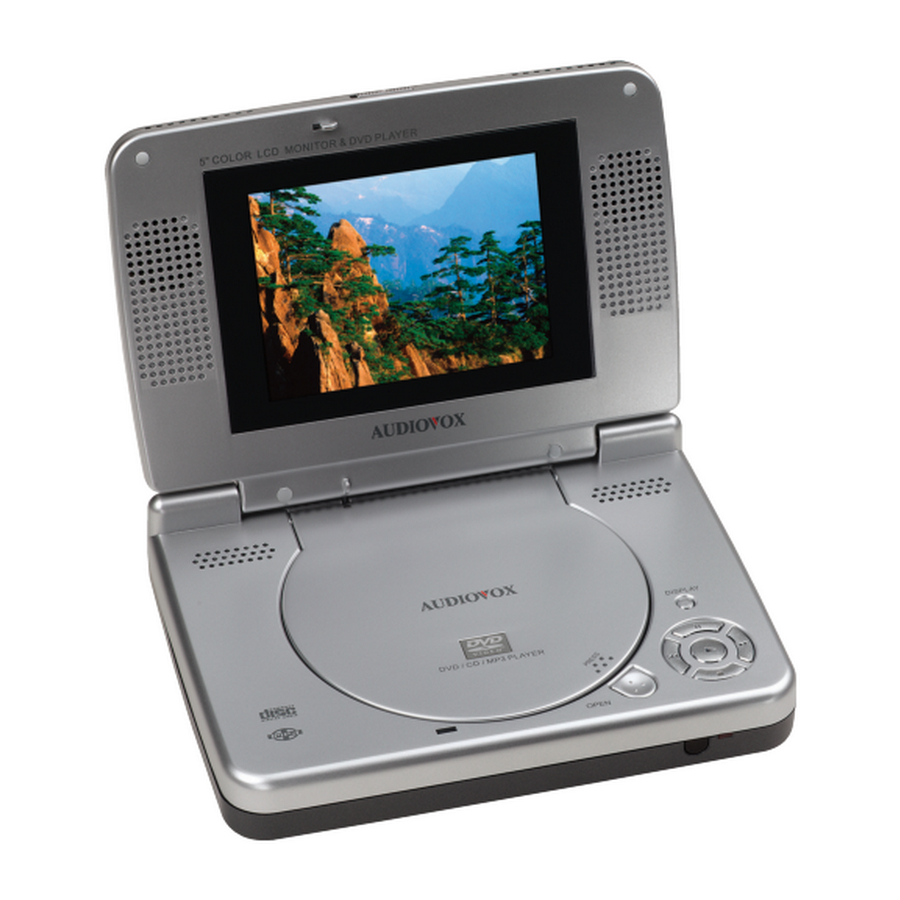
- Page 3 A. Introduction Thank you for selecting the D1500A portable DVD player. The main features include a 5" Screen (4:3 Aspect Ratio) Liquid Crystal Dis- play (LCD) monitor and a DVD player. The unit applies the latest state of the art electronics and is designed for use in hotels, offices or your home.
-
Page 4: Powering And Installation
Cleaning Unit When cleaning, make sure the system is unplugged from the power source. Do not use liquid cleaners or aerosol cleaners. Use a cloth lightly dampened with water for cleaning the exterior of the system only. Disc Do not use irregularly shaped discs such as heart or star-shaped discs as they may cause the unit to malfunction. - Page 5 3. Powering the system with attached rechargeable Barrery Please refer to L. Rechargeable Battery Installation and Use (Page 29 to page 31). E. Controls, Indicators, and Connectors 1. Unit View (Refer to Figure 2) Figure 1 Figure 2...
- Page 6 1) Press Button on Disc cover 2) Open button 3) Previous Button 4) Stop Button 5) Next Button 6) Play Button 7) Display Button 8) Pause Button 9) Remote Control Sensor 10) DVD Video Output Jack 11) DVD Audio L+R Output Jack 12) Video Input Jack 13) Audio L+R Input Jack 14) Brightness +/- Thumbwheel...
- Page 7 2. Remote Control View (Refer to Figure 3) 1) Display Button 2) Angle Button 3) Subtitle Button 4) Audio Button 5) Zoom Button 6) Up/Down/Left/Right/Enter Buttons 7) Return Button 8) A-B Button 9) Forward Button 10) Reverse Button 11) Slow Button 12) Stop Button 13) Number Buttons 14) Setup Button...
- Page 8 To turn off the DVD player, slide POWER ON/OFF to OFF. The DVD player’s POWER indicator turns off. g. To remove the disc, open the disc tray, then you will see a picture on the right inner corner of the cover to indicate how to remove the disc, just use your finger to access the right inner corner of the disc tray and lift up the disc and remove it from the disc tray.
- Page 9 G. SETUP Press ‘SETUP’ to display the Main screen of the SETUP Menu on the screen. Press ‘SETUP’ again to exit the SETUP Menu and the unit will resume it’s last playback or stop mode. Figure 5. Main SETUP Menu Screen 1) Select ‘GENERAL SETUP’...
- Page 10 * WIDE: When the player is connected to a wide screen TV, a wide picture is shown on the full screen. b. Select ‘ANGLE MARK’ using UP/DOWN, and then press the RIGHT button to enter the submenu. Choose Angle Mark on or off displayed on the screen using the UP/DOWN and then press ENTER to confirm the setting.
- Page 11 2) When there is no disc inside the player select ‘PREFERENCES’ using UP/DOWN, then press ‘ENTER’ to enter the preferences page. Figure 8. AUDIO Preference Screen Display a. Select ‘DISC AUDIO’ using UP/DOWN, then press ‘RIGHT’ to enter the submenu. Select the audio language you desire using UP/DOWN, then press ‘ENTER’...
- Page 12 Figure 10. DISC MENU Preference Screen Display Note: Language and subtitle selection is only available for discs that are recorded in the above listed languages. If the selected, language is not available, the player will play and display on the screen the original recorded language contained in the disc.
- Page 13 Figure 12. PASSWORD VERIFY Input Screen Display Enter a 4 digit password, then press ‘ENTER’ to confirm the parental level setting. NOTE: For 1st time use the default password is 3308. e. Select ‘PASSWORD’ using UP/DOWN, then press RIGHT to enter the submenu. Figure 13.
- Page 14 NOTE: The Default Password is 3308. This password is al- ways effective even after you have selected your own pass- word and changed it. To avoid the possibility of others using the default password to set the parental level and change the pass- word, you can record this default password in another area and delete it from this manual.
- Page 15 1. Basic Operation POWER OPEN PLAY SLOW PAUSE STOP NEXT PREVIOUS FORWARD REVERSE UP/DOWN/LEFT /RIGHT ENTER NUMBERS RETURN MENU REPEAT DISPLAY ANGLE SUBTITLE AUDIO ZOOM SETUP Turn the unit on/off Remove/load the disc Start Play/Execute item or setting Play at 1/2, 1/4, 1/8 or 1/16 times speed Still Picture (1 time) Stop at the present playing point / (2 times) Stop playing...
- Page 16 2. MENU A DVD is divided into sections called titles and chapters. When you play a DVD, a root menu of the disc will appear on the screen of your TV or Monitor. The contents of the menu vary from disc to disc.
- Page 17 c. Press ‘DISPLAY’ the 3rd time to display the Elapsed Time for the chapter. The heading will disappear automatically in about 3 seconds. Figure 19. Chapter Elapsed Time Screen Display d. Press ‘DISPLAY’ the 4th time to display the Remaining Time for the chapter.
- Page 18 Figure 21. Angle Screen Display 3) SUBTITLE During disc playback press ‘SUBTITLE’ to select the subtitle lan- guage you desire*, with the current Subtitle Language Number (1) and the total Number of Subtitle Languages (2) displayed. If there are multiple languages press ‘SUBTITLE’ again to select another subtitle language.
- Page 19 4) AUDIO During playback press ‘AUDIO’ to select the audio language you desire*, with the current Audio Channel Number (1) and the total number of Audio Channels (2) displayed. Press AUDIO again to select another audio language. The audio display will disappear automatically if the ‘AUDIO’...
- Page 20 6) A-B REPEAT a. During playback press ‘A-B’ to set the Starting Point A. Figure 25. A-B Repeat Starting Point Screen Display b. Press ‘A-B’ to set the Ending Point B and the player will re- peatedly play the part between Point A and Point B. Figure 26.
- Page 21 7) REPEAT a. During playback press ‘REPEAT’ once to repeatedly play the current chapter. Figure 28. Chapter Repeat ON Screen Display b. During playback press ‘REPEAT’ again to repeatedly play the current title. Figure 29. Title Repeat ON Screen Display c.
-
Page 22: Playing Audio Cds
4. PLAYING AUDIO CDS When playing an audio CD. Press the DISPLAY button on the remote to display the DISPLAY Banner. The options below show you what happens when you press the DISPLAY button. a. During playback press ‘DISPLAY’ once and SINGLE ELAPSED will appear along with the current track playing and the time of that track. -
Page 23: Using The Repeat Feature
d. Press ‘DISPLAY’ four times and TOTAL REMAIN appears along with the current track playing and the amount of time remaining on the CD. Figure 34. TOTAL REMAIN Screen Display e. Press ‘DISPLAY’ a fifth times and “ DISPLAY OFF” will appear momentarily then disappear. -
Page 24: Skipping Songs
1. Insert an MP3 CD, the DVD video player will initialize the disc and the directory (folder) will be shown on the TV screen. Figure 35. MENU Screen Display When an MP3 disc is inserted into the unit, the menu screen appears automatically. - Page 25 DISPLAYING THE TIME ELAPSED AND TIME REMAINING Press the ‘DISPLAY’ button on the remote to display disc information. The options below show you what happens when you press the ‘DISPLAY’ button. a)Press ‘DISPLAY’ once, and “SINGLE ELAPSED” will appear along with the amount of time the song has been playing. The actual amount of time the disc has been playing will be displayed on-screen.
- Page 26 NOTICE The upper left column is a list showing the name of folder. The upper right column is a list showing the name of song and the sub-folder. “ “ sign in front of a file name indicates that this is a folder, not an MP3 file.
- Page 27 H. Playing a Video Game (Refer to Figure 38) Plug the video output from your game system into the yellow video input jack(12) and the Audio output into the Audio input jack(13) on the right side of the unit, which takes priority to the built-in DVD player. Adjust the volume control and the brightness control on the monitor for individual preference.
-
Page 28: Specifications
2. Connect the audio/video cable’s yellow plug into the DVD VIDEO OUT jack on the back of the unit, and the other yellow plug to the VIDEO INPUT jack on your TV or Monitor. J. Wired Headphones (Refer to Figure 38) Optional wired headphones may be used with the unit. - Page 29 (regardless of whether you plan to use battery power again soon) in order to maximize battery life. 2. To charge the battery, please connect the power jack directly into the D1500A and leave the POWER switch in the off position.
-
Page 30: Installing The Battery Pack
Using and Maintaining your Rechargeable Batteries 1. Please make sure you always use only the AC transformer included with the player to recharge your batteries. 2. Recharge effectiveness will degrade when environmental tempera tures drop below 50 F (10 3. Please remove battery from the player and store properly if the player is not to be used for an extended period of time. -
Page 31: Removing The Battery Pack
Removing the Battery Pack: 1. First, make sure the player is in “Stop” mode and that the AC power supply has been disconnected. 2. Press the release button in the down direction. 3. Slide the battery towards the front of the unit. Figure 40. -
Page 32: 90-Day Limited Warranty
90 DAY LIMITED WARRANTY Applies to Audiovox Video Products AUDIOVOX ELECTRONICS CORP. (the Company) warrants to the original retail purchaser of this product that should this product or any part thereof, under normal use and conditions, be proven defective in material or workmanship within 90 days from the date of original purchase, such defect(s) will be repaired or replaced with reconditioned product (at the Company's option) without charge for parts and repair labor. - Page 33 © 2003 Audiovox Electronics Corp., 150 Marcus Blvd., Hauppauge, N.Y. 11788 128-6791...
Need help?
Do you have a question about the D1500A and is the answer not in the manual?
Questions and answers