Obihai OBi300 Setup Manual
Hide thumbs
Also See for OBi300:
- Quick start manual (2 pages) ,
- Administration manual (220 pages) ,
- Admin manual (5 pages)
Advertisement
Quick Links
OBi300 Adapter Setup Guide
Step 1
Connect the OBi300
ATA to the Internet
Step 2
Setup Your ONEplace
Voicemail Password
and PIN
Step 3
Set Your Emergency
Response e911
Location
Step 4
Test Your Line
SETUP OVERVIEW
Follow these 4 steps:
Step 1. Connect the OBi300 ATA to the internet through a wired or wireless connection
Step 2. Set up your ONEplace password and voicemail PIN
Step 3. Set your emergency response e911 location
Step 4. Test your line for dial tone. Alaska Communications will email you with a
scheduled date to move your service and complete activation
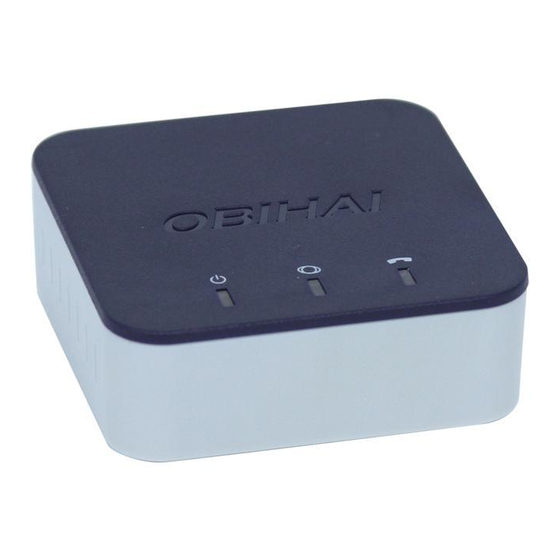
STEP 1 – CONNECT THE OBi300 ATA TO THE INTERNET
Connect your OBi300 ATA to the internet through a wired or wireless connection.
CONNECT VIA WIRED CONNECTION
1. Remove the OBi300 ATA from the box and plug in the power cable.
2. Use the included network cable to connect to an available port on your internet
router—OR—to connect wirelessly, please follow the instructions on page 3,
Connect Via Wireless Connection.
Note: You will need the ObiWiFi USB dongle to connect wirelessly (sold separately).
3. Plug your existing telephone into the phone port on the OBi300 ATA.
4. When registered, your OBi300 ATA will display three green lights (could take up
to 5 minutes).
Page 1 - Version 1.0
Updated 09/06/18
Advertisement

Related Manuals for Obihai OBi300


Summary of Contents for Obihai OBi300
- Page 1 SETUP OVERVIEW Voicemail Password and PIN Follow these 4 steps: Step 1. Connect the OBi300 ATA to the internet through a wired or wireless connection Step 3 Step 2. Set up your ONEplace password and voicemail PIN Set Your Emergency Step 3.
- Page 2 3. From a WiFi enabled device (e.g., laptop, tablet, or smart phone), open network settings and connect to the WiFi network called OBiWiFi_Setup. Note: If you do not see the network, dial *27 on a phone connected to the OBi300 ATA. Step 4 Test Your Line 4.
- Page 3 OBi300 Adapter Setup Guide STEP 2 – SETUP YOUR ONEPLACE VOICEMAIL PASSWORD AND PIN Step 1 1. Go to alaskacommunications.com, click Support, click Connect the OBi300 ONEplace Login, then select ONEplace Users. Or visit: ATA to the Internet https://oneplace.alaskacommunications.com 2. Log in with your 10-digit telephone number and temporary password provided in your welcome email.
- Page 4 OBi300 Adapter Setup Guide STEP 3 – SET YOUR EMERGENCY RESPONSE e911 LOCATION Step 1 Your telephone line will remain disabled until e911 response location is set. Connect the OBi300 Note: If you are porting an existing telephone number(s), you must complete this step after ATA to the Internet the port is complete.
- Page 5 OBi300 Adapter Setup Guide STEP 4 – TEST YOUR LINE Step 1 1. Using the telephone connected to the OBi300 ATA, dial **9 222 222 222 to perform an echo test. Connect the OBi300 2. Speak a test phrase into the phone to verify the quality of your internet connection.
Need help?
Do you have a question about the OBi300 and is the answer not in the manual?
Questions and answers