Advertisement
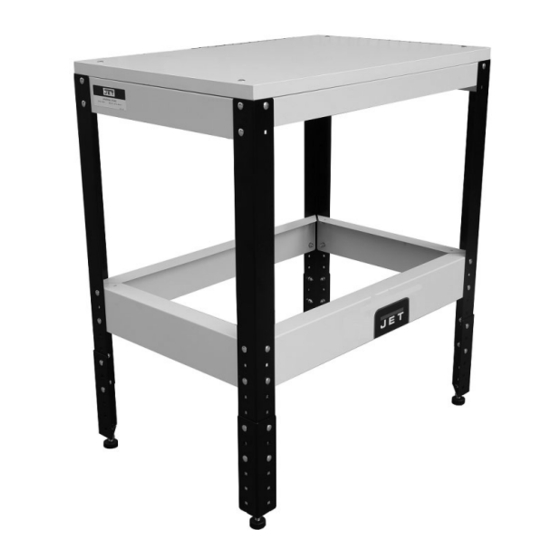
728100 Universal Stand
Instructions and Parts List
IMPORTANT SAFETY INSTRUCTIONS
•
Review all instructions before assembling the table. Improper
assembly can cause personal injury and/or property damage.
•
Do not exceed maximum load for the universal stand.
•
Do not stand on this product.
•
WARNING: This product can expose you to chemicals
including lead and cadmium which are known to the State of
California to cause cancer and birth defects or other
reproductive harm. For more information go to http://www.p65warnings.ca.gov.
Tools required for assembly
10mm and 16mm wrenches
(a ratcheting socket wrench will speed assembly time)
Shipping contents
1 Table
4 Upper Braces (2 Long, 2 Short)
4 Lower Braces (2 Long, 2 Short)
4 Vertical Legs
4 Adjust Legs
4 Leveling Pads
1 Instructions and Parts List
1 Product Registration Card
1 Hardware Package (728100-HP)
44
Carriage Bolt M6-1.0x16 – AA
48
Flat Washer 6mm– BB
48
Lock Washers 6mm –CC
48
Hex Nut M6-1.0 –DD
4
Carriage Bolt M6-1.0x36 – EE
Assembly instructions
Use the exploded view and parts list as guides to
assembly. Make all leg and brace fasteners only
finger tight until the entire unit has been assembled.
1.
Attach the two short upper braces (#7) to the
table top (#2). Finger tighten only.
JET
427 New Sanford Road
LaVergne, Tennessee 37086
Ph.: 800-274-6848
www.jettools.com
2.
Place table top with short braces upside down;
use a mat or piece of cardboard underneath to
prevent scratching.
3.
Assemble the four main legs (#9) and upper long
braces (#6). Finger tighten only.
4.
Determine the height desired, then connect the
adjustment legs (#10) to the main legs. These
can be repositioned later if needed. (It is
recommended that each adjustment leg be
secured by at least 4 screws to the main leg.)
5.
Determine placement of lower braces (#13/14),
and assemble them to the main legs/adjustment
legs.
6.
Install the leveling foot pads (#12) and tighten
each hex nut (#11) against the adjustment leg. If
using the optional swivel casters, install those
instead of the pads.
7.
Turn the unit over and push down lightly to make
sure stand rests evenly upon the floor.
8.
Fully tighten all fasteners. Make any additional
leveling adjustments using the pads.
Holes are provided in the lower braces for attaching a
user-made shelf, not provided.
CAUTION: If casters are used, they must be
locked before operating a machine on the stand.
Part No. M-728100
Edition 1 10/2020
Copyright © 2020 JET
Advertisement
Table of Contents

Related Manuals for Jet 728100

Summary of Contents for Jet 728100
- Page 1 1 Instructions and Parts List and assemble them to the main legs/adjustment 1 Product Registration Card legs. 1 Hardware Package (728100-HP) Install the leveling foot pads (#12) and tighten Carriage Bolt M6-1.0x16 – AA each hex nut (#11) against the adjustment leg. If Flat Washer 6mm–...
- Page 2 728100 Universal Stand – Exploded View...
- Page 3 8 ......728100-008 ....Carriage Bolt ..............M6-1.0x16 ..... 44 9 ..... 728100-009 ....Vertical Leg ......................4 10 ....728100-010 ....Adjustment Leg Weldment (#10-1 thru 10-3) ............4 10-1 ........... Adjustment Leg ....................4 10-2 ........... Glide Plate ......................4 10-3 ....
- Page 4 400 lb. (181.5 kg) Table material MDF/Vinyl Assembled weight 43 lb. (19 kg) Shipping weight 47 lb. (21 kg) The 728100 Universal Stand will accommodate most bench top machines, including the following models: Brand Model Stock No. 13” Planer 722130 8” Jointer/Planer 707400 8”...
Need help?
Do you have a question about the 728100 and is the answer not in the manual?
Questions and answers