Table of Contents
Advertisement
Quick Links
THE BUILT-IN VACUUM SYSTEM
INSTALLATION AND OPERATING MANUAL
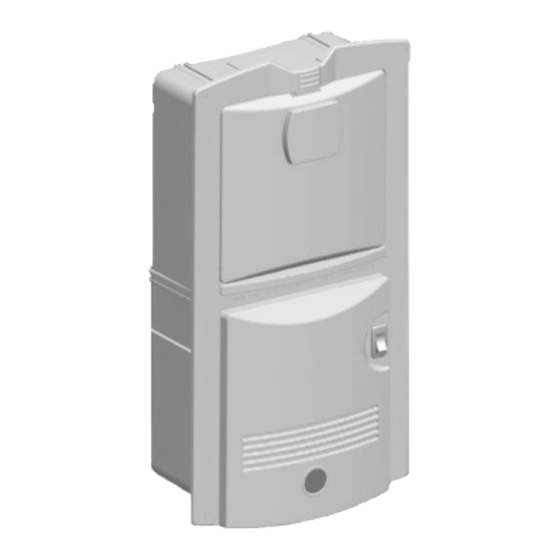
MODEL CM-120
MODEL F-120
MODEL H-120
Important: Instructions must stay with unit. Owner read carefully.
This manual must be read and understood before installation, adjustment, service or
maintenance is performed. This unit should be installed by a qualified technician.
Modification of this product can be extremely hazardous and could result in
InterVac Design Corp., Palm City, FL 34990
Phone 772-463-1400 • Toll Free 1-888-499-1925
www.intervacdesign.com • e-mail: sales@intervacdesign.com
for surface mounting or converting to flush mounting
for flush mounting inside a wall only
for surface mounting against a wall only
WARNING:
personal injury or property damage.
1
RECORD THIS INFORMATION FOR
FUTURE REFERENCES
MODEL NUMBER _______________________
DATE OF PURCHASE ___________________
PLACE OF PURCHASE__________________
Manual # CMFH-e, Rev.9/28/07
Part # W500
Advertisement
Table of Contents

Related Manuals for InterVac CM-120


Summary of Contents for InterVac CM-120
- Page 1 This unit should be installed by a qualified technician. Modification of this product can be extremely hazardous and could result in personal injury or property damage. InterVac Design Corp., Palm City, FL 34990 Phone 772-463-1400 • Toll Free 1-888-499-1925 www.intervacdesign.com • e-mail: sales@intervacdesign.com...
- Page 2 Do not place objects against the vacuum cleaner. Keep area water, return the vacuum cleaner to InterVac or an authorized clear. service dealer for examination and repair.
- Page 3 MODEL: CM120 (with detachable cord) or H120 surface mounted with power cord attached TIP: if you do not like to surface mount the vacuum with screws you can use Velcro, ask for our kit # A015 External to Wood Surfaces: (see Fig.: A) Step 1.
- Page 4 Specification: 120 Volt, 11 Amp 50/60Hz, Weight 8 lb Parts List: Depending on model 2 dry-wall anchors, 1 red push pin Paper templates: #W601( #B040), #W600 4 painted screws 3 wire connectors with CM & F units only 2 high filtration bags #Y05 CM120 in-wall installation etaching the power cord from your CM120 vacuum...
- Page 5 HOW TO OPERATE YOUR VACUUM CLEANER InterVac Design Corporation Palm City, Florida, 34990 toll free 1-888-499-1925 e-mail: sales@intervacdesign. com • Website: www.intervacdesign.com MODELS: F120 + H120 + CM120 NOTE: THE LOWER PART OF THE VACUUM CLEANER WILL BE QUITE WARM WHEN IN USE.
- Page 6 Fig.: E D: Replacing Exhaust Filter, Part #Y41: Pinch exhaust filter in the middle and pull out. E. Replacing motor filter To replace, pinch in the middle and slide in Part # Y21 one side first. ( washable by hand) tuck-in the corners and sides carefully under the ribs TROUBLE SHOOTING:...
- Page 7 Air Turbo Nozzle Brush with Charger, PART # A006B for Models RM, RMG Special Inlet Valve "RUG RAT" PART # X453 "VAC-PAN" PART # X452 PART # 505 Black INTERVAC reserves the right to make improvements and modifications without notice.
Need help?
Do you have a question about the CM-120 and is the answer not in the manual?
Questions and answers